
SHOWER PANEL COLLECTIONS WOULD BEST FIT YOU
How to fit bathroom wall panels
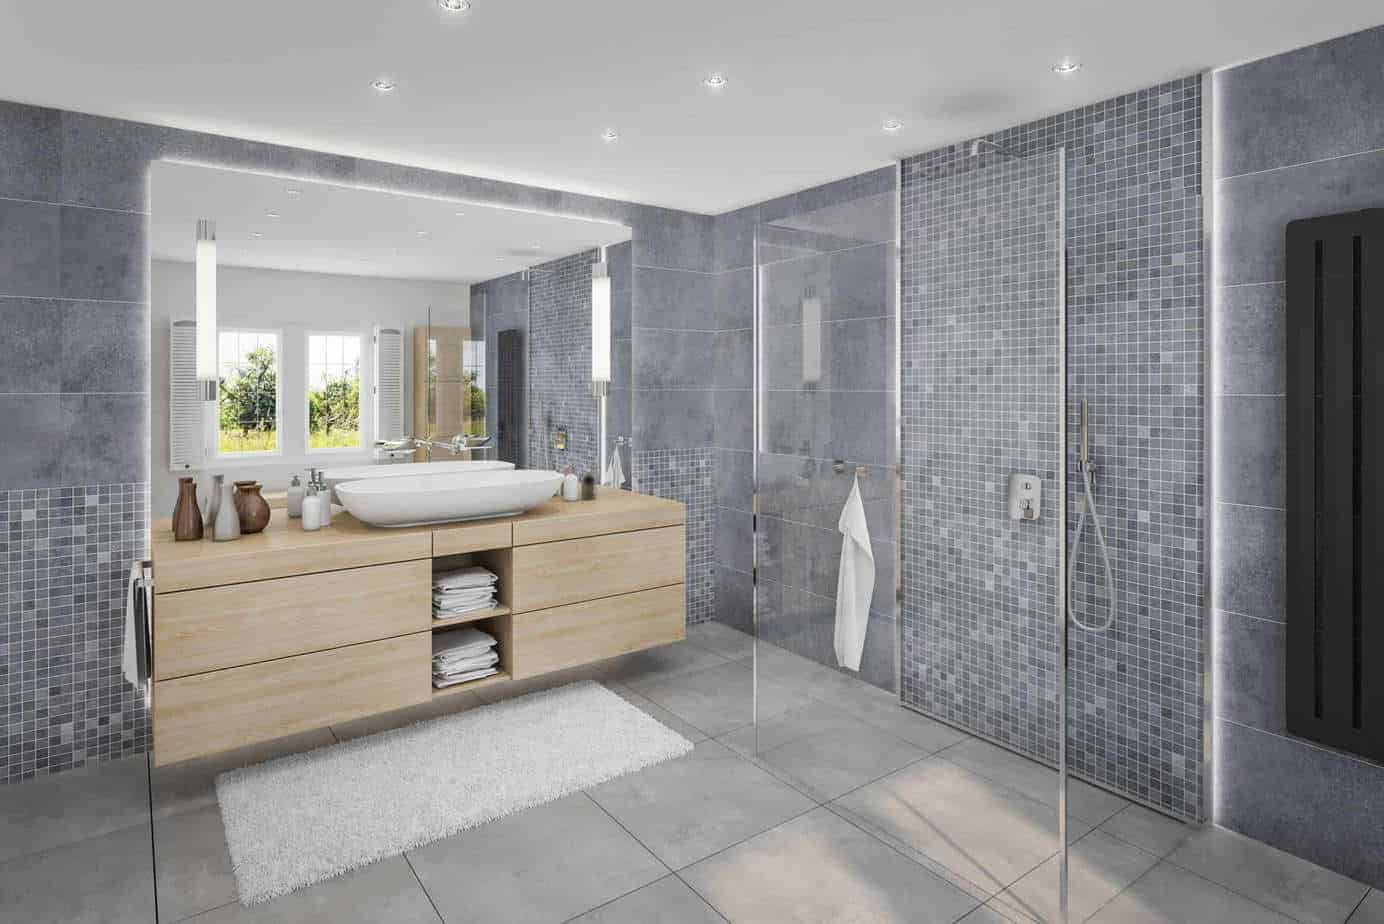
FIT BATHROOM WALL PANELS
WHAT'S IN THIS ARTICLE?
Fit bathroom wall panels
- Whether you're a homeowner who likes to do things yourself
- Installing Panels using wooden strips.
- Applying PVC panels directly to a wall.
- Installing PVC panels to concrete or masonry walls

WHETHER YOU'RE A HOMEOWNER WHO LIKES TO DO THINGS YOURSELF
Whether you’re a homeowner who likes to do things yourself or an experienced tradesman, you’ll find that PVC wall panelling is the easiest cladding to install. It’s quick, requires minimal effort, and there’s no dust and mess like you’d expect with tiling or traditional wooden panelling. This article is going to provide you with an easy step by step guide to fit bathroom wall panels directly to your partition and surfaces like tiles.

There are two methods you can implement when installing tongue and groove wall panelling. You can nail or screw the panels to wooden strips, or you can glue the board directly to the wall. Both methods will be covered in this DIY guide, and will in turn help you to fit bathroom panels, just like the professionals.
As with any home improvement project, it’s essential to work in an orderly fashion and keep things neat and tidy. So before starting make sure you’re ready for DIY. So start by cleaning the wall that you intend on cladding. Remember that you’ll be using a PVC glue if you’re installing directly onto a partition, so it’s vital to ensure there is no greasy residue or loose grit on the wall, this includes the shower wall, bathroom wall or wall board.
INSTALLING PANELS USING WOODEN STRIPS.


STEP 1:
Measure the shower wall panel to ensure that it fits, both by width and height. If you need to cut the bathroom wall panel, this is really easy. Mark the cutting line using a straight edge. Cut the panels to size using a hack saw, or jigsaw with a fine tooth blade. You can also use an angle grinder, but take care not to burn the panel.
If there are pipes or electrical wiring that require holes, measure these accurately. Make sure you are using the correct size hole saw to cut the opening. This is also a perfect opportunity to cut your corner piece panel, ensuring you don’t end up having an uneven wall coverage.
STEP 2:
Use self-driving screws to attach the panels to the wooden strips or wall frame. Drive the screws into the inner (tongue) edge, so that they are hidden when you slot the next panel using the tongue and grooves.
For a perfect finish in corners, we would recommend using proper external corner trim to give you a professional finish.
However, if you have a smooth corner or curved wall you can still get the curve you require from cutting scoring the back of the panels in several places or by using a heat gun. This method can also be used to work around corners of a shower enclosure.
Here’s one method used by an online user: measure the distance from the edge to where it meets the bend and mark this with a line. Using a heat gun, heat the line, then carefully bend the bath panel. Ensure that it fits snugly into the angle then apply the bend while holding it in position.
Using a heat gun comes with it’s own risks and you will need to take great care when using a heat gun. We also take no responsibility or accept no liability as your panels aren’t designed for this. However, if this is part of the architecture of your home, then we wanted to make you are aware that others have successfully done this. To find out more search for the videos online.
STEP 3:
Finish off by covering gaps between the panels and ceiling with ceiling mouldings. These are easily applied using silicone glue. Do the same for gaps at the floor and around doors if necessary, using the appropriate fixings.
APPLYING PVC PANELS DIRECTLY TO A WALL.

You should use internal and profiles when installing PVC panels to a flat . These are designed to allow the boards to slot into position with a neat and flush finish. If you choose not to use these profiles, you can use a to seal gaps where the corners meet and mouldings.

STEP 1:
Measure and cut your panels to the correct height. This best tool for this job is a hacksaw. Where ceiling profiles meet at the corners, use proper coving trim. Making for a perfectly sealed and professional finish, giving you the perfect bathroom suite.
Use silicone glue to fix the profiles to the wall. You can also reinforce this with staples, nails or screws, but we find that with acrylic panels such as ours, that silicone adhesive usually works the best.
STEP 2:
Measure and cut the panels, following the same procedure as described in step 1 for the wooden frame installation.
Then cut the tongue edge using a craft knife so that it can slot into the profile.
STEP 3:
Apply silicone glue to the back of the panel and slot it into the internal (corner) and ceiling profile. Continue this process. Where each panel joins, you can nail the tongue edge to the wall for extra reinforcing. When nailing showerwall panels make, you’ll want to make sure you have already decided where you will be cutting a hole to place the nails, this avoids exterior damage to any pvc wall panels and reduces waste.
Where panels join on the outer corners, you won’t be using an internal profile. You’ll need to cut the panels for outer edges so that they join at 45-degrees. You can use mouldings that are designed for door and window openings. These then slot easily into the tongue and grooves of the panels.
INSTALLING PVC PANELS TO CONCRETE OR MASONRY WALLS

If you want to install these panels directly to a concrete wall or unplastered bricks, you’ll need to use concrete clips. These are metal clips that can be screwed into the wall and allow the tongue of the panel to clip into position.
You’ll follow the same steps as you would when fixing the panels directly to a plastered wall. The difference is that you’ll need to install the concrete clips first. Measure where the edge of the board will be on the wall. Then install the clips, approximately 1″ apart. The clips need to follow a line so that the tongue of the panel can slot into them from top to bottom.
Then finally, instead of using silicone glue, use spray foam tape for concrete installation.
Using adhesive to secure your PVC wall panels is the most recognised and efficient method of applying wall panels. However, there benefits to using concrete clips or battens to secure your panels. Battens and clips protect and cover any imperfections in your wall. Although this method can be time consuming clips and battens are often more reliable than adhesive. If you are placing your panels over brick tile, ceramic tiles, or any other existing tiles this is also the preferred method to apply your panels as the clips or battens will give you a smooth and even finish.
Remember that all bathroom wall panels can be cut and designed to fit your bathroom, all it takes is a bit of patience, and the handy-work to do so! We hope you found this guide to your pvc panel installation helpful, have any questions? reach out to a member of the team who will be sure to help, So what are you waiting for, it’s time to ditch the bathroom tiles, get yourself a brand new wet room and fit bathroom panels yourself easily, at an affordable price!

