How to Lay Vinyl Click Flooring: An Easy Step-by-Step Guide
There are many benefits to installing vinyl click flooring. It’s quick, easy, and offers a clean look that is perfect for any room in your home. Many people are intimidated by the idea of DIY projects, but this one is simple enough for even the most inexperienced do-it-yourselfers.
Installing flooring is a long and tedious process. There is always the risk of cutting yourself, and floors can be slippery when wet. And don’t forget about the uncertainty of your measurements! If you’ve ever thought about installing vinyl click flooring, or if you’re simply looking for an easier way to install vinyl flooring, here is an easy step-by-step guide for installing lvt click flooring. It’s quick and easy with these helpful tips!
What is vinyl click flooring?
Vinyl click flooring is a type of vinyl flooring that is designed to be self-adhesive. It’s a multilayered product that has a non-slip base, LVT/SPC core, high resolution image layer, and a transparent anti-scratch layer to keep your flooring looking as good as new.

The vinyl click flooring comes in different thicknesses, depending on the texture and design of flooring you opt for. For example, marble vinyl effect click flooring is thicker and shorter in length compared to wood effect vinyl click flooring which is longer and has a decreased thickness. This is due to the fact that vinyl flooring is made to accurately mirror the real deal so you get the best value for your money.
How to Prepare Vinyl Click Flooring
Before purchasing vinyl click flooring it’s important to measure your space so you know how much flooring to purchase. Click flooring is normally sold in packs so you will need to calculate how many packs you need to cover your desired space.
When it comes to installing vinyl SPC click flooring, the first step is to prepare your floor. You want to have a clean and smooth surface to work with and be sure to remove any appliances or furniture that might be in the way.
The flooring itself doesn’t need any preparation, simply remove it from its packaging and you can begin laying your vinyl click flooring. Click flooring doesn’t require any adhesive, so you won’t need any tools or products; simply slot your flooring together and watch it click and lock into place.
How to Lay Vinyl Wet Room Flooring
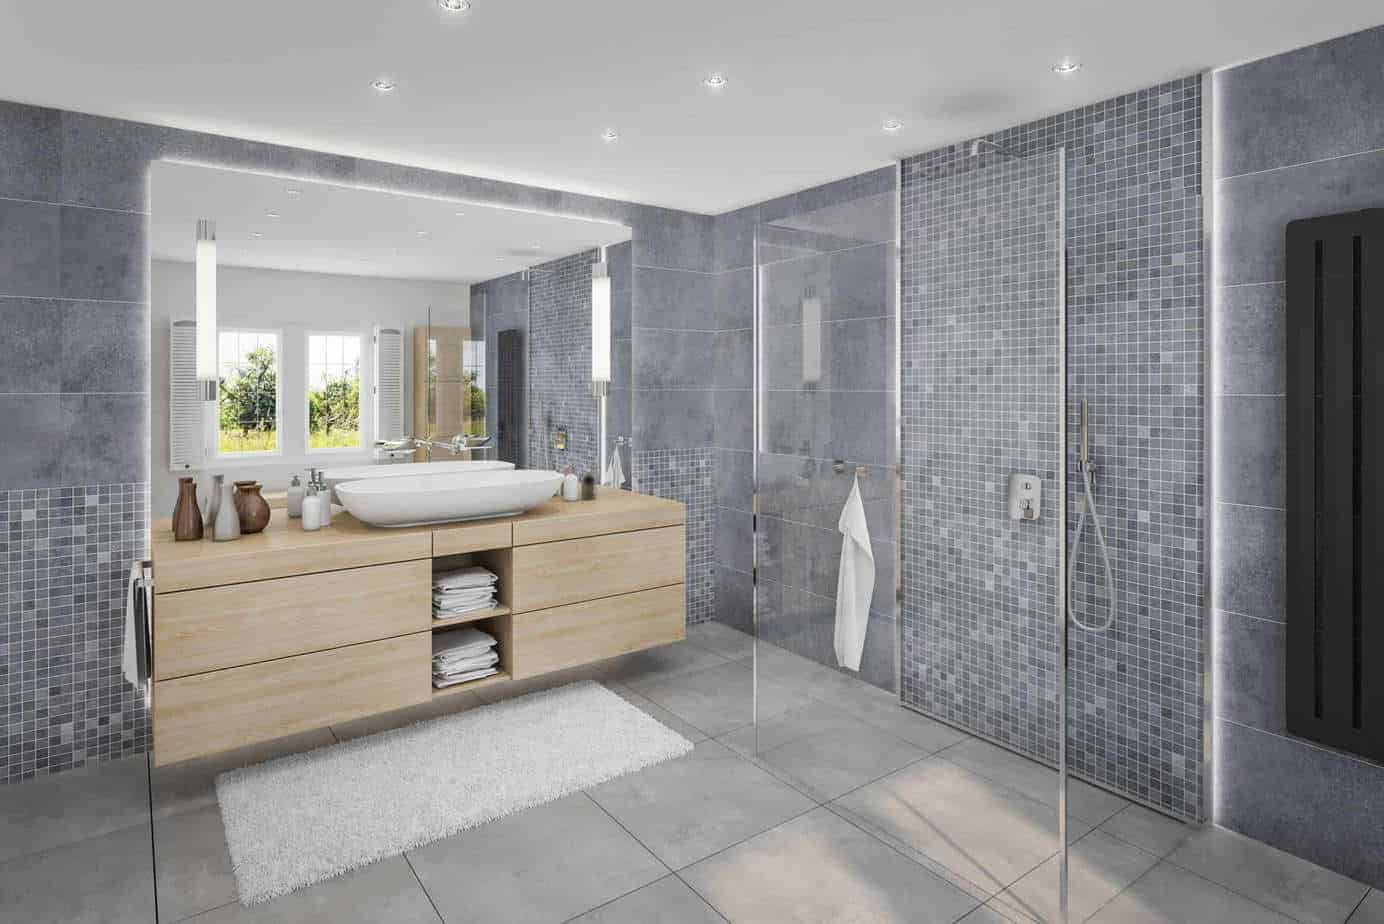
If you’re looking to use your new click flooring in a bathroom or wet room it’s important you follow the step-by-step process to ensure a water-resistant finish
After removing any clutter, cleaning your space and making sure your floor is completely dry, start by laying down your first floor tile then secure the second tile at the top of the first one and repeat this process as you work your way up the room. Once you have fitted one row over the length of the room, repeat the process again making sure to attach the click flooring to the first row as you go.
It’s important to have a straight edge for lining up the planks. If you’re using vinyl click flooring, it’s also possible to use the grid line as a straight edge. When you install the click joints, make sure you align them so that the joint will be hidden by the next plank.

If you are looking to install a skirting board or edging, remember to leave a one-inch gap around the perimeter of the room. Next, lay down the vinyl plank flooring.
How to Cut vinyl Click Flooring
You may need to trim your click flooring to make sure you have a flush finish from wall to wall. Cutting vinyl click flooring is easy! If you’ve ever experienced cutting bathroom wall panels, it’s very similar, measuring what you need beforehand.
Here’s a quick step by step guide to cutting and trimming your vinyl flooring tiles:
- Trim the vinyl click flooring to size
- Cut the vinyl click flooring at the end of the row
- Use a utility knife to cut the vinyl click flooring
- Use a straightedge to guide your cut
- Cut at an angle to avoid cutting into the seams.
What’s the difference between LVT Click Flooring and SPC Flooring?
Understanding the difference between the two types of click install flooring can often be difficult, as many people, consumers and even commercial building owners can assume that the two are overtly similar and offer the same overall results.
Some common similarities between LVT click flooring and SPC flooring include;
- Similar water resistance level.
- Installation process is similar, both can be click and placed and cut in the same way.
- Both options are easily maintained as neither one of them require more effort when it comes to cleanliness or product limitations.
However, some of the main differences between LVT flooring and it’s SPC flooring counterpart include;
Thickness – The density in SPC vinyl floor tends to be considerably thicker than a traditional vinyl LVT flooring.
Appearance – Both can provide different aesthetics, whilst both are able to provide a wide range of colours, styles and designs, it is SPC flooring that is able to provide a more realistic look and feel towards flooring, often offering a texture to their designs.
If you’re still trying to decide which bathroom flooring to go with, why not read our bathroom flooring guide for some helpful tips and advice.


