End Trim for Acoustic Wall Panels
Delivery
We offer FREE delivery on orders of £120 and above across Mainland England and Wales. Standard delivery on orders under £120 is charged at £24.99. Deliveries take 2 to 5 business days, depending on your location.
All deliveries are handled by our own team of professionals — we do not use external couriers, ensuring your panels arrive safely and on time.
For full details, please see our Delivery Policy.
Click & Collect
All the products on Easy Panels are available for immediate pickup from our Store in Aberdare, South Wales. Simply select "Pickup in Store" during checkout. More info here.

Description
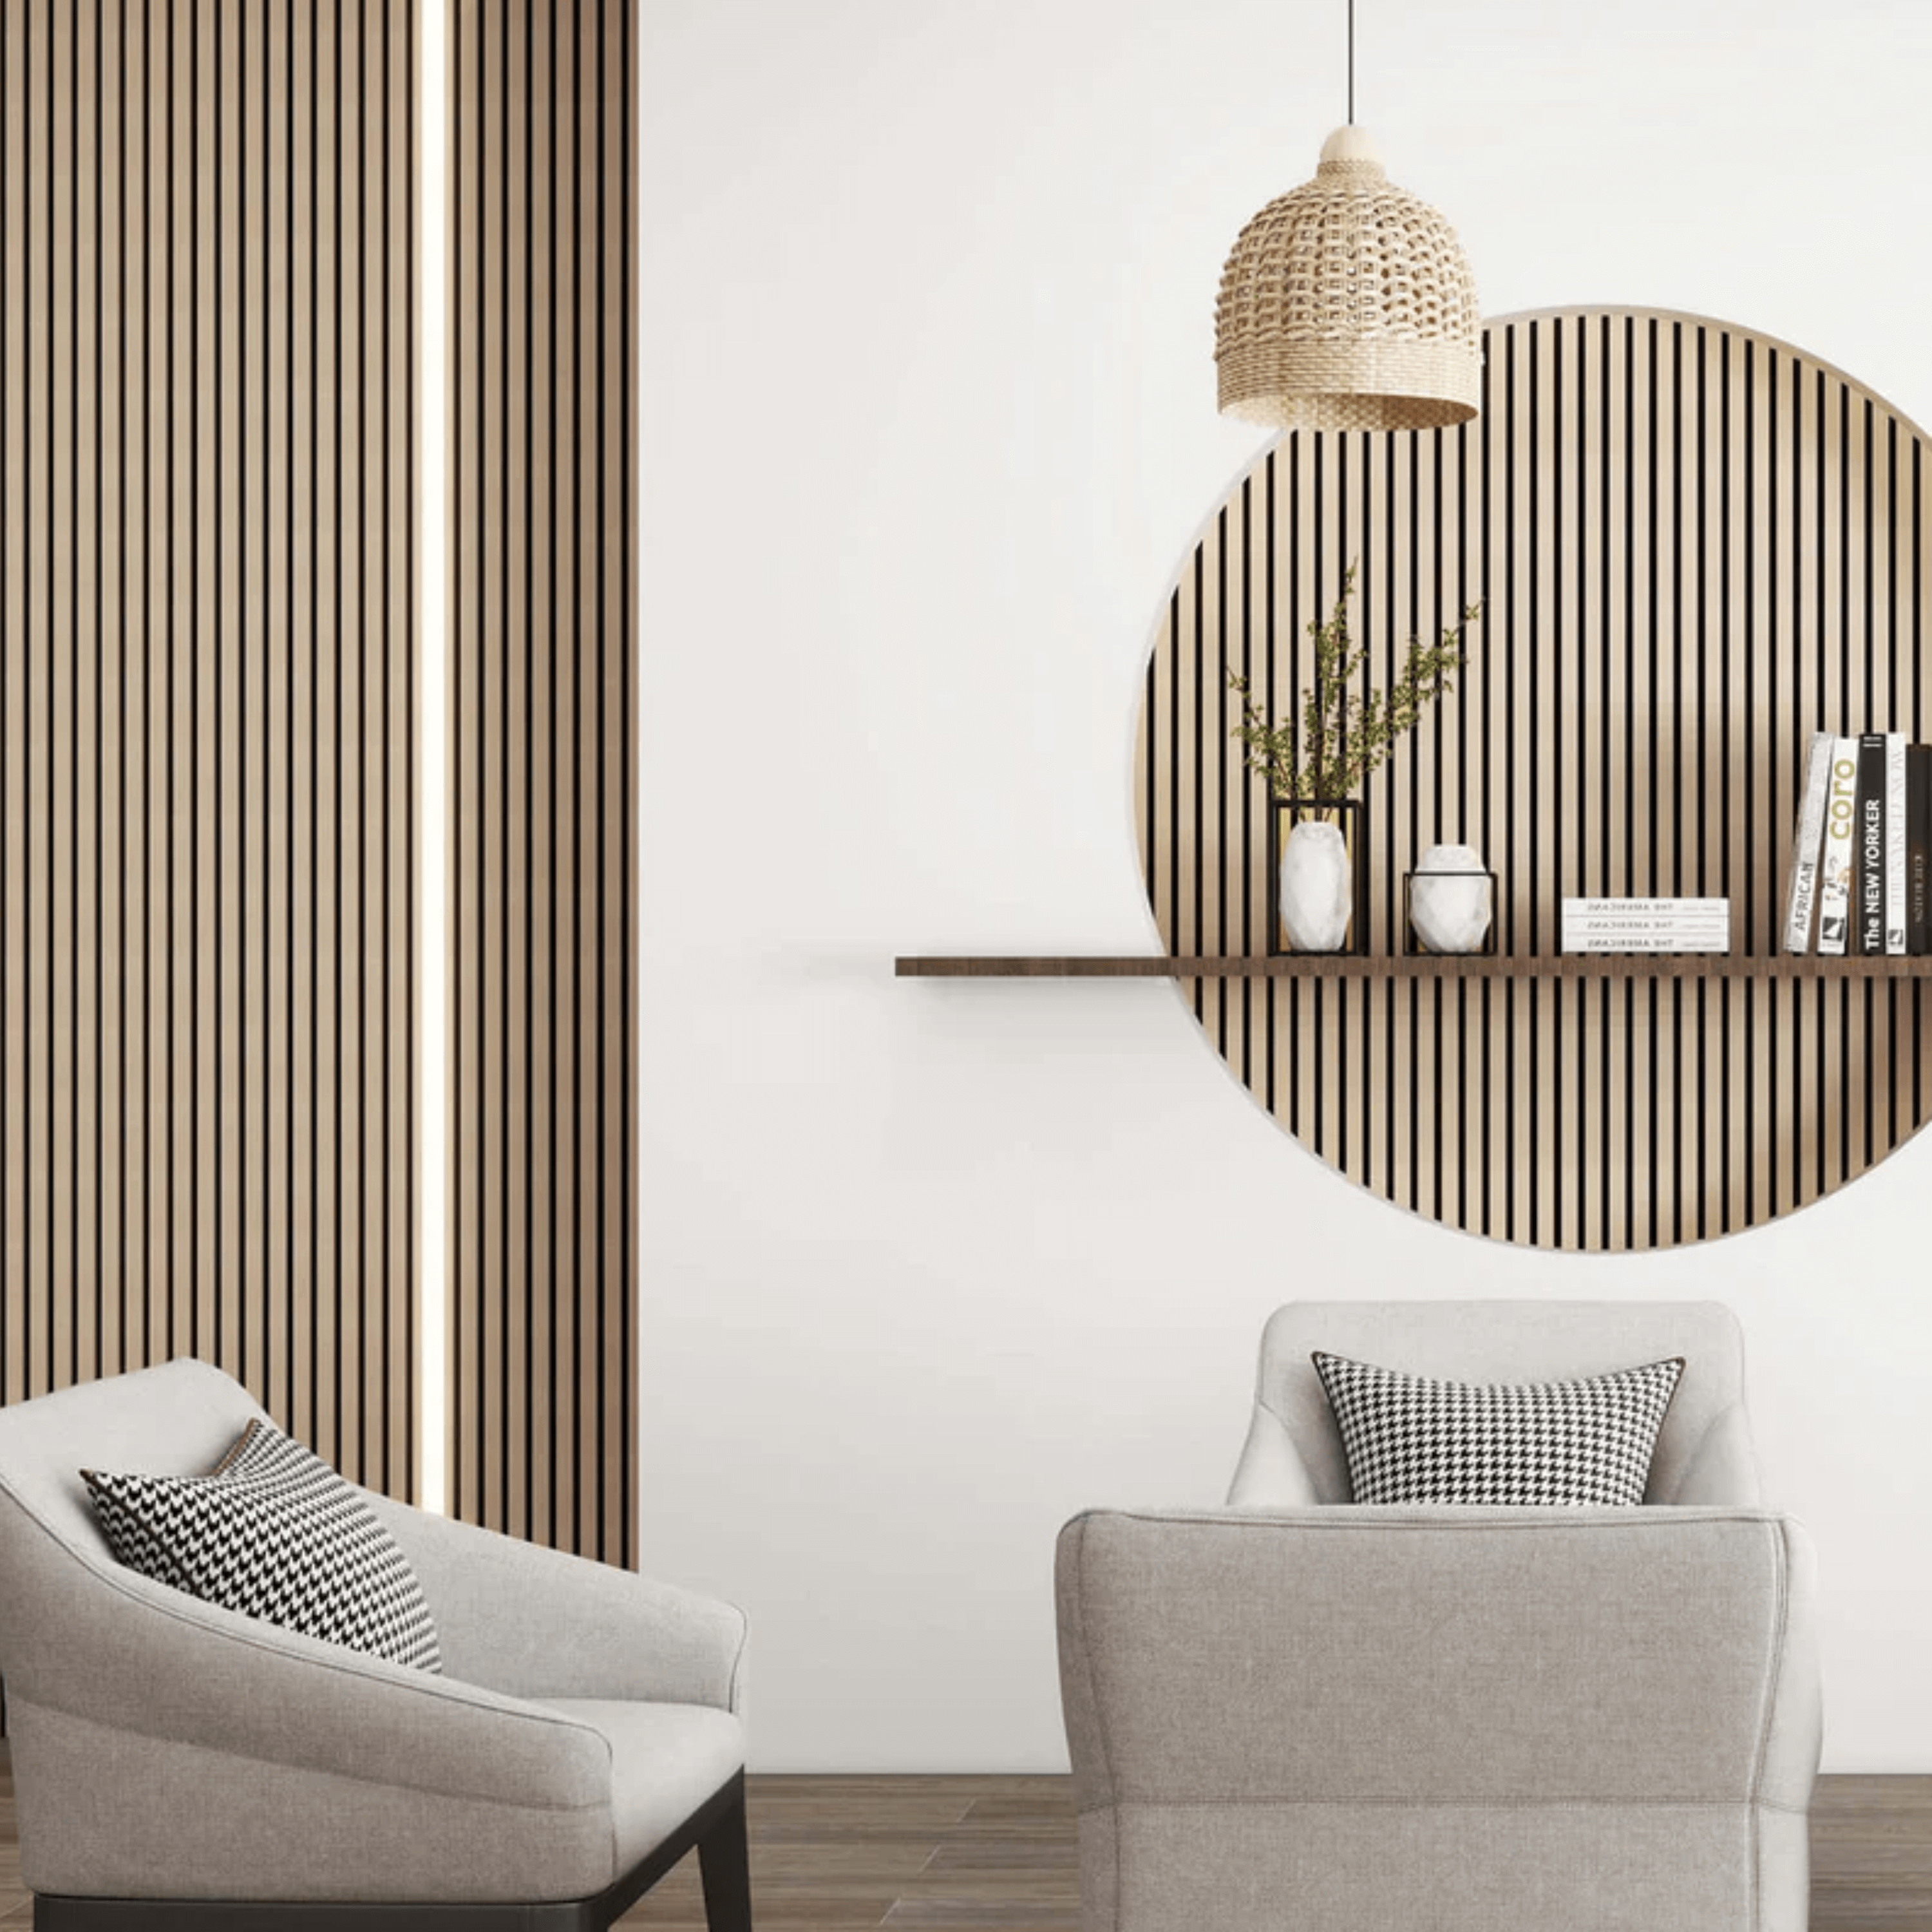
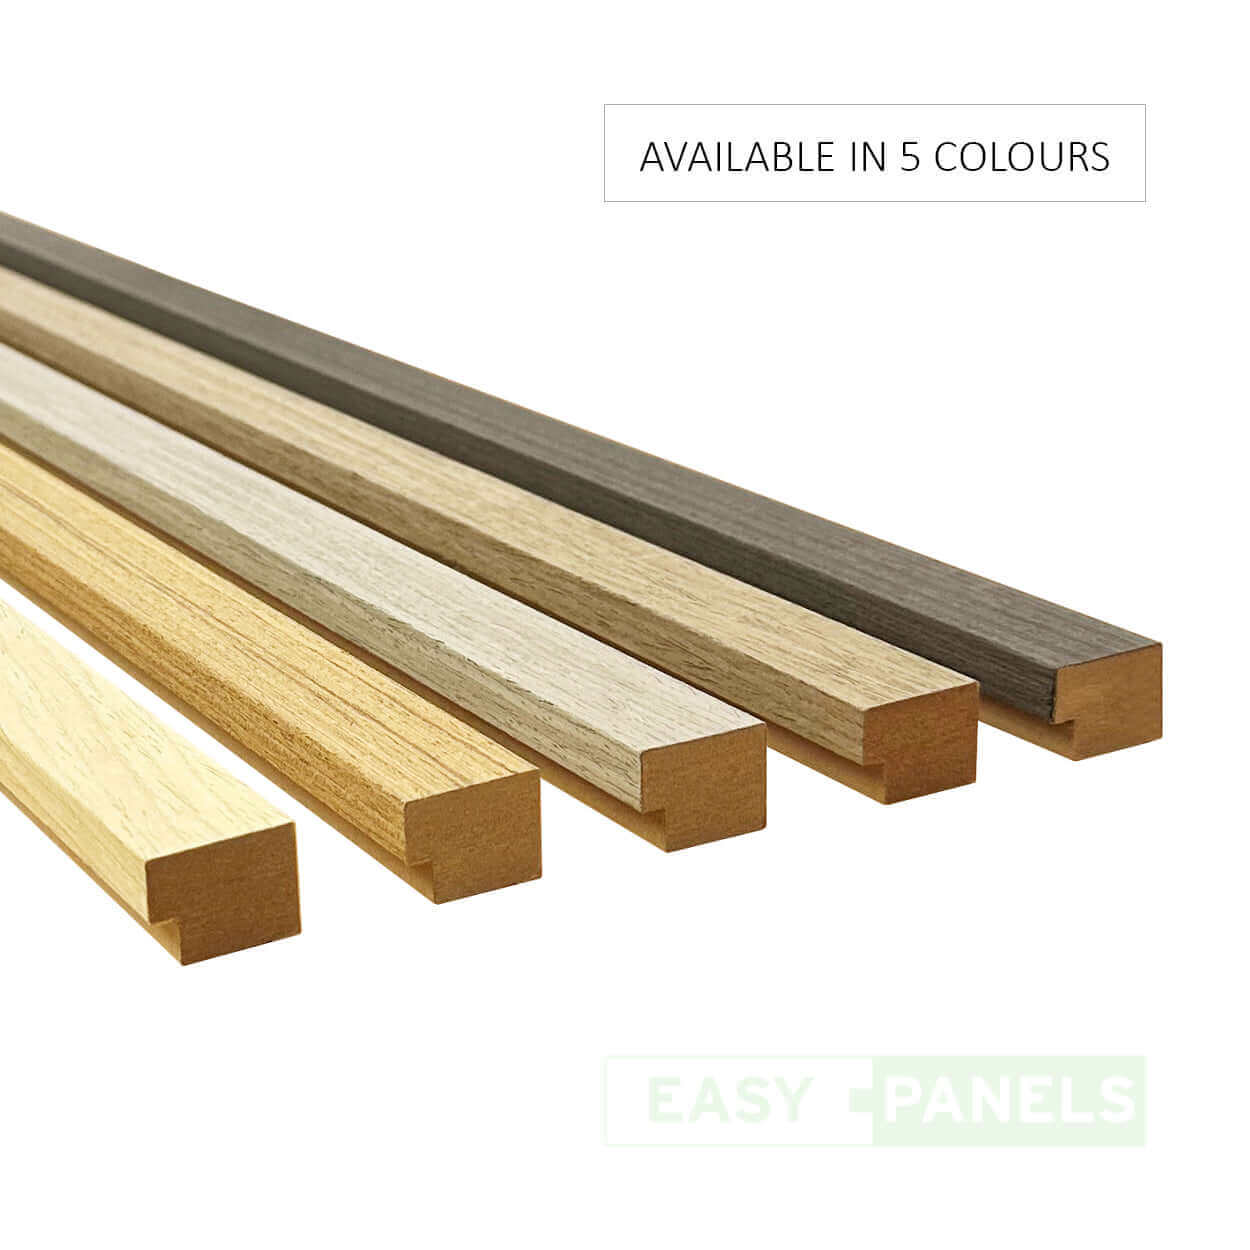
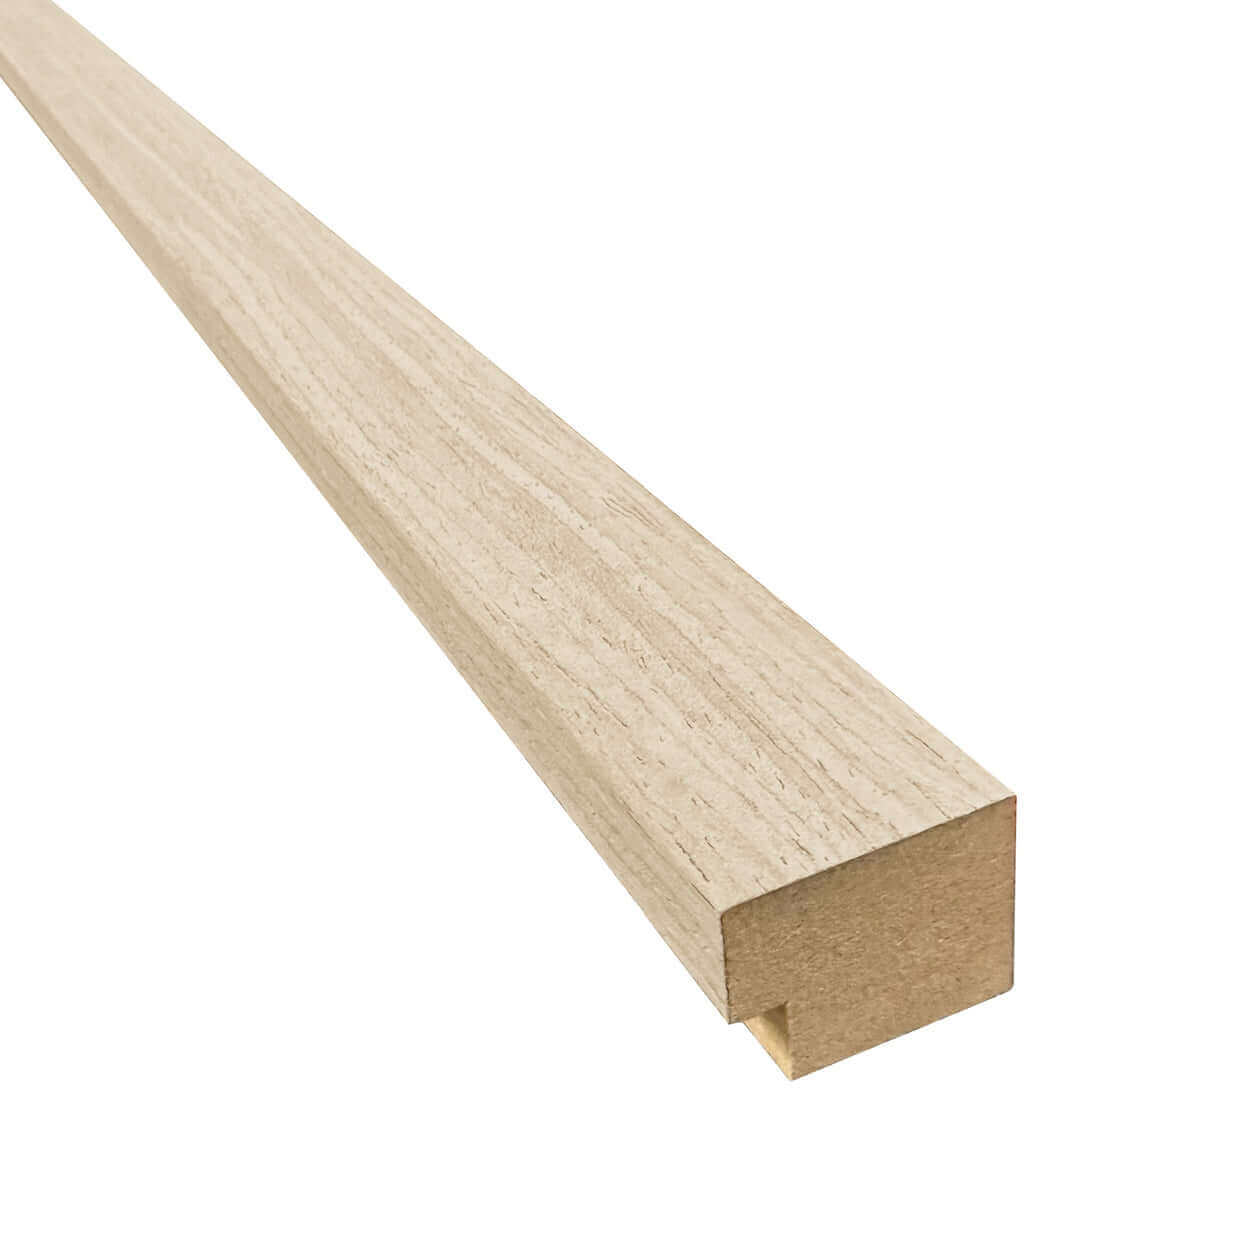
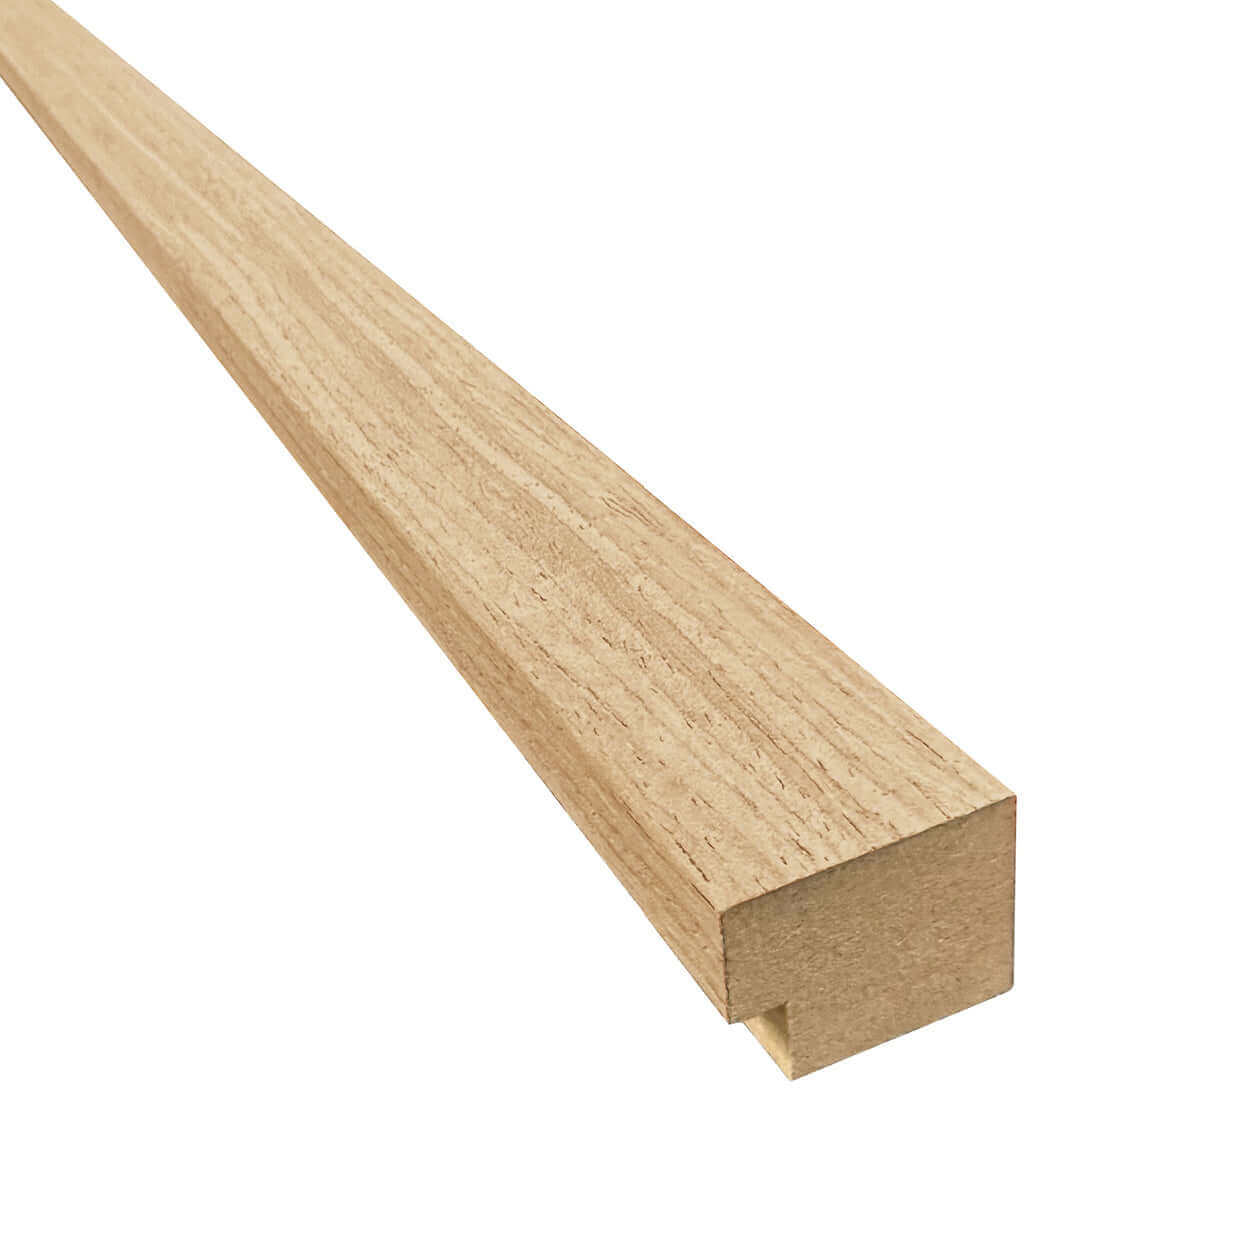
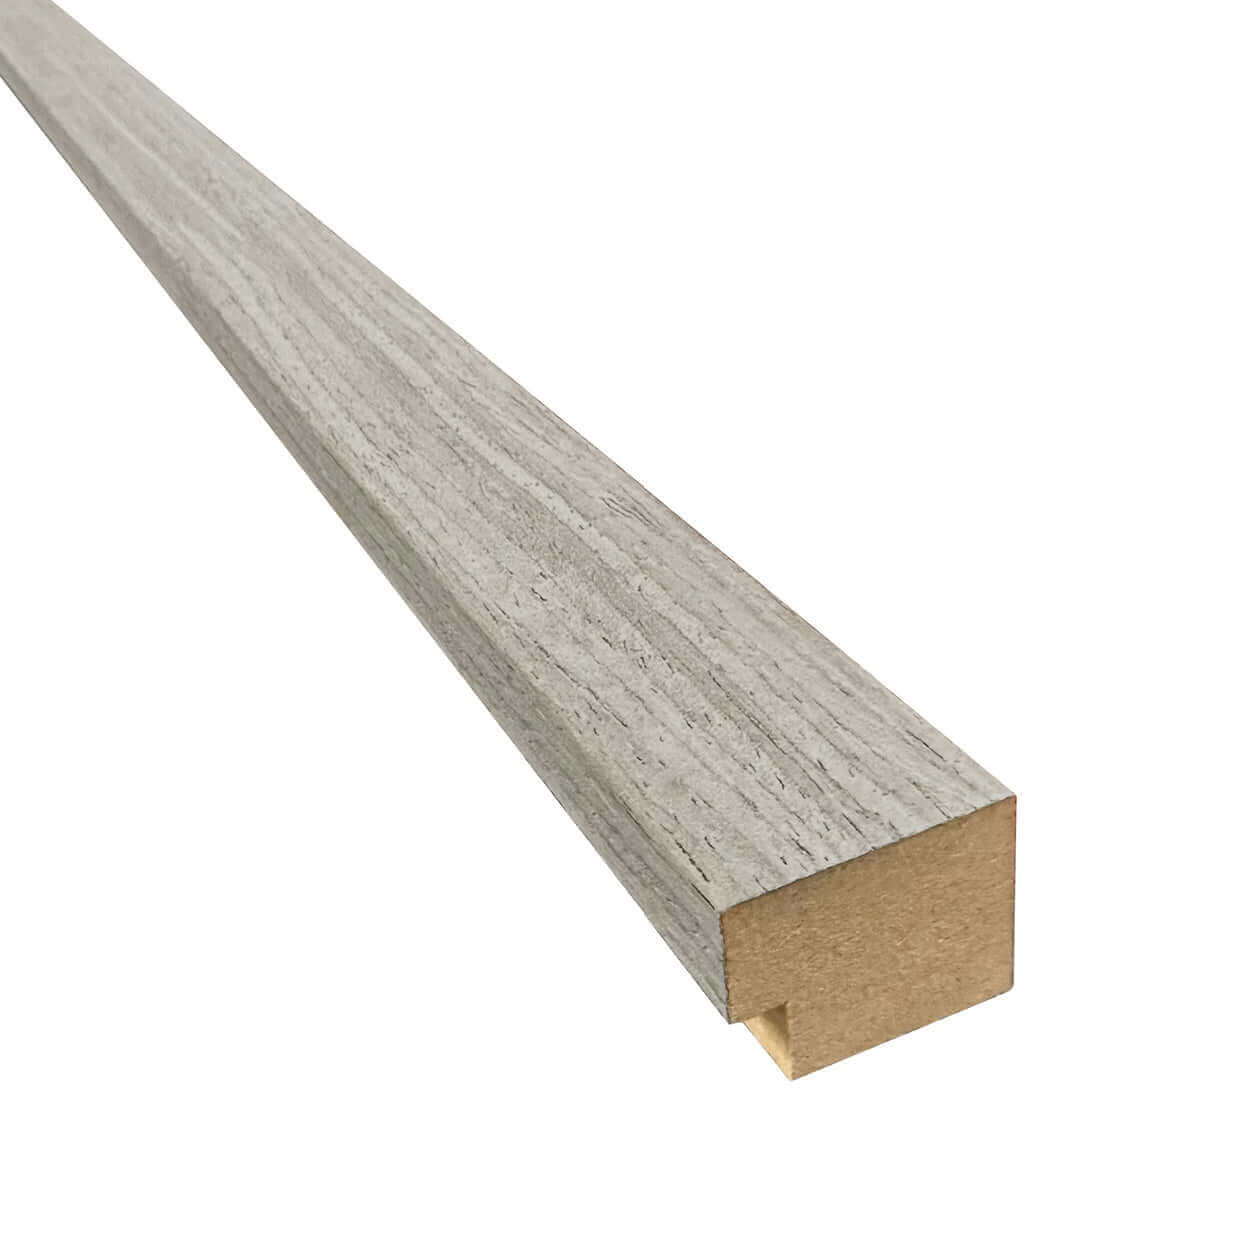
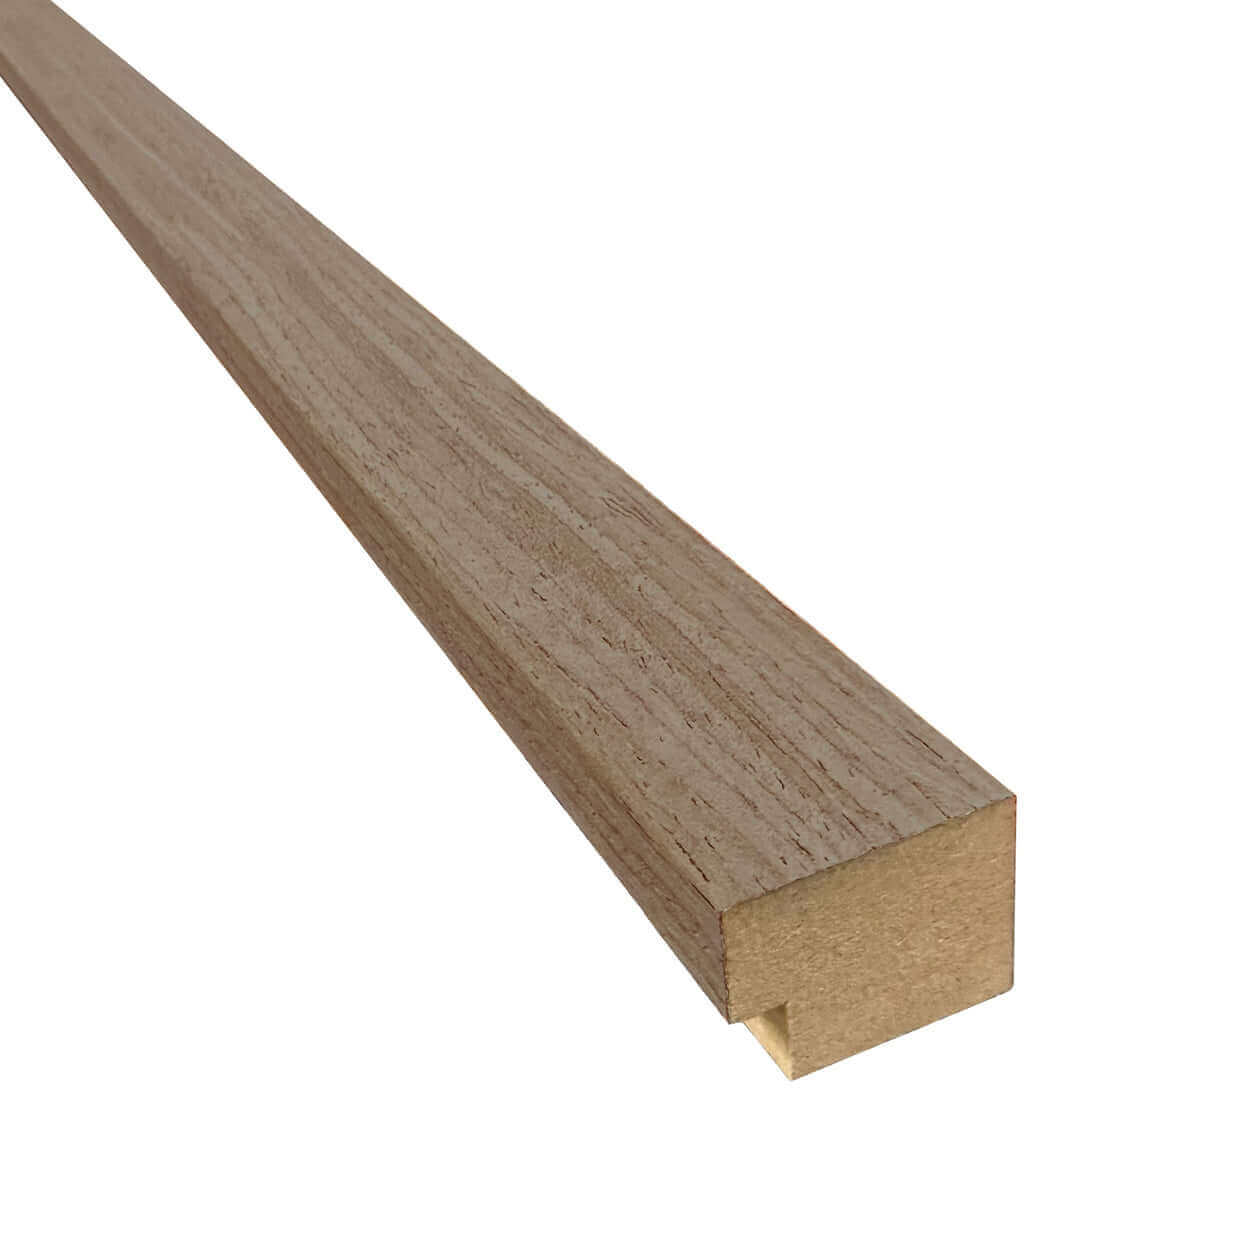
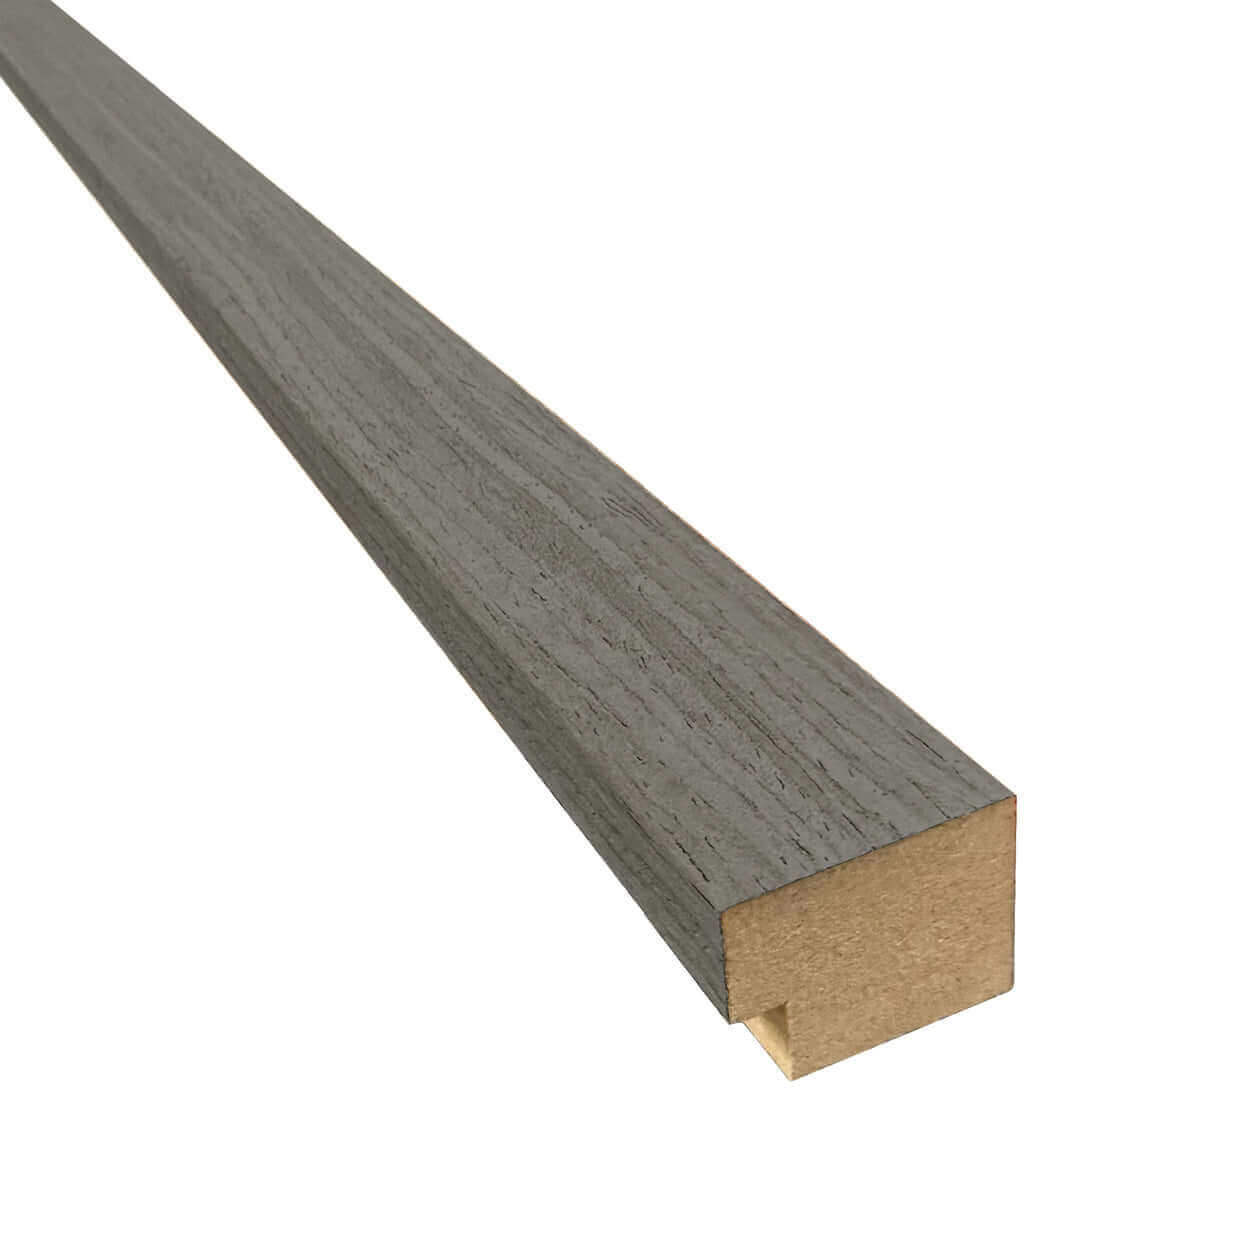
Complete your slat wood wall seamlessly and stylishly with our wood veneer end trim. Designed to complement our acoustic wall panels, this trim is available in five colours to perfectly match each panel in our range.
Product Specification
Recommended Accessories
Installation Using Adhesive
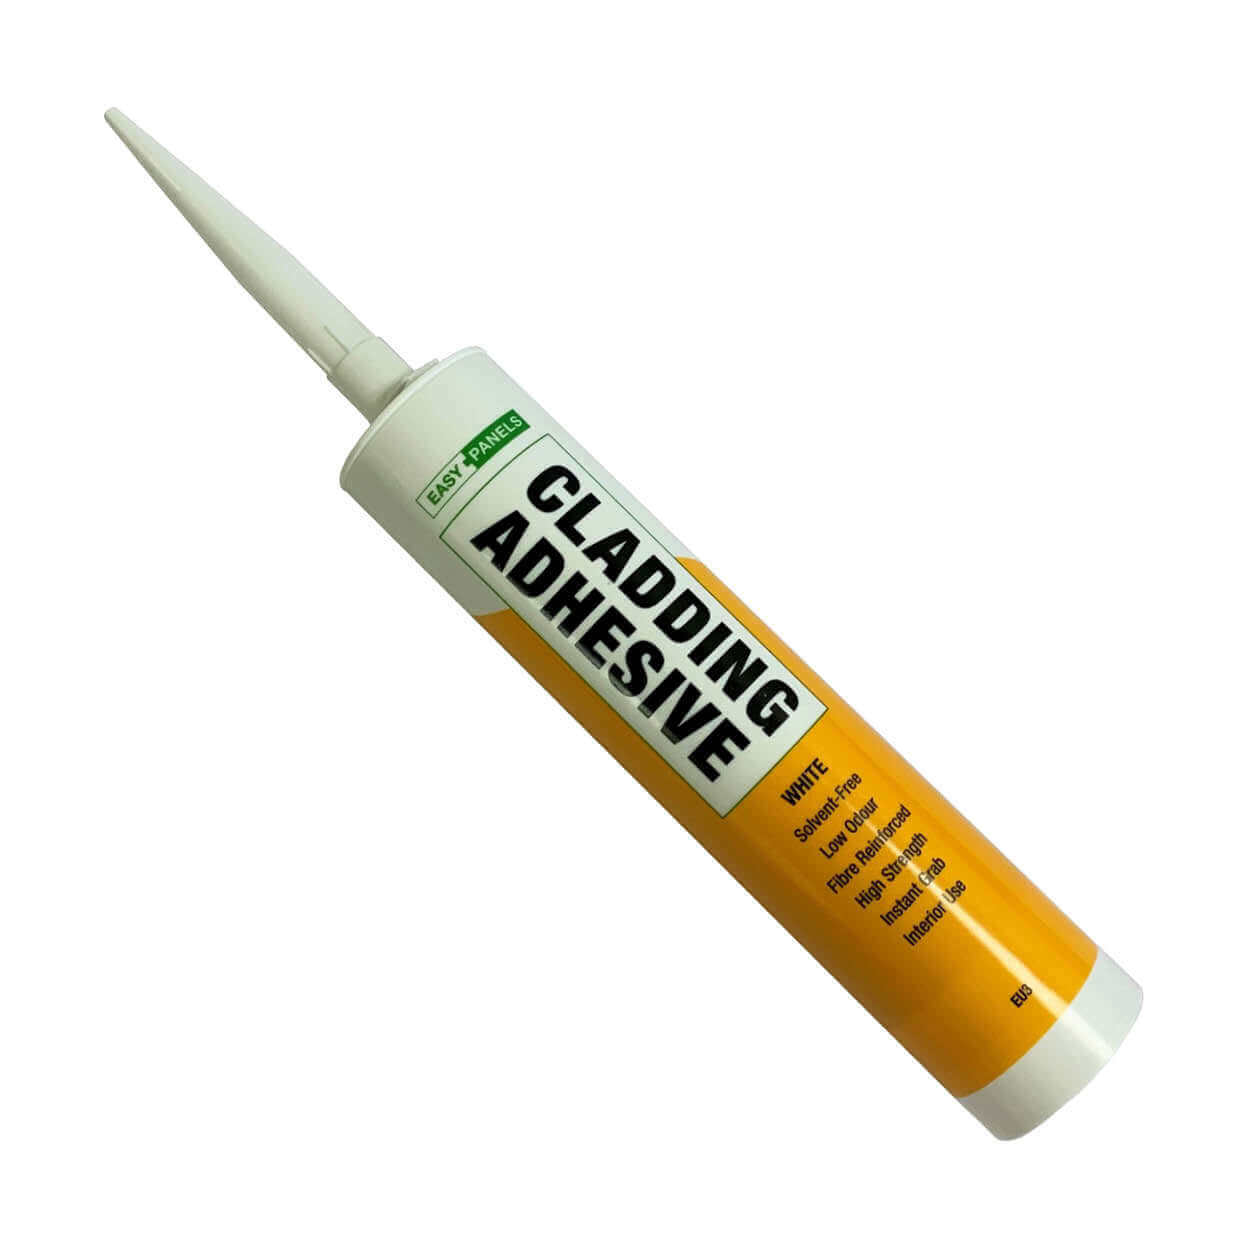
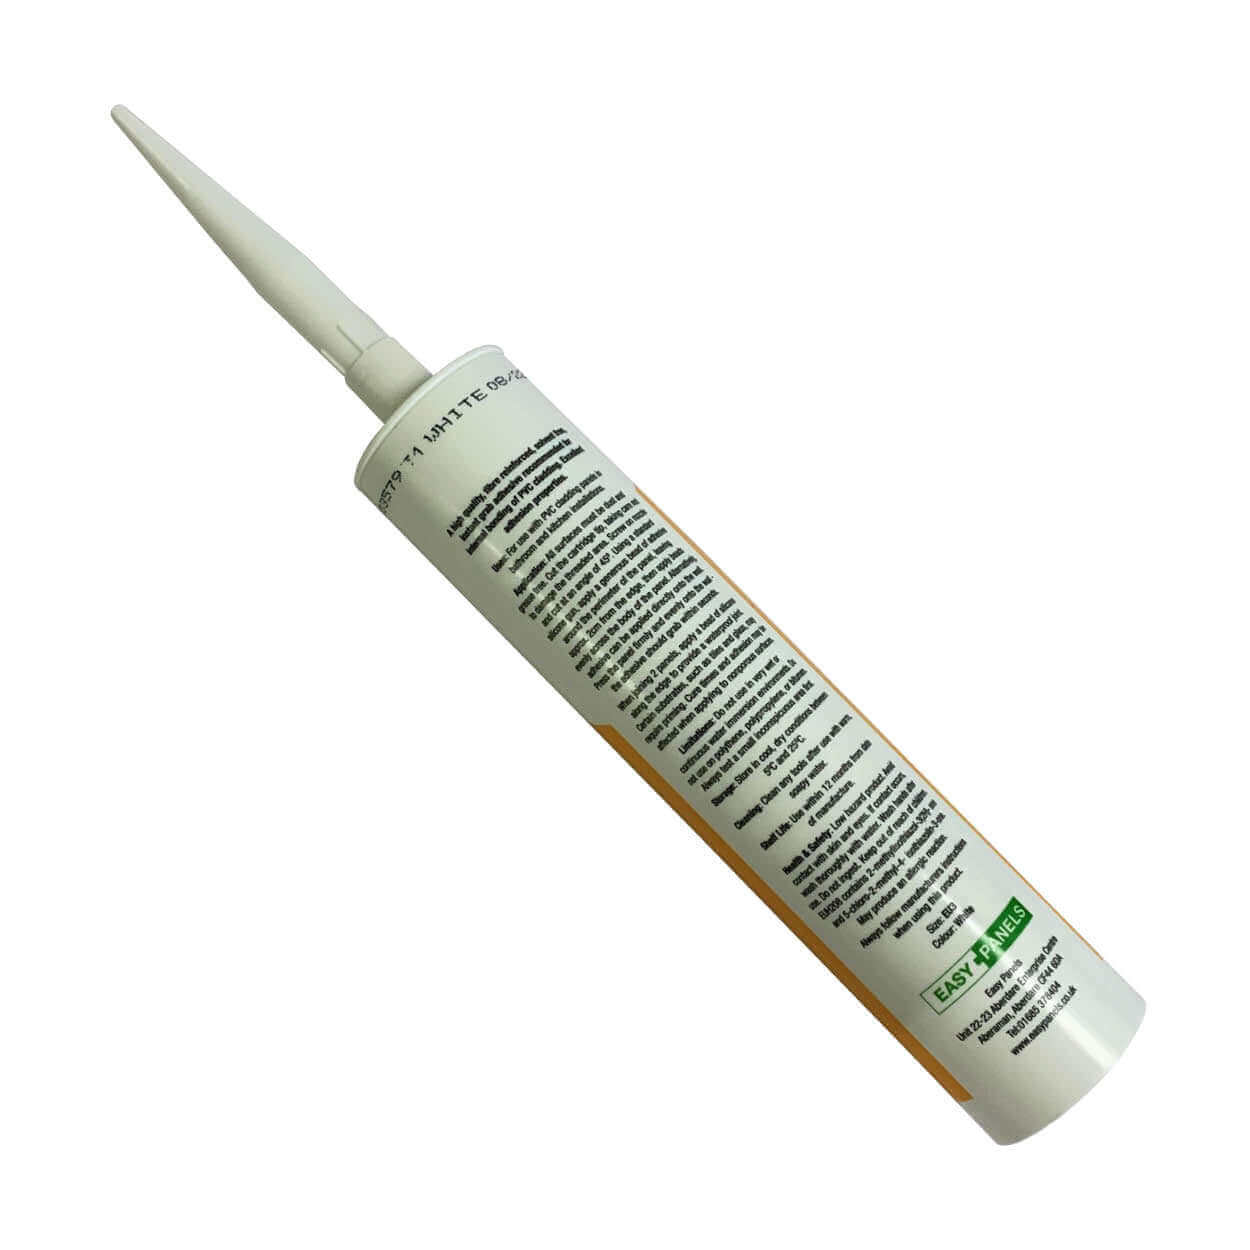
To fix the panels to the wall using adhesive, we recommend using Easy Panels High Strength Cladding Adhesive. You will need 1 tube for each small (1200mm) panel, and 2 tubes for each of the larger panels (2400mm/2600cm/2800cm).
Installation Using Screws
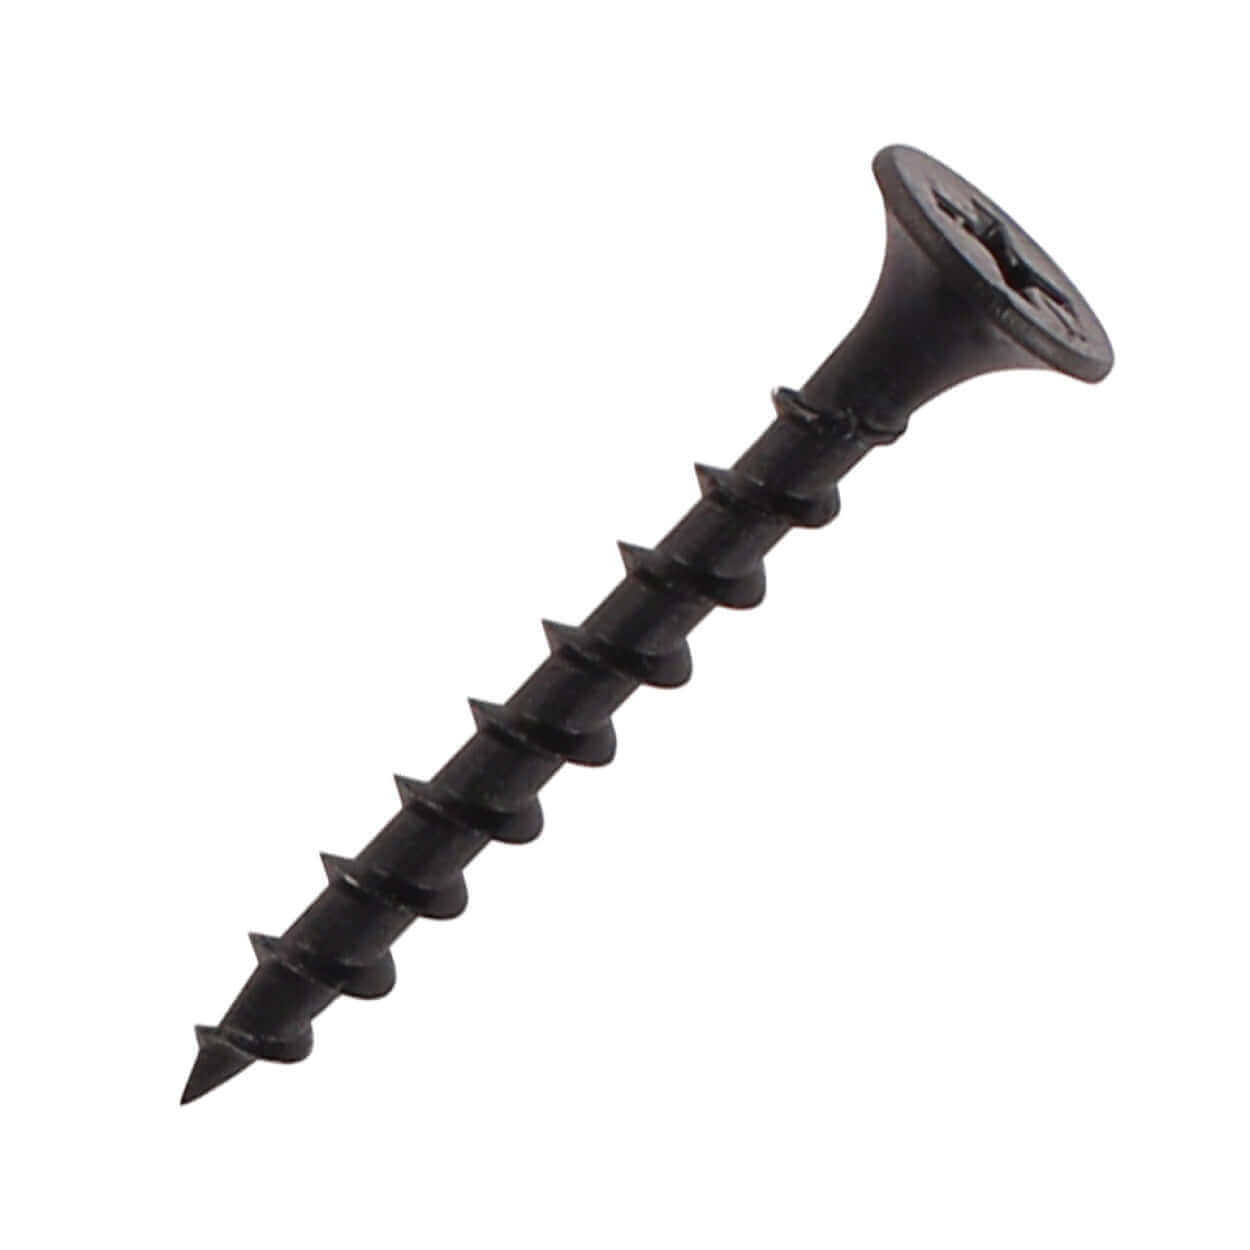
When screwing the panels to timber battens or plasterboard, we recommend purchasing a box of Black Drywall Screws.
To finish your panelling and hide the exposed edge of the black felt backing, you will need to purchase an End Trim.
These trims seamlessly finish your panelling to give the impression of a solid-wood edge.
Installation Advice
Pre-installation Advice:
- Please inspect all items following your delivery to ensure they meet your expectations. Any damages, defects, or returns, must be reported with 14-days of delivery.
- Prior to installation all panels must be stored flat, resting on a surface that supports the entirety of panel to prevent any bowing. Do not store externally; the area must be dry with low humidity levels.
- Our wood-slat wall panels are not suitable for damp environments, areas with high humidity, or direct water contact. For this reason, they should not be installed in bathrooms.
- This product is not intended for outdoor installations.
- The panels are manufactured from natural wood veneers and some variation between the colour and grain is to be expected.
Installation Advice
Our wood-slat panels are suitable for horizontal or vertical alignment and have been designed with easy installation in mind.
You can mount the panels to most interior surfaces including brick, concrete, plasterboard, and battens - providing the substrate is sound, dry and dust-free. Simply secure using either a high-grab adhesive or black screws.
To fix the panels to the wall using adhesive, we recommend using Easy Panels High-Strength Cladding Adhesive. You will need 1 tube for each small panel (1200mm), and 2 tubes for each of the larger panels (2400mm/2600mm). Apply the adhesive liberally to the reverse of the panel in a vertical zig-zag formation before securing it in place. To prevent the adhesive exuding, maintain a distance of around 50mm from the panel edge.
When screwing the panels to timber battens or plasterboard, we recommend purchasing a pack of black drywall screws and fixing through the felt base at 200mm intervals across the width, and 800mm intervals down the length of the panel. Ensure outer screws are kept at least 50mm away from the edge of the panel. Black screws provide a discreet fixing against the black felt backing.
If you are wanting to install the panels over wallpaper, we’d suggest screwing them to the substrate. Wallpaper paste cannot guarantee to provide the necessary strength required for the wood panels to adhere to.
If you want to enhance the acoustic performance of the panels, we recommend installing onto 45mm battens and using a sound insulation material (i.e. mineral wool) to fill the area between the battens and the panel. Our panels are supplied with a sound absorption coefficient of 0.3 prior to any enhancements.
To begin installing your panels, align them from left to right along your wall, ensuring the felt lip is on the right and the first wooden-slat is flush with the edge of the wall. The lip on the felt base has been designed to interlock seamlessly with the adjoining panel to disguise any joins and present a flawless finish.
When cutting your wood-slat panels to size, we advise using a fine-toothed handsaw for higher precision in place of powered tools. A finer cut will help to eliminate any spurs and splintered edges. A sharp Stanley knife can be used to slice the felt vertically.
To install lightweight fixtures, such as picture hangings, you will need to pierce the felt backing and affix to the substrate. Do not use the wooden-slats on the panel to support any decorative fixtures. For heavy fixtures, such as TV mounts or shelving, please install these prior to fitting the panels and later cut the panel to accommodate such features.
To finish any exposed edges on the panel, we recommend purchasing and installing our End Trim. These finishing trims are available in a range of colours to match your chosen panel and they will hide the exposed edge of the black felt backing, giving the impression of a solid-wood edge.
Aftercare
All panels must be stored flat in a dry area prior to installation.
To keep your panels looking great, use a soft and dry lint-free cloth that will preventing scratches while capturing dust particles. A telescopic duster can also be used to manage those hard-to-reach areas! Avoid using rough materials or any moisture on the panels. If preferred, you can vacuum the recess between the slats using a slim end attachment to capture the nooks where dust tends to accumulate.
What tools might I need?
- Pencil
- Tape measure
- Spirit level
- A fine-toothed handsaw
- Stanley knife
- Protective mask and safety glasses
- High-grab adhesive and caulking gun
- Black drywall screws and power drill/driver
Delivery & Collection Info
Home Delivery (England & Wales) available
or
Collection (South Wales) available from:
Address: Easy Panels, Robertstown Industrial Estate, Wellington Street, Aberdare, CF44 8HD.
Please note: For sat nav directions, please use the postcode CF44 8EZ.
Find us: Google Maps or What3Words.
Click here to view our Delivery Policy
Samples
While we don’t offer samples for any of the trims on our website, we can provide samples of the panels. If you would like to order a sample of our Wood Slat Acoustic Wall Panels, please click here.
Important Info
- Panel colours may vary between batches due to manufacturing and procurement processes.
- Please ensure you purchase enough panels for your project. We cannot guarantee to match batches between different orders. If you require an exact match, please keep a note of the batch numbers that appear on your packaging so we can check availability and try our best to assist you.
- All measurements provided are approximate.
- PVC panels are classified as building materials and by default are not supplied with edge-to-edge printing along the top and bottom of the panel. You will need to cut the panel to size, eliminating the corrugated edges at either end. This is not a manufacturing defect. An allowance of up to 20mm is required to accommodate this process.
- Please read the fitting instructions in their entirety before installing the product.
- Product images are for illustrative purposes only and may differ slightly from the actual product.
- PVC panels must not be exposed to UV light, both direct and indirect sunlight.
- Always store products flat, resting them on a surface that supports the entirety of product to prevent any bowing.
- Profiles and joint trims are sold separately.
- We strongly recommend that you do not book a fitter or tradesperson until you have received your delivery and are happy with your order. We cannot be held responsible for any third-party costs or charges incurred due to non-delivery of an order, or orders that have not been checked following delivery.
- All deliveries require someone present to sign for and take receipt of the goods. We will not leave goods in a ‘safe place’ without express prior consent.

