Have you ever found yourself in the dark after a bathroom light suddenly burns out? It can be frustrating, especially when you're not sure how to replace it. Fortunately, changing a bathroom downlight bulb is a simple task when you have the right tools and know what to expect. Whether you're dealing with LED or halogen downlights, understanding the type of fitting and taking proper safety precautions is key. Here’s a step-by-step guide to help you replace your bathroom downlight bulb safely, quickly, and efficiently—no electrician required.

What’s a Downlight Bulb?
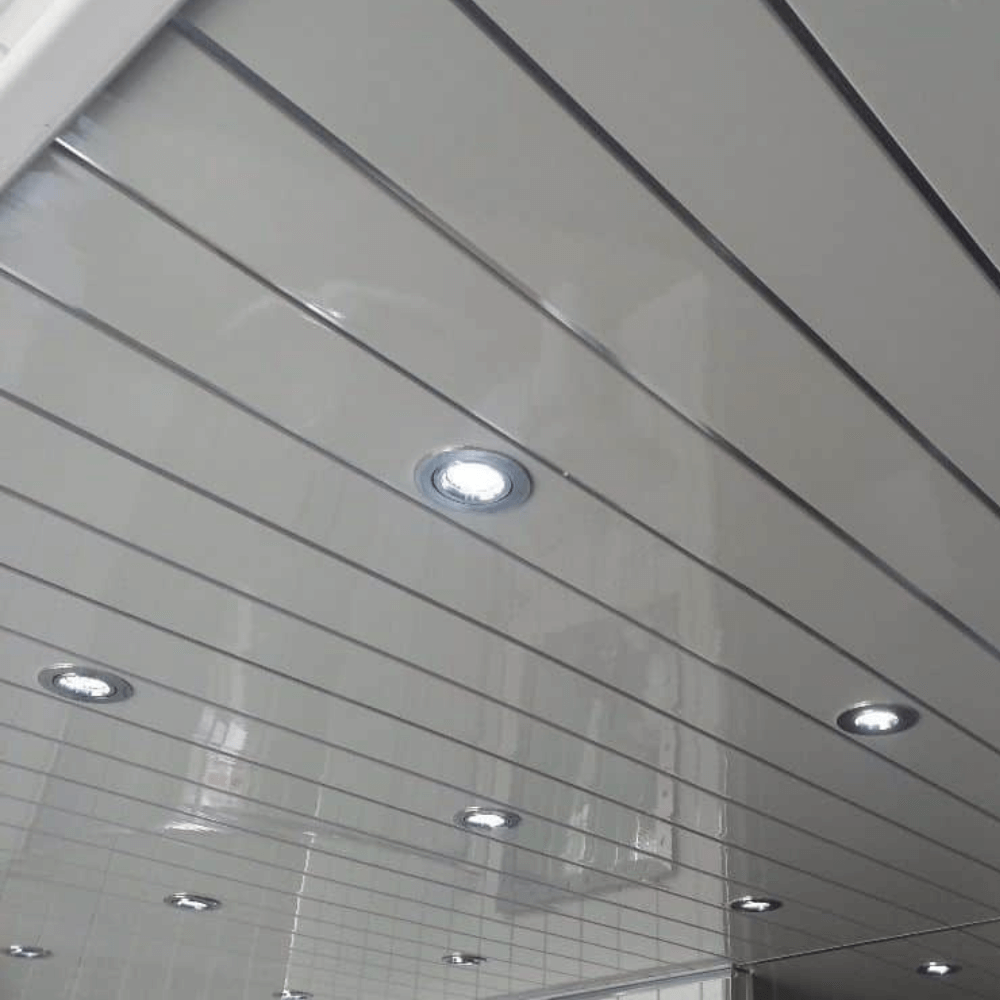
A downlight bulb is a ceiling fixture that directs light downward to illuminate the area below. These bulbs are larger than typical home light bulbs and are commonly used in both commercial and residential spaces. Downlight bulbs can vary in size and type, including conventional and LED options. If unsure about your bulb type, check the base for the manufacturer's name or model number.
A downlight bulb is a ceiling fixture that directs light downward to illuminate the area below. These bulbs are larger than typical home light bulbs and are commonly used in both commercial and residential spaces. Downlight bulbs can vary in size and type, including conventional and LED options. If unsure about your bulb type, check the base for the manufacturer's name or model number.

Why Choose Downlights?
Downlights are popular in modern homes for their sleek design and ability to highlight specific areas, such as bathroom vanities and shower enclosures. They provide a bright, focused light ideal for contemporary bathrooms and kitchens. In kitchens, downlights can be used under cupboards to create a modern aesthetic and illuminate workstations.
Tools & Equipment Needed
Before starting, gather these items:
- Screwdriver
- New LED light bulb
- Ladder or step stool
- Towel
- Safety glasses

Steps to Change the Downlight Bulb
-
Turn off the power: Ensure the light switch is off to avoid any electrical hazards.
-
Unscrew the light bulb: Allow the bulb to cool for 20-30 minutes if it was previously on. Using a ladder, reach the light fixture and gently wiggle the old bulb out of its socket. If clamps are holding the bulb in place, carefully release them to remove the bulb.
- Install the new LED bulb: Insert the new bulb into the socket, ensuring the clamps are securely fixed in place. Most downlight sockets allow for easy removal and replacement without tools, but some may require a screwdriver. If your fixture has screws, loosen them to remove the old bulb, then tighten them after installing the new one.
Cleaning Up
After replacing the bulb, some dust may fall from the fixture. Laying a towel down beforehand can minimise any cleanup. Wipe the area with a cloth if needed. For more bathroom cleaning tips, refer to our helpful bathroom cleaning guide.