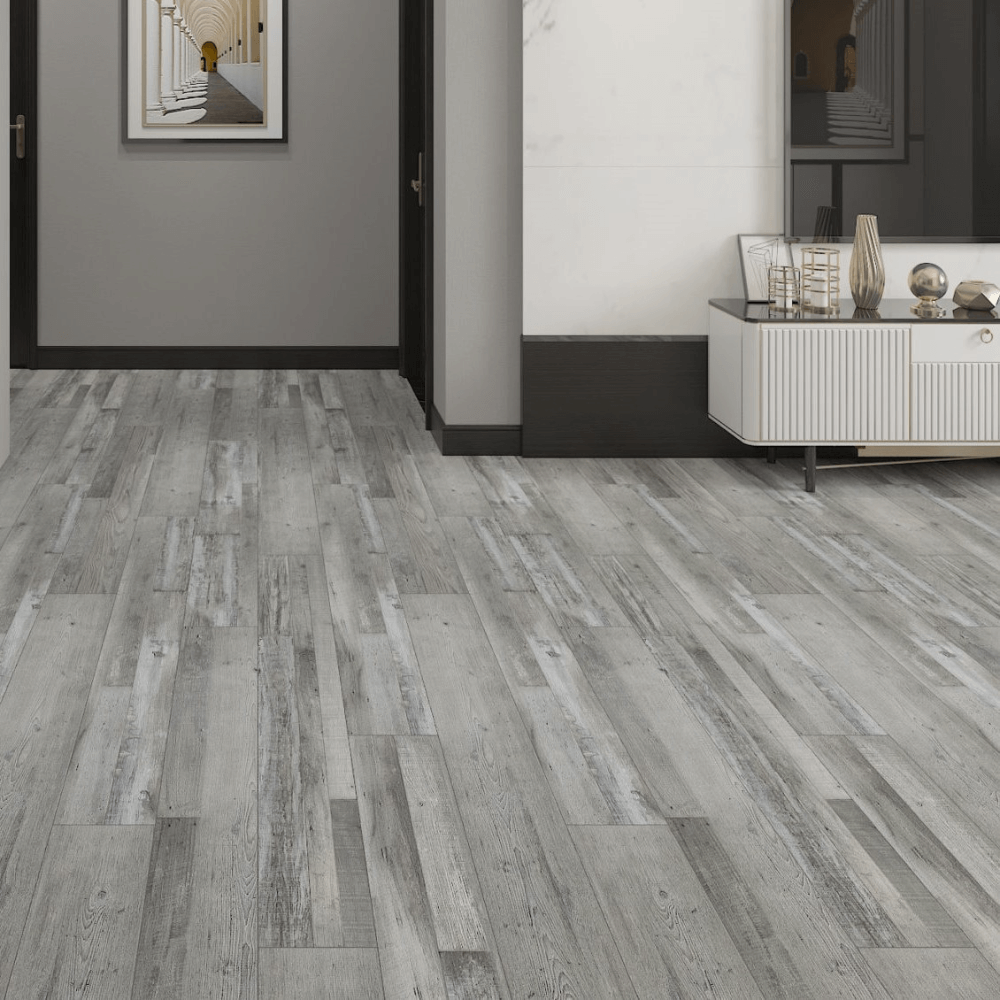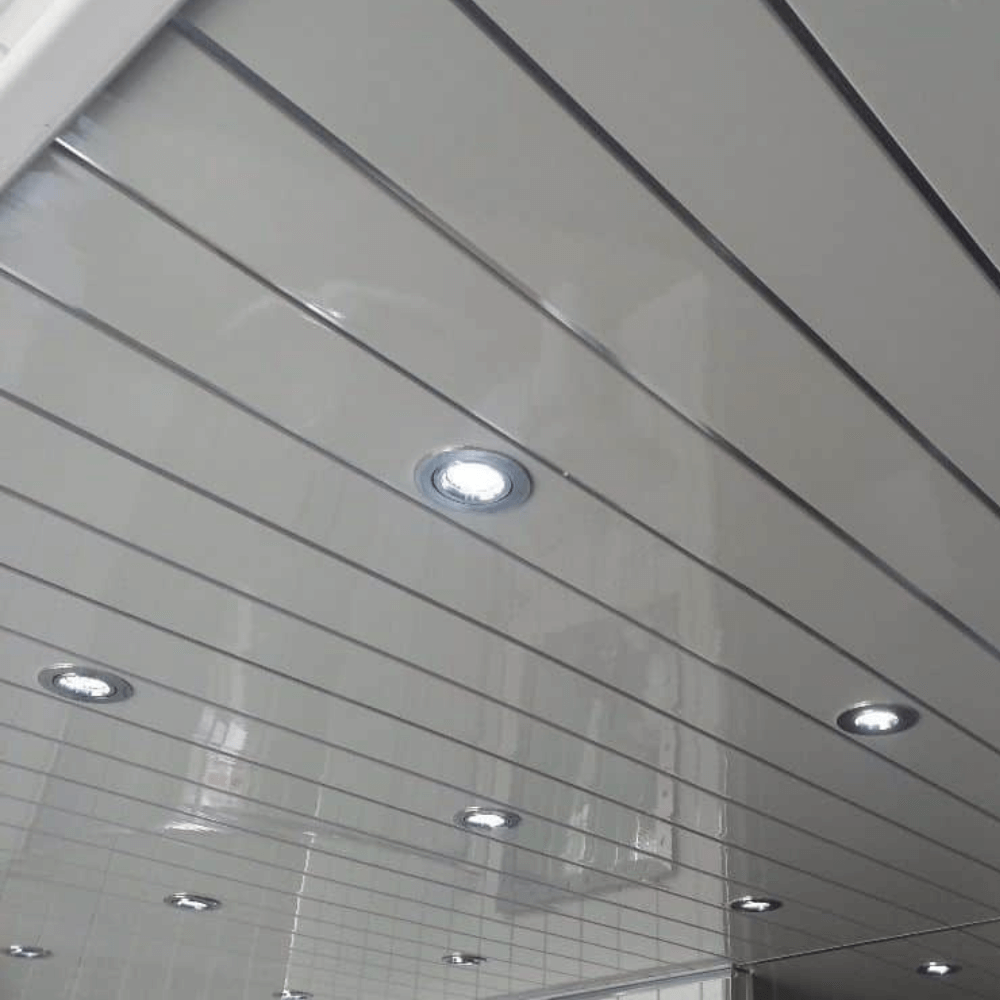

All good. easy to install

We offer FREE delivery on orders of £120 and above across Mainland England and Wales. Standard delivery on orders under £120 is charged at £24.99. Deliveries take 3 to 6 working days, depending on your location. Orders are processed the first working day after the initial purchase.
All deliveries are handled by our own team of professionals — we do not use external couriers, ensuring your panels arrive safely and on time.
For full details, please see our Delivery Policy.
All the products on Easy Panels are available for immediate pickup from our stores in Aberdare, South Wales and Bournemouth. Simply select "Pickup in Store" during checkout. More info here.
Looking for some free decking samples? Just fill out our Sample Request Form and you can order two WPC Cladding Board samples, along with shower and bathroom wall panel, flooring, composite decking, WPC cladding and 4mm solid core panel samples for free!
We also have acoustic panel samples and Aquaguard samples, but there is a postage charge of £3.60 due to the weight and size of the samples.
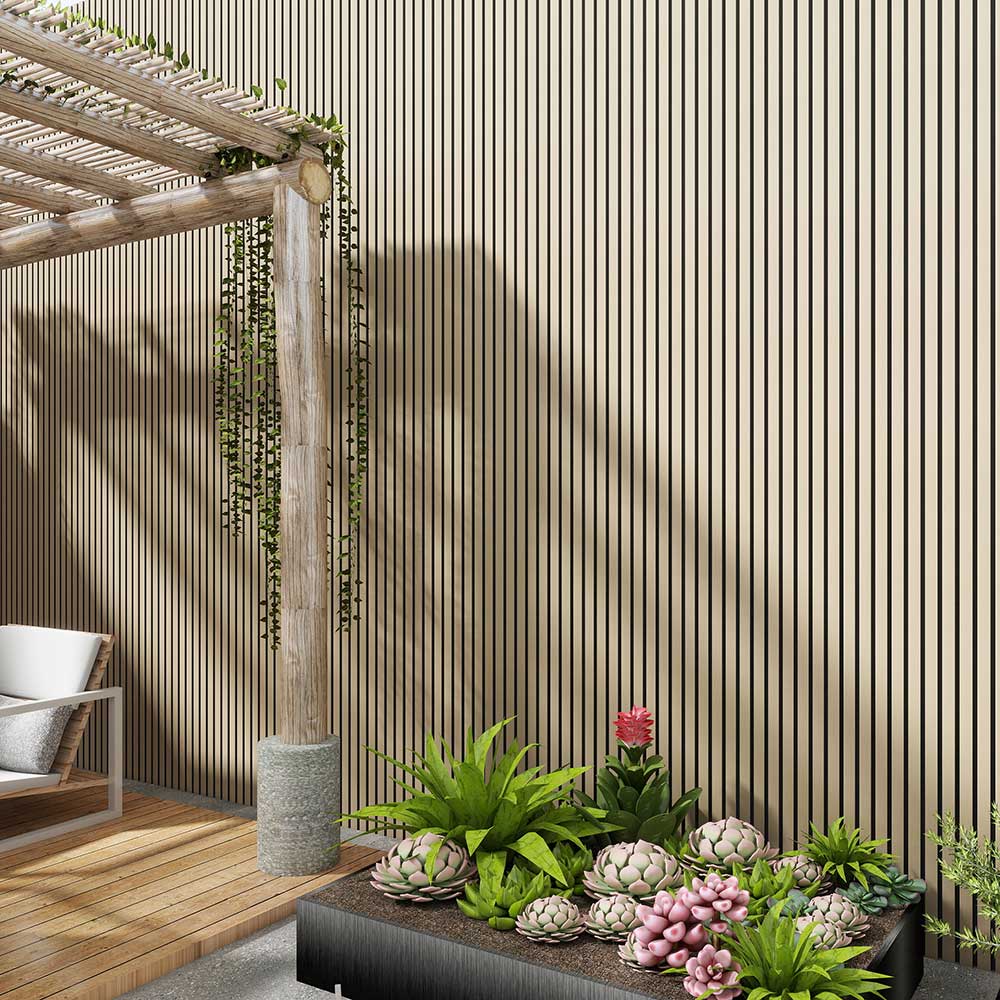
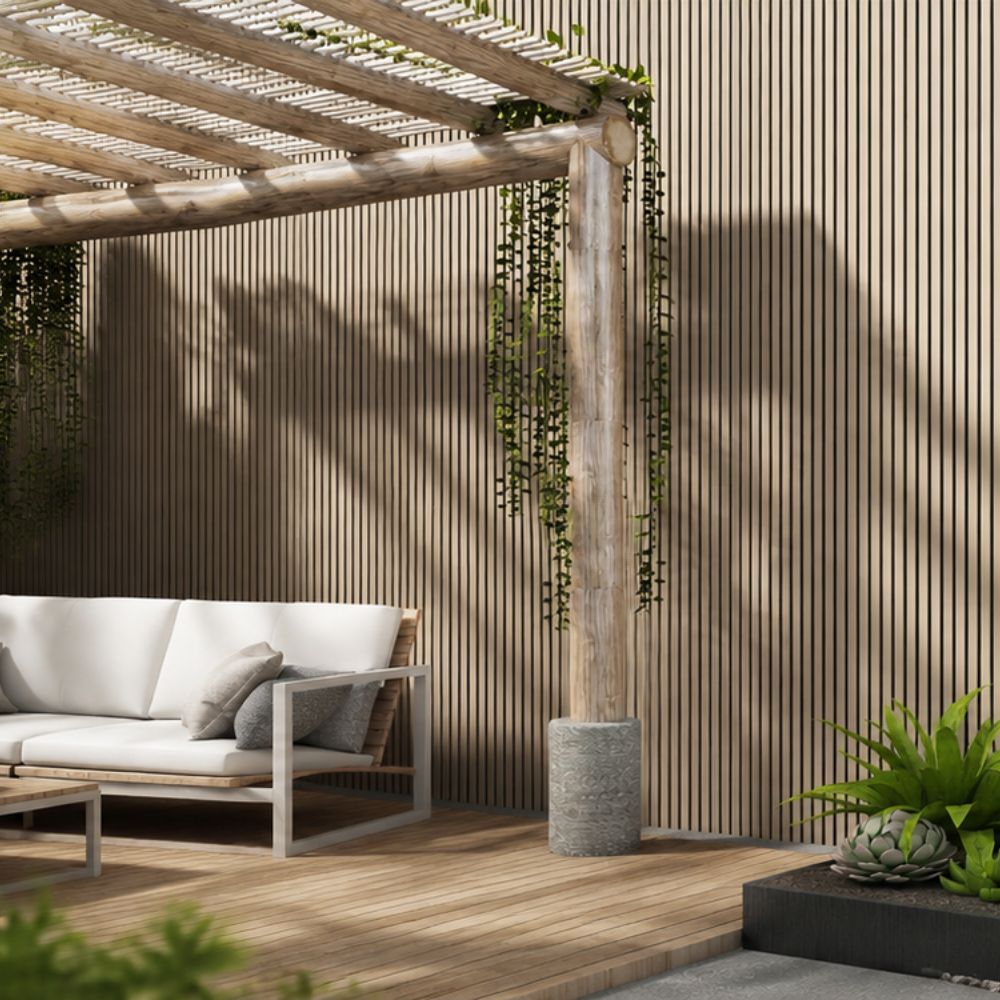
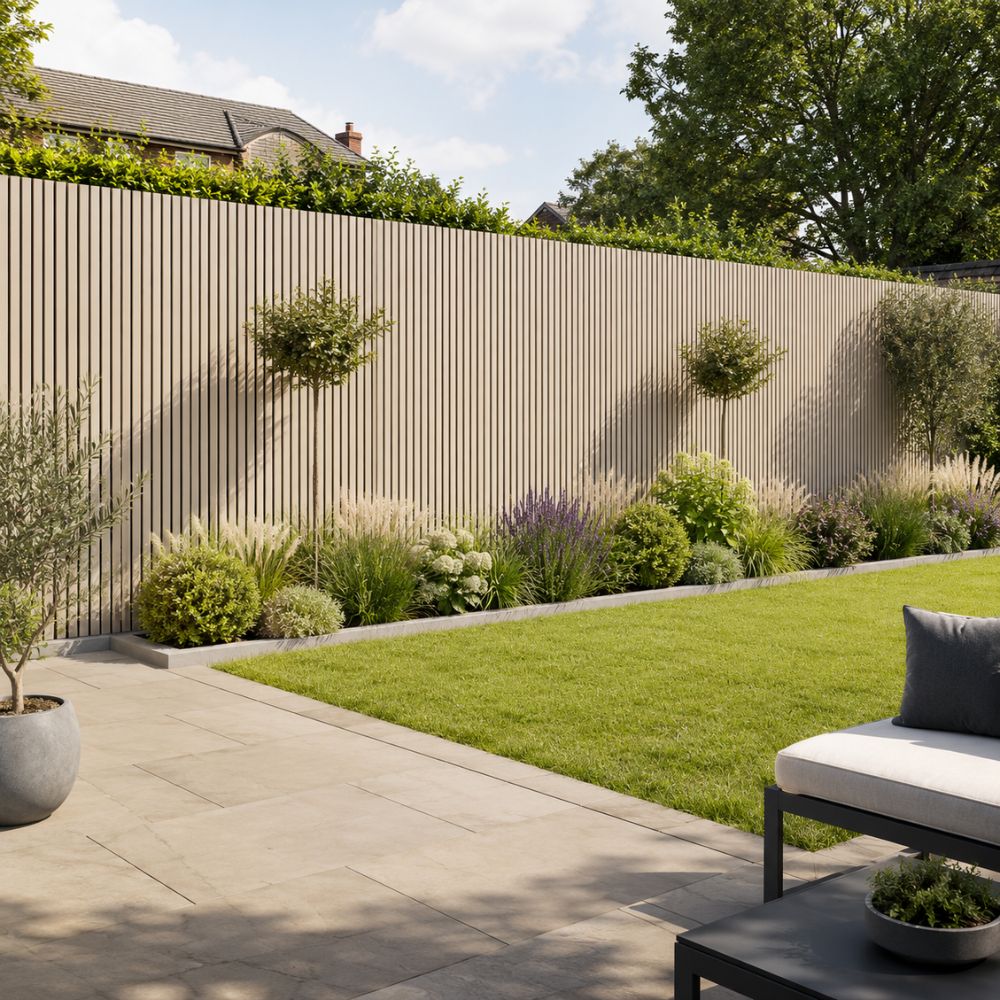
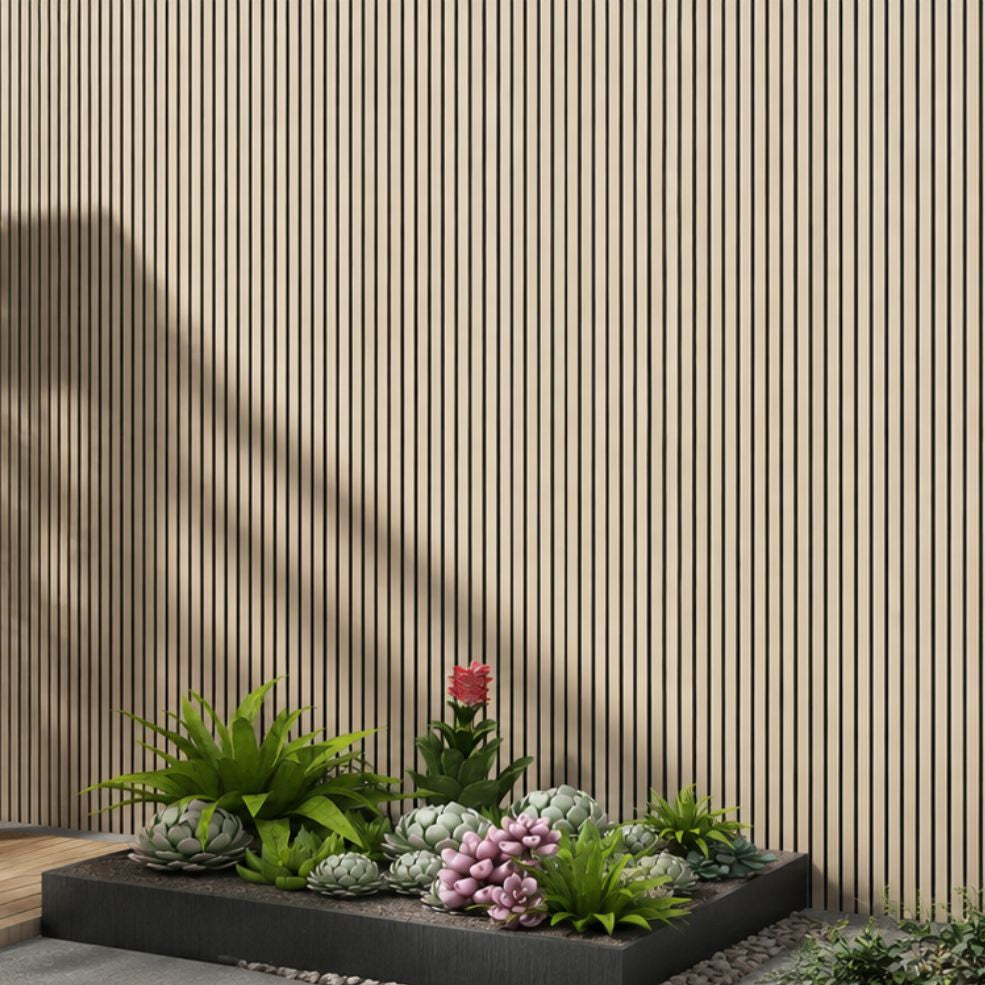
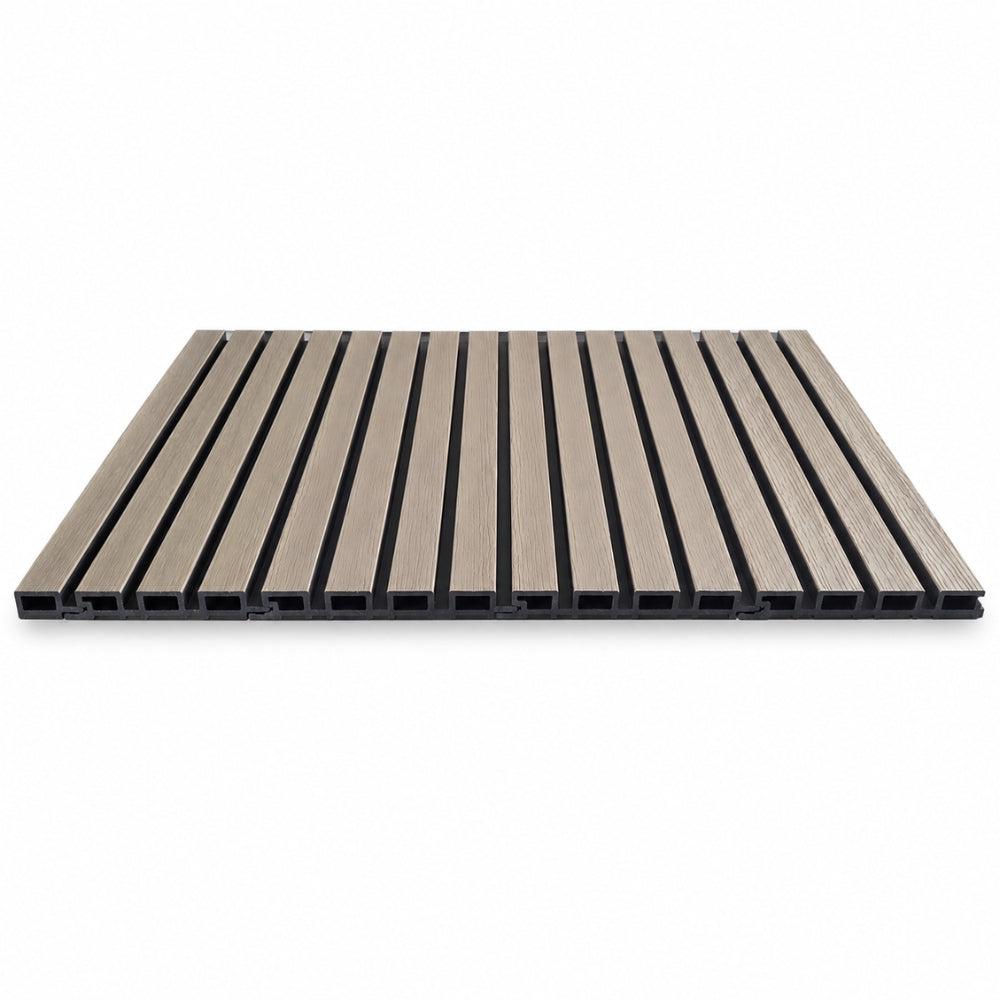
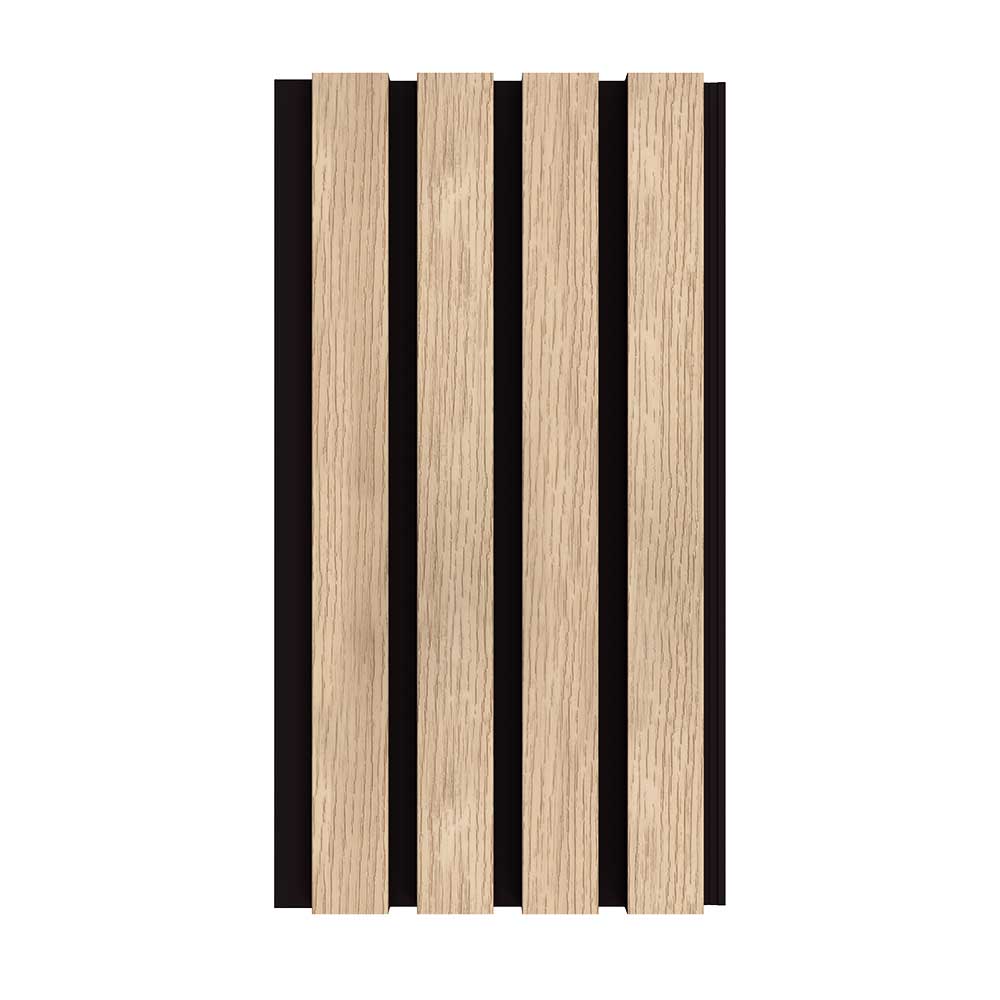
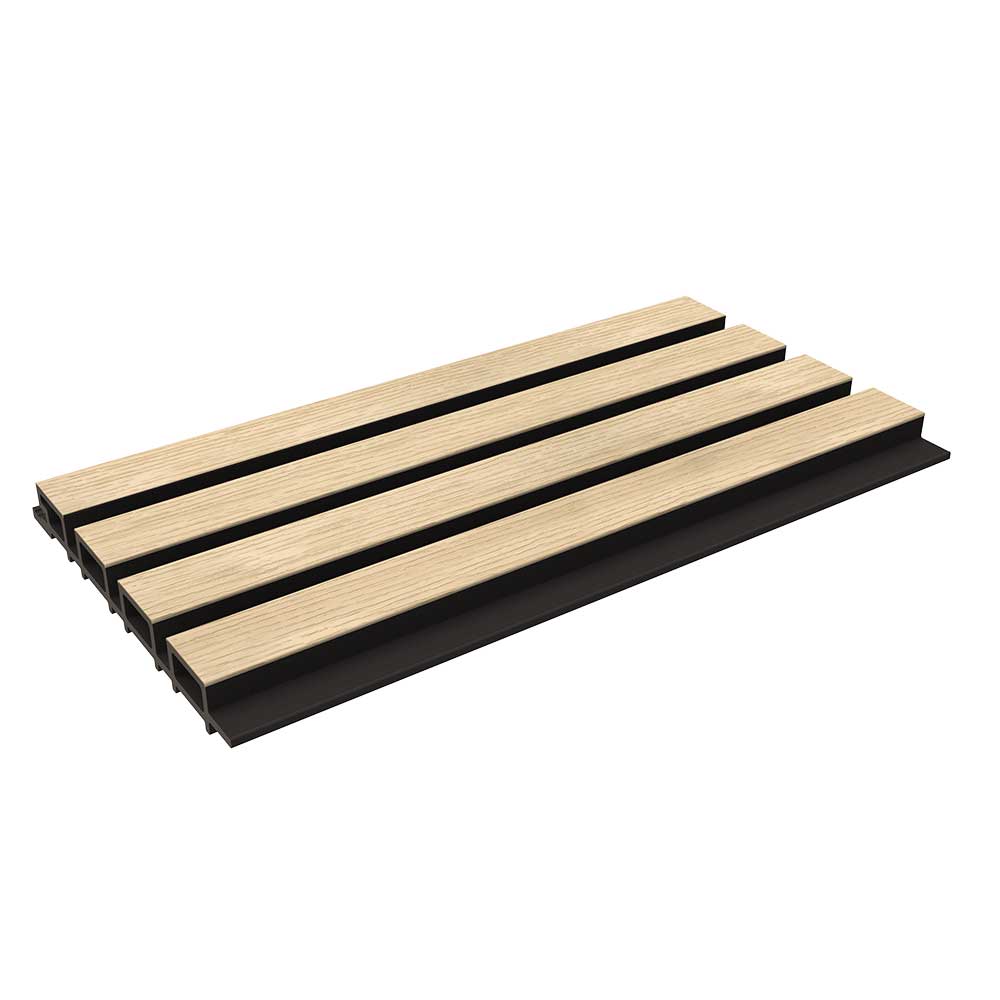
Our 2.6M Light Brown WPC Internal & Exterior Wall Cladding delivers a contemporary slatted finish that brings warmth, depth and architectural interest to any exterior or interior space. Combining the natural look of timber with advanced composite construction, it’s designed to transform façades, garden rooms, and more with a clean, modern aesthetic.
Made from a durable wood–plastic composite, it offers excellent resistance to weathering, rot, fading and insect damage, ensuring long-lasting performance in all conditions. The slatted profile creates a striking, high-end look, while its low-maintenance design means no painting, staining or sealing is required – giving you a hassle-free, long-term solution for exterior cladding
Key Features
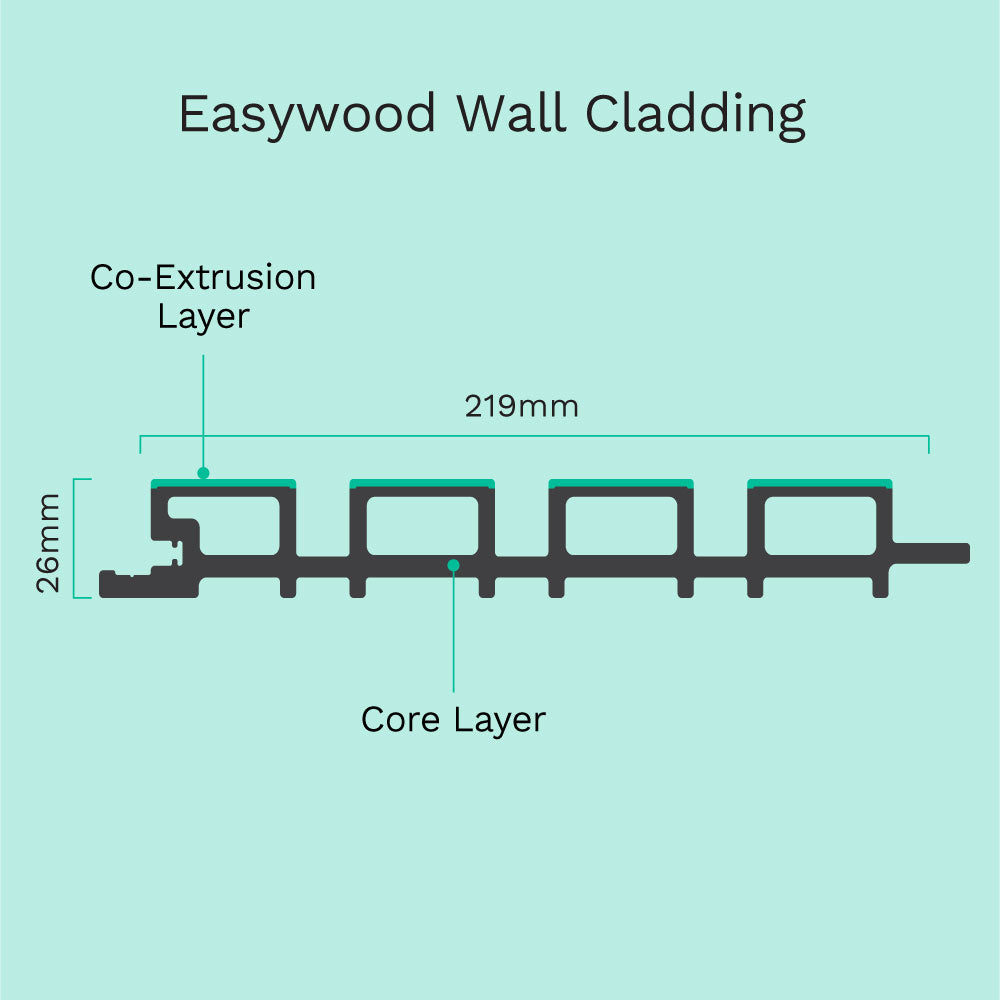
Dimensions: Length: 2.6M x Width: 219mm x Depth: 26mm
Installed with our Light Brown WPC Cladding Trims.
You may need:
Always use fixings that are appropriate for the wall construction and expected wind loading.
This guide explains how to install our 2.6m WPC Exterior Wall Cladding Boards and matching trims. It is intended as general guidance for competent DIY installers and tradespeople.
WPC expands and contracts as temperatures change, so correct ventilation, support spacing and expansion gaps are essential. The cladding must not be fixed directly against the wall or installed so tightly that the boards cannot move.
Important: Every building and installation is different. Check that the wall, fixings and supporting framework are suitable for the intended application. For large elevations, exposed locations, buildings subject to fire regulations or installations above ground-floor level, consult a qualified installer or building professional.
You may need:
Always use fixings that are appropriate for the wall construction and expected wind loading.
Store the boards:
Do not store the boards leaning against a wall for extended periods, as this may cause them to bow.
Allow the boards to acclimatise near the installation area before fitting. Some composite-cladding manufacturers recommend approximately 48 hours, although the exact requirement depends on the product and conditions.
The supporting wall must be:
The WPC cladding is a decorative rainscreen finish. It should not be relied upon as the building’s primary waterproof barrier.
Any required breathable membrane, flashing, cavity barriers or insulation should be installed before the battens and cladding.
Before fixing anything, determine:
Measure the wall carefully and plan the layout to avoid leaving a very narrow cut board at the final edge.
The battens must run in the opposite direction to the cladding boards.
This provides regular support across the back of every board.
Where horizontal battens are used, the cavity must still allow water to drain and air to circulate vertically. Counter-battens or suitable drainage and ventilation breaks may, therefore, be required.
As a general starting point, install battens at a maximum of approximately the following:
Also position battens:
Published guidance varies considerably by WPC profile, with some systems specifying approximately 300mm centres and others allowing up to 500mm. Your final batten spacing should therefore be confirmed with the board manufacturer or supplier, particularly for exposed exterior elevations.
Use additional battens in areas subject to increased wind loading.
Do not install the cladding directly against masonry, render, insulation or membrane.
Maintain a continuous ventilated cavity behind the boards. A cavity of approximately 20mm to 25mm is commonly required for exterior composite cladding systems.
The cavity should:
Use suitable ventilated profiles or insect mesh where required, without preventing airflow.
WPC moves naturally as temperatures rise and fall. Never install the boards tightly against walls, trims, roofs, paving, window frames or other fixed objects.
Unless your product-specific technical information states otherwise, allow approximately the following:
Several composite-cladding systems specify an end-to-end expansion gap of at least 5mm.
Do not fill required expansion gaps with rigid adhesive or sealant.
Expansion requirements vary according to board composition, board length and installation temperature. Confirm the final gap with your supplier before publishing it as a fixed warranty requirement.
Use a tape measure and spirit or laser level to mark:
Make sure the starting line is completely level. Any error in the first board will become more noticeable as the installation continues.
Where the cladding begins close to the ground, leave enough clearance to prevent standing water, soil, vegetation or splashback from constantly contacting the boards.
Position the first batten at the edge of the installation area and secure it to the wall using appropriate fixings.
Continue fitting the remaining battens at consistent centres.
Check that:
Use packers where necessary to create an even fixing surface. Do not force flexible boards over an uneven framework.
Leave small breaks where required for drainage and ventilation rather than creating enclosed sections that can trap water.
Install any trims that need to sit behind the cladding before fitting the first board.
Depending on the design, this may include:
Fix trims into the supporting battens rather than only into the cladding boards.
Keep all trims straight and allow the required expansion clearance between the board ends and the inside of the trims.
Use external corner trims where two clad walls meet at an outside corner.
Make sure:
Use L trims to:
Where possible, cut trim corners using neat mitre joints.
Use starter trims at the beginning of the cladding layout or where the product profile requires an enclosed starting edge.
Set the starter trim perfectly level, as it controls the alignment of the boards that follow.
Measure the required length at more than one point, as walls and openings may not be perfectly square.
Mark the board and cut it using a fine-toothed blade suitable for composite material.
Support the board on both sides of the cut to prevent vibration or damage.
Wear suitable eye and respiratory protection. WPC cutting dust should not be inhaled.
After cutting:
Place the first board into the starter trim or against the marked starting position.
Check that it is:
Fix the board through the designated fixing flange or concealed fixing area.
Where screws pass through the WPC:
The screw head should hold the board securely without crushing, distorting or clamping the profile so tightly that it cannot move.
Do not fix through the visible slatted face unless the system specifically requires it.
Engage the next board with the interlocking edge of the previous board.
Push it into position carefully, ensuring that:
Fix the new board into every supporting batten through its concealed fixing flange.
Continue across or up the wall, checking the alignment every few boards. Do not wait until the final board to correct a developing level or alignment problem.
A rubber mallet may be used gently with a protective block. Do not strike the board directly with a metal hammer.
Where two boards meet end to end:
Never bridge a butt joint with a single screw positioned too close to both board ends.
For the neatest finish, plan joints so that they align consistently or are positioned in less prominent areas.
Install additional battens around the full perimeter of openings.
Before cutting the boards:
Cut the boards neatly and finish the exposed edges using matching L trims or the appropriate perimeter profile.
Do not obstruct drainage channels, window weep holes, vents or air bricks.
Water must be directed away from the opening using properly installed flashing or weatherproof detailing. Decorative trims alone should not be treated as waterproof flashing.
Measure the remaining space and cut the final board to width where necessary.
Do not force an oversized board into the gap.
Fit the board while maintaining the appropriate expansion clearance, then secure it into the supporting battens.
Where the fixing flange has been removed during cutting, the final edge may need to be secured using the appropriate trim or another manufacturer-approved concealed fixing method.
Install the remaining external corner, L or finishing trims.
Check that:
Remove all cutting dust, protective film and installation debris.
WPC cladding requires very little routine maintenance.
For general cleaning:
Avoid:
Inspect the installation periodically and remove leaves or debris from the ventilation cavity and lower edge.
WPC cladding requires very little routine maintenance.
For general cleaning:
Avoid:
Inspect the installation periodically and remove leaves or debris from the ventilation cavity and lower edge.
Home Delivery (England & Wales) available
or
Collection (South Wales) available from:
Address: Easy Panels, Robertstown Industrial Estate, Wellington Street, Aberdare, CF44 8HD.
Please note: For sat nav directions, please use the postcode CF44 8EZ.
Find us: Google Maps or What3Words.
Click here to view our Delivery Policy
Overall rating: 5.0 / 5 from 3 reviews.
All good. easy to install

Simple to with loving it
Great panels, easy to fit and robust. This made finishing the garden room easy.