Top 7 Mistakes When Installing Shower Panels and How to Avoid Them
Time to read 4 min
Time to read 4 min
Shower panels are a leading choice for modern bathrooms, offering a sleek, grout-free alternative to traditional tiles. However, achieving that flawless, professional finish depends entirely on getting the installation right from the start. The appeal of shower panels lies in their ability to create a seamless, waterproof surface that is both stylish and easy to maintain.
While they are designed for a straightforward fitting process, the final quality hinges on avoiding a few common but critical errors. These small oversights can turn a simple project into a frustrating experience. This guide details seven frequent shower panel installation mistakes and provides clear, actionable advice on how to install shower panels correctly, ensuring a beautiful and long-lasting result you can be proud of.
Mistake: One of the most overlooked steps happens the moment your panels arrive. It is essential to inspect every panel for damage immediately upon delivery, before you even think about starting the project. Damage from shipping, such as cracks, chips, or deep scratches, can compromise the panel’s waterproof integrity or simply ruin the final look. Even a small flaw can become a major issue later.
How to Avoid It: Always inspect each panel thoroughly as soon as it arrives. Look for visible cracks, chips, or warping that might have occurred during transit. If you find any damage, contact your supplier immediately for a replacement. Addressing this early ensures a smooth installation process without surprises.
Mistake: Once you've confirmed your panels are in perfect condition, how you store them is just as important. A common error is to lean panels against a wall or leave them in a damp, cold, or excessively warm area. This causes the material to bow or warp, making a flush fit against the wall impossible. A warped panel creates unsightly gaps that not only look unprofessional but also make achieving a perfect waterproof seal extremely difficult.
How to Avoid It: Store panels flat on a level surface, away from any extreme temperatures, humidity, or direct sunlight. A dry, room-temperature environment is ideal. Keeping them flat prevents warping and ensures that the panels stay in pristine condition, ready for installation.
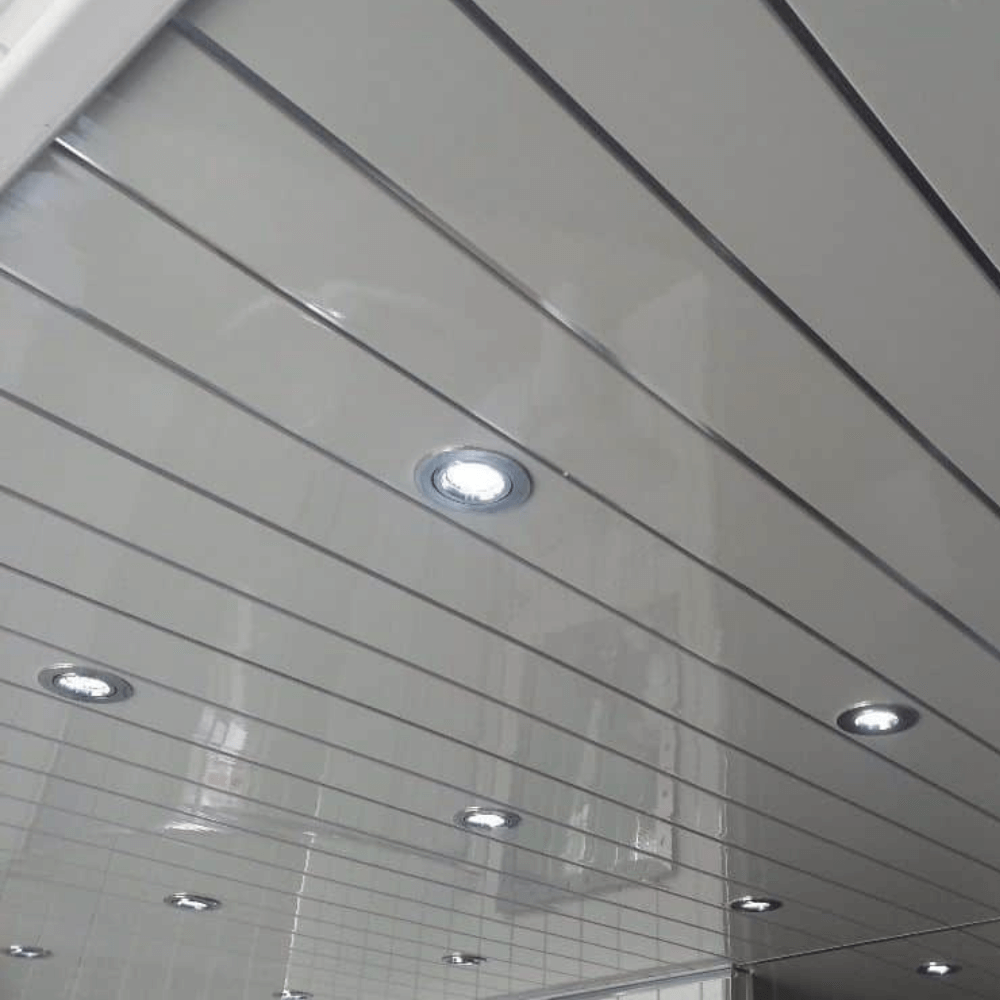
Mistake: Wall preparation is key to achieving a secure, long-lasting installation. Installing panels on an unprepared surface leads to poor adhesion and an unstable structure. Common issues include bumps, dust, grease, and old wallpaper, all of which can prevent a strong bond.
How to Avoid It:
If you’re installing panels in a kitchen, make sure they are not placed behind cookers, hobs, or any areas with an open flame or high heat. PVC panels are suitable for kitchens but should be kept away from high-heat zones to avoid warping or discolouration.
👉 We've written a blog post about how to ready your walls for shower panels!
Mistake: Before installation, your panels need to be protected from UV light and outdoor conditions. Leaving them in the sun or outdoors, even briefly, can cause fading or discoloration, ruining the aesthetic quality of your panels. Over time, UV exposure can also weaken the material, making it more prone to warping.
How to Avoid It: Always store the panels indoors in their packaging and away from direct sunlight. Keeping the panels out of the sun will protect the finish and maintain their strength and appearance.
Mistake: For panels with a pattern, alignment is everything. Many installers rush into cutting and fitting without considering how the pattern will align, resulting in misaligned seams that create an uneven, unprofessional look.
How to Avoid It: Always perform a "dry fit" before you start cutting. Lay out the panels on the floor to plan how they will line up. Ensure that the pattern flows continuously from one panel to the next, particularly with patterned designs like marble or stone-effect panels. This will create a much more polished and cohesive look.
Mistake: Using a coarse or unsuitable saw to cut shower panels is a common mistake that can lead to rough edges or chips in the material. A clean, smooth cut is essential for both aesthetics and functionality.
How to Avoid It: Always use a fine-tooth saw for the best results. A fine-toothed handsaw, jigsaw (with a fine-tooth blade), or circular saw with the appropriate blade will give you clean, precise cuts. For tricky areas like curves or holes, use a jigsaw with a fine blade. Applying masking tape along the cut line can help prevent chipping.
Mistake: While the tongue-and-groove (T&G) joint is designed to be watertight, many installers mistakenly apply too much sealant. Excessive sealant can overflow and create unsightly smears, ruining the panel's finish and making it difficult to clean.
How to Avoid It: Use a thin, continuous bead of sealant inside the "groove" of the panel, just enough to create a waterproof seal. Avoid overfilling, as excess sealant will spill over and damage the surface. By using a small amount, you can create an effective seal without ruining the aesthetic of your panels.
Installing Fixtures on PVC Panels: Bathroom fixtures and fittings can be installed on top of PVC panels, but it is important to remember that PVC panels are decorative, not structural . When installing such items, care must be taken to avoid compressing the hollow construction of the panel. All fixtures and fittings should be secured through the panel and into the substrate behind it for stability. For lightweight items , use appropriate screws or fixings and spacers to prevent crushing. For heavier items , ensure you have the appropriate support battens or substrate to accommodate the weight. Always seal pierced areas with silicone to ensure a watertight barrier, especially in high-water areas.
Installing shower panels may seem like a straightforward project, but it's easy to make small mistakes that affect the final outcome. By following these seven tips, you can avoid the most common pitfalls and ensure a flawless, professional installation. Proper preparation, careful storage, and the right tools will help you achieve a stylish, durable, and waterproof shower wall that will last for years to come. Happy installing!