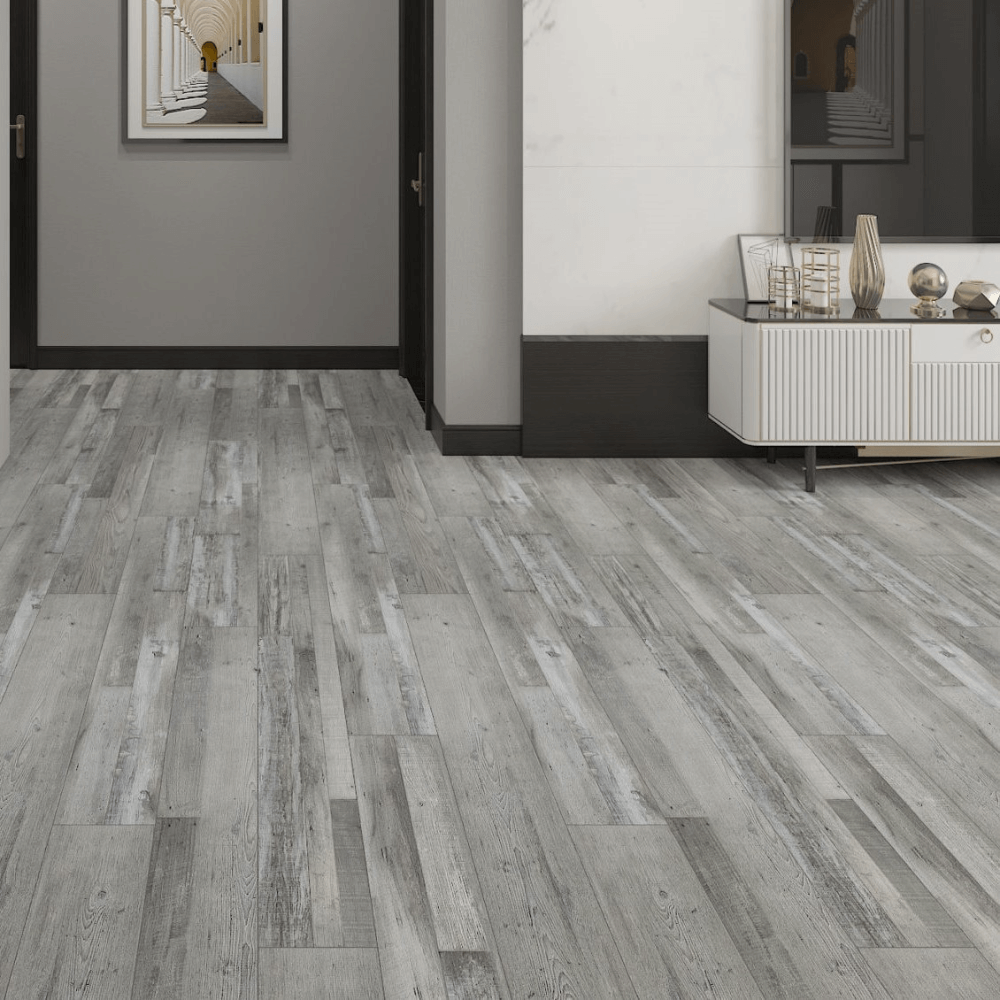
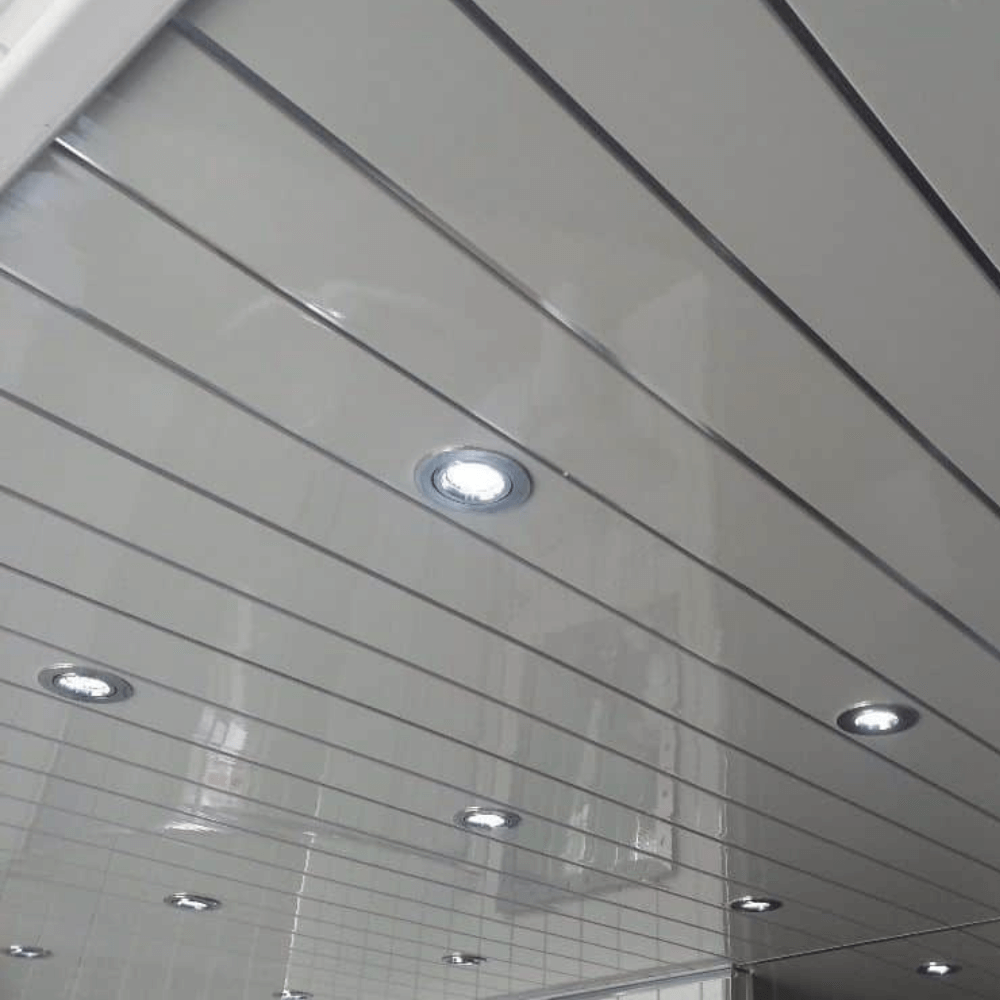
Shower panels provide an attractive and practical solution to uplifting your bathroom interior. Available in a variety of colours, styles, and finishes, there are many options to choose from to help you create the ideal bathroom style for you. These versatile panels can truly transform your bathroom, and installing them is straightforward once you know how.
From preparing the room before installation, to correctly applying the panels based on the surface, and ensuring proper care afterwards, there are several key factors to consider for the best results. In this guide, we’ll walk you through the shower panel installation process step-by-step, leaving you fully equipped to complete the job with confidence.
How Do You Prepare a Shower Wall for Panels?
Shower panels can be applied to various surfaces to create a smooth and high-quality finish. The key here is to ensure your surface is appropriately prepared before beginning the installation.
The preparation method depends on the condition of the existing wall and whether it is covered with plasterboard, tiles, or other cladding. It is possible to apply shower panels to any of these surfaces, provided the walls are well-prepared. Below, we’ll guide you through how to prepare your shower walls for panel installation.
Before Installing Over Plasterboard:
This is the most common surface to install shower panels over and is also the simplest surface to work with. Follow these steps to ensure a smooth installation:
1. Ensure the Plaster is Dry: If your walls have just been plastered, make sure the plaster is completely dry before installing the panels. This takes, on average, around 2-3 days to dry, preventing a build-up of damp behind the panels that could result in mould.
2. Check Walls are Flat: Before installation, check how flat your walls are using a spirit level. Due to the high quality and premium design of the panels, they won’t bend to accommodate large uneven bumps. Measuring the walls beforehand will help ensure a neat finish.
3. Eliminate Bumps/Uneven Patches: Use a solvent-free adhesive to resolve any uneven areas. Apply additional amounts to problematic areas, including cracks or holes, which should be sanded down once filled. Smooth out rough spots on the plaster as well. This ensures the panels have a strong, even surface to adhere to, preventing them from bending or cracking.

Before Installing Over Existing Tiles:
Tiles are a common choice of cladding for bathrooms. To save time, mess, and the cost of hiring someone, shower panels can be installed directly over ceramic tiles using a silicone adhesive. Prepare non-porous surfaces like tiles in the following way:
Ensure Tiles are Free from Cracks: Before installing the panels, ensure your current bathroom tiling is smooth and that no tiles are missing. If some are missing or badly damaged, the shower wall will need to be plastered to create a suitable surface. This also applies to other non-porous cladding.
Make Sure Tiles are Cleaned: Clean the tiles using sugar soap to remove any residue that could result in uneven installation and mould growth. This provides a smooth surface with good grip for the panels. Allow the tiles to dry for a minimum of 48 hours.

Before Installing Over Rough Surfaces:
If the wall surface isn’t suitable for direct application of the panels due to cracks or other issues, you can prepare the walls by installing a wooden batten structure. This is more commonly used outside the shower cubicle area on the surrounding walls in the bathroom.

Shower Panel Installation
Before slotting each panel in place, we recommend adding a small bead of silicone inside the join. This ensures a watertight seal, preventing moisture from getting through. Take care to avoid getting silicone on the face of the panels, as this could cause damage to their finish. By following this method, you'll ensure a secure and lasting installation. Once complete, pin, screw, or staple the panels at either side of the shower boarding where the tongue and groove interlocking system is located (the pins will be hidden once another panel is slotted in place).
How to Install Shower Wall Panels
Once your walls are prepared, you're ready to begin applying your panels. Here’s a brief overview:
- Gather Your Tools: You'll need a tape measure, spirit level, fine-tooth saw or utility knife, adhesive, and a silicone sealant.
- Measure and Cut Panels: Measure your wall space and cut the panels to size.
- Apply Adhesive: Apply our strong adhesive to the back of the panels.
- Position and Press: Position the panels on the wall and press firmly.
- Seal the Edges: Use a waterproof sealant to seal the edges and ensure a watertight finish.
For more detailed instructions, refer to our guide on installing our wall and ceiling panels. If you’re undertaking a full bathroom renovation, we recommend installing the shower cubicle before anything else, making it easier to install the panels.


