How to Install Slat Wall Panels using Adhesive
Slat wall panels can elevate any space, giving it a contemporary and stylish feel. Follow these steps for a clean and quick installation.
Preparation for installation
Before you begin, ensure you have all the necessary tools; tape measure, pencil or marker pen, fine-toothed handsaw, Stanley knife, spirit level, and silicone gun. Calculate the number of panels needed and ensure the substrate is sound, straight, smooth, dry, and free of dust. Prepare the wall as necessary and check its level before proceeding.
Note: If you are wanting to install the panels over wallpaper, we’d suggest screwing them to the substrate instead. Wallpaper paste cannot guarantee to provide the necessary strength required for the wood panels to adhere to.
Orientation
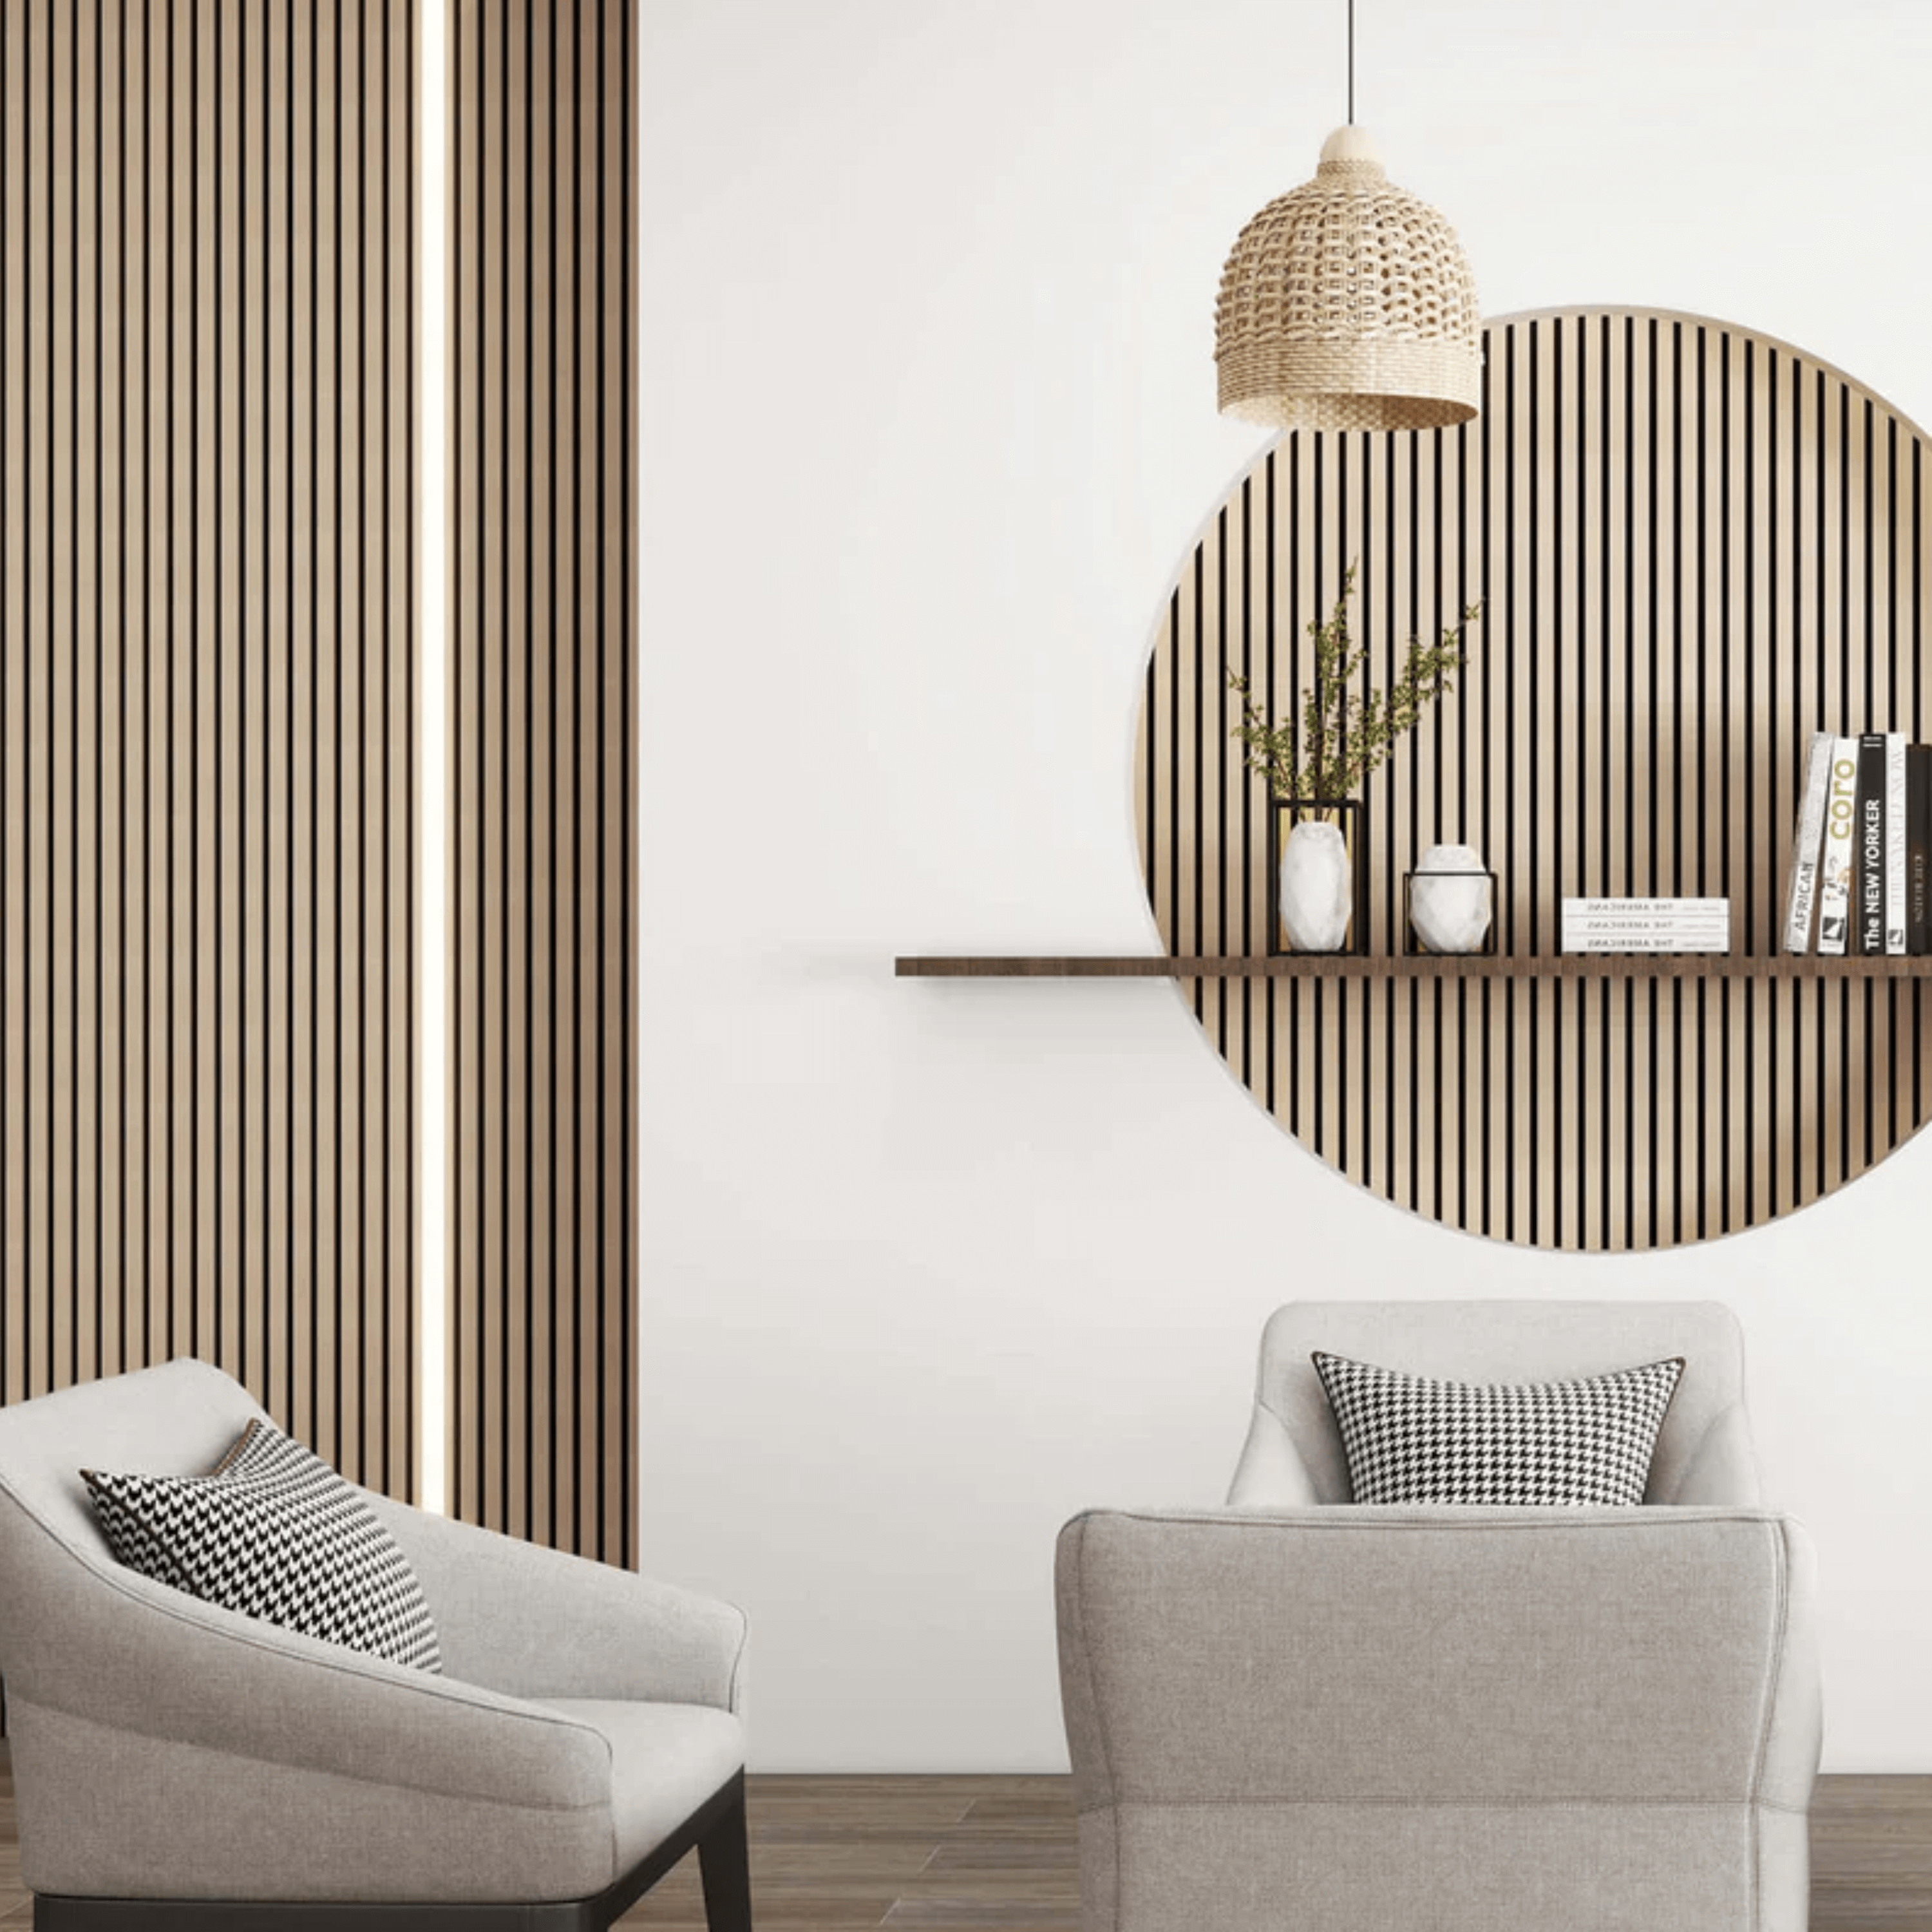
Wood-slat panels are suitable for horizontal or vertical alignment. Decide which orientation suits your project best and plan their alignment carefully before cutting the panels.
Cutting slat wall panels
When cutting the panels to size, we advise using a fine-toothed handsaw, instead of powered tools, for higher precision. A finer cut will help to eliminate any spurs and splintered edges. A sharp Stanley knife can be used to slice the felt vertically.
Adhesive application
Apply an instant grab adhesive, such as Easy Panels High-Strength Cladding Adhesive, to the reverse of the panel. You will need 1 tube for each small panel (1200mm), and 2 tubes for each of the larger panels (2400mm/2600mm). Apply the adhesive liberally in a vertical zig-zag formation before securing it in place. To prevent the adhesive exuding, maintain a distance of around 50mm from the panel edge.
Starting installation
Begin installing the panels from left to right or bottom to top, depending on your chosen orientation. The lip on the felt base has been designed to interlock seamlessly with the connecting panel to disguise any joins. Check the horizontal or vertical alignment with a spirit level after securing each panel to ensure a square and consistent finish.
Socket assembly
If installing over existing sockets, cut out spaces on the panels using a saw and install spacer rings on electrical boxes to accommodate the panel's depth. Secure sockets directly into the panels and wall to support fixtures.
Screwing and Hanging:
To install lightweight fixtures such as picture hangings, you will need wait 24-hours after installation for the adhesive to fully cure, then pierce the felt backing and affix to the substrate. Do not use the wooden-slats on the panel to support any decorative fixtures. For heavy fixtures, such as TV mounts or shelving, please install these prior to fitting the panels and later cut the panel to accommodate such features.
By following these steps, you can install slat wall panels to enhance the aesthetic appeal and functionality of any space in your home.