Make your space feel like home—with zero stress about your deposit.
Decorating a rental can feel like a challenge. You want to add warmth, texture, and personality—but without upsetting your landlord or damaging the walls. That’s where acoustic wall panels come in.
These stylish panels are perfect for renters looking to upgrade their living room, bedroom, or hallway without committing to a full renovation. They’re easy to install, just as easy to remove, and ideal for weekend DIY projects.

Why Acoustic Panels Work for Rentals
Acoustic panels don’t just look great—they also absorb sound, reduce echo, and add instant depth to any room. Even better? When installed with screws (not glue), they’re a low-risk, reversible option for tenants.
Here’s why they’re ideal:
Quick DIY installation
Minimal wall damage
Easy to unscrew and patch later
No permanent fixtures or paint required
When Renting, Always Use Screws (Not Adhesive)
We strongly recommend using screws to fit your acoustic panels. Here’s why:
Adhesive is not reversible and can cause damage when panels are removed.
Screws are safer and tidier, leaving only small holes that can easily be patched with filler.
Many landlords will allow screw fittings if you ask in advance— always get approval before starting.
Weekend-Ready Project: Minimal Tools, Maximum Impact
Even if you’re not a seasoned DIYer, installing acoustic panels is straightforward. You’ll need:
Electric drill with drill and screwdriver bits
Wall plugs (drywall anchors) for plasterboard
Spirit level – to align panels accurately
Stud finder – find solid wood studs behind your wall
Measuring tape & pencil
Filler/spackle and sandpaper for patching holes later
(Optional but worth it) French cleat system – makes hanging and repositioning panels much easier
Step‑by‑Step Guide
1. Plan & Prep
Lay your panels face‑down on the floor and plan their arrangement.
Mark panel centre, screw positions, and key reflection spots on the wall.
Use your level and tape to draw horizontal guide lines.
2. Find Support
Run your stud finder to locate studs—ideal for direct, secure anchoring.
Where studs aren't available, plan on using wall plugs.
3. Mark & Drill Pilot Holes
On each panel position, mark where the screws will go.
Drill pilot holes (~6 mm) just wide enough for plugs or screws.
Tap the wall plugs flush into plasterboard.
4. Attach Hardware (Optional French Cleat)
Standard screw method : Drive screws through panel edges into wall/studs.
-
French cleat method :
Attach the bottom cleat to the wall (level it, anchor into studs)
Attach top cleats to each panel’s back, aligned to panel centre.
Hang panels securely—this system allows easy removal and repositioning without extra holes.
5. Hang & Level
Lift the panel, level it, and drive in the screws—or slot onto cleat—to secure.
Double-check with your spirit level before final tightening.
6. Optional: Add Acoustic Gap
Leave a small 20 mm air gap behind the panel boosts bass absorption
Once installed, your space instantly feels warmer, quieter, and more stylish—without the permanence of paint or wallpaper.
Creative Ideas for Renters
Transform your space – without damaging the walls
Whether you're renting short-term or long-term, you deserve a space that feels like home. Our panels are stylish, easy to install, and totally renter-friendly. Here are some smart, stylish ideas to inspire you:
Bedroom Upgrade: DIY Headboard
Boutique vibes, zero drilling into the wall.
Install 2–3 vertical acoustic panels directly behind your bed’s headboard to frame the space and create a warm, tailored look. It instantly adds texture, absorbs sound, and gives your bedroom a designer edge — all without making a mark on the wall.
💡 Need ideas? See our blog on headboards using panels.

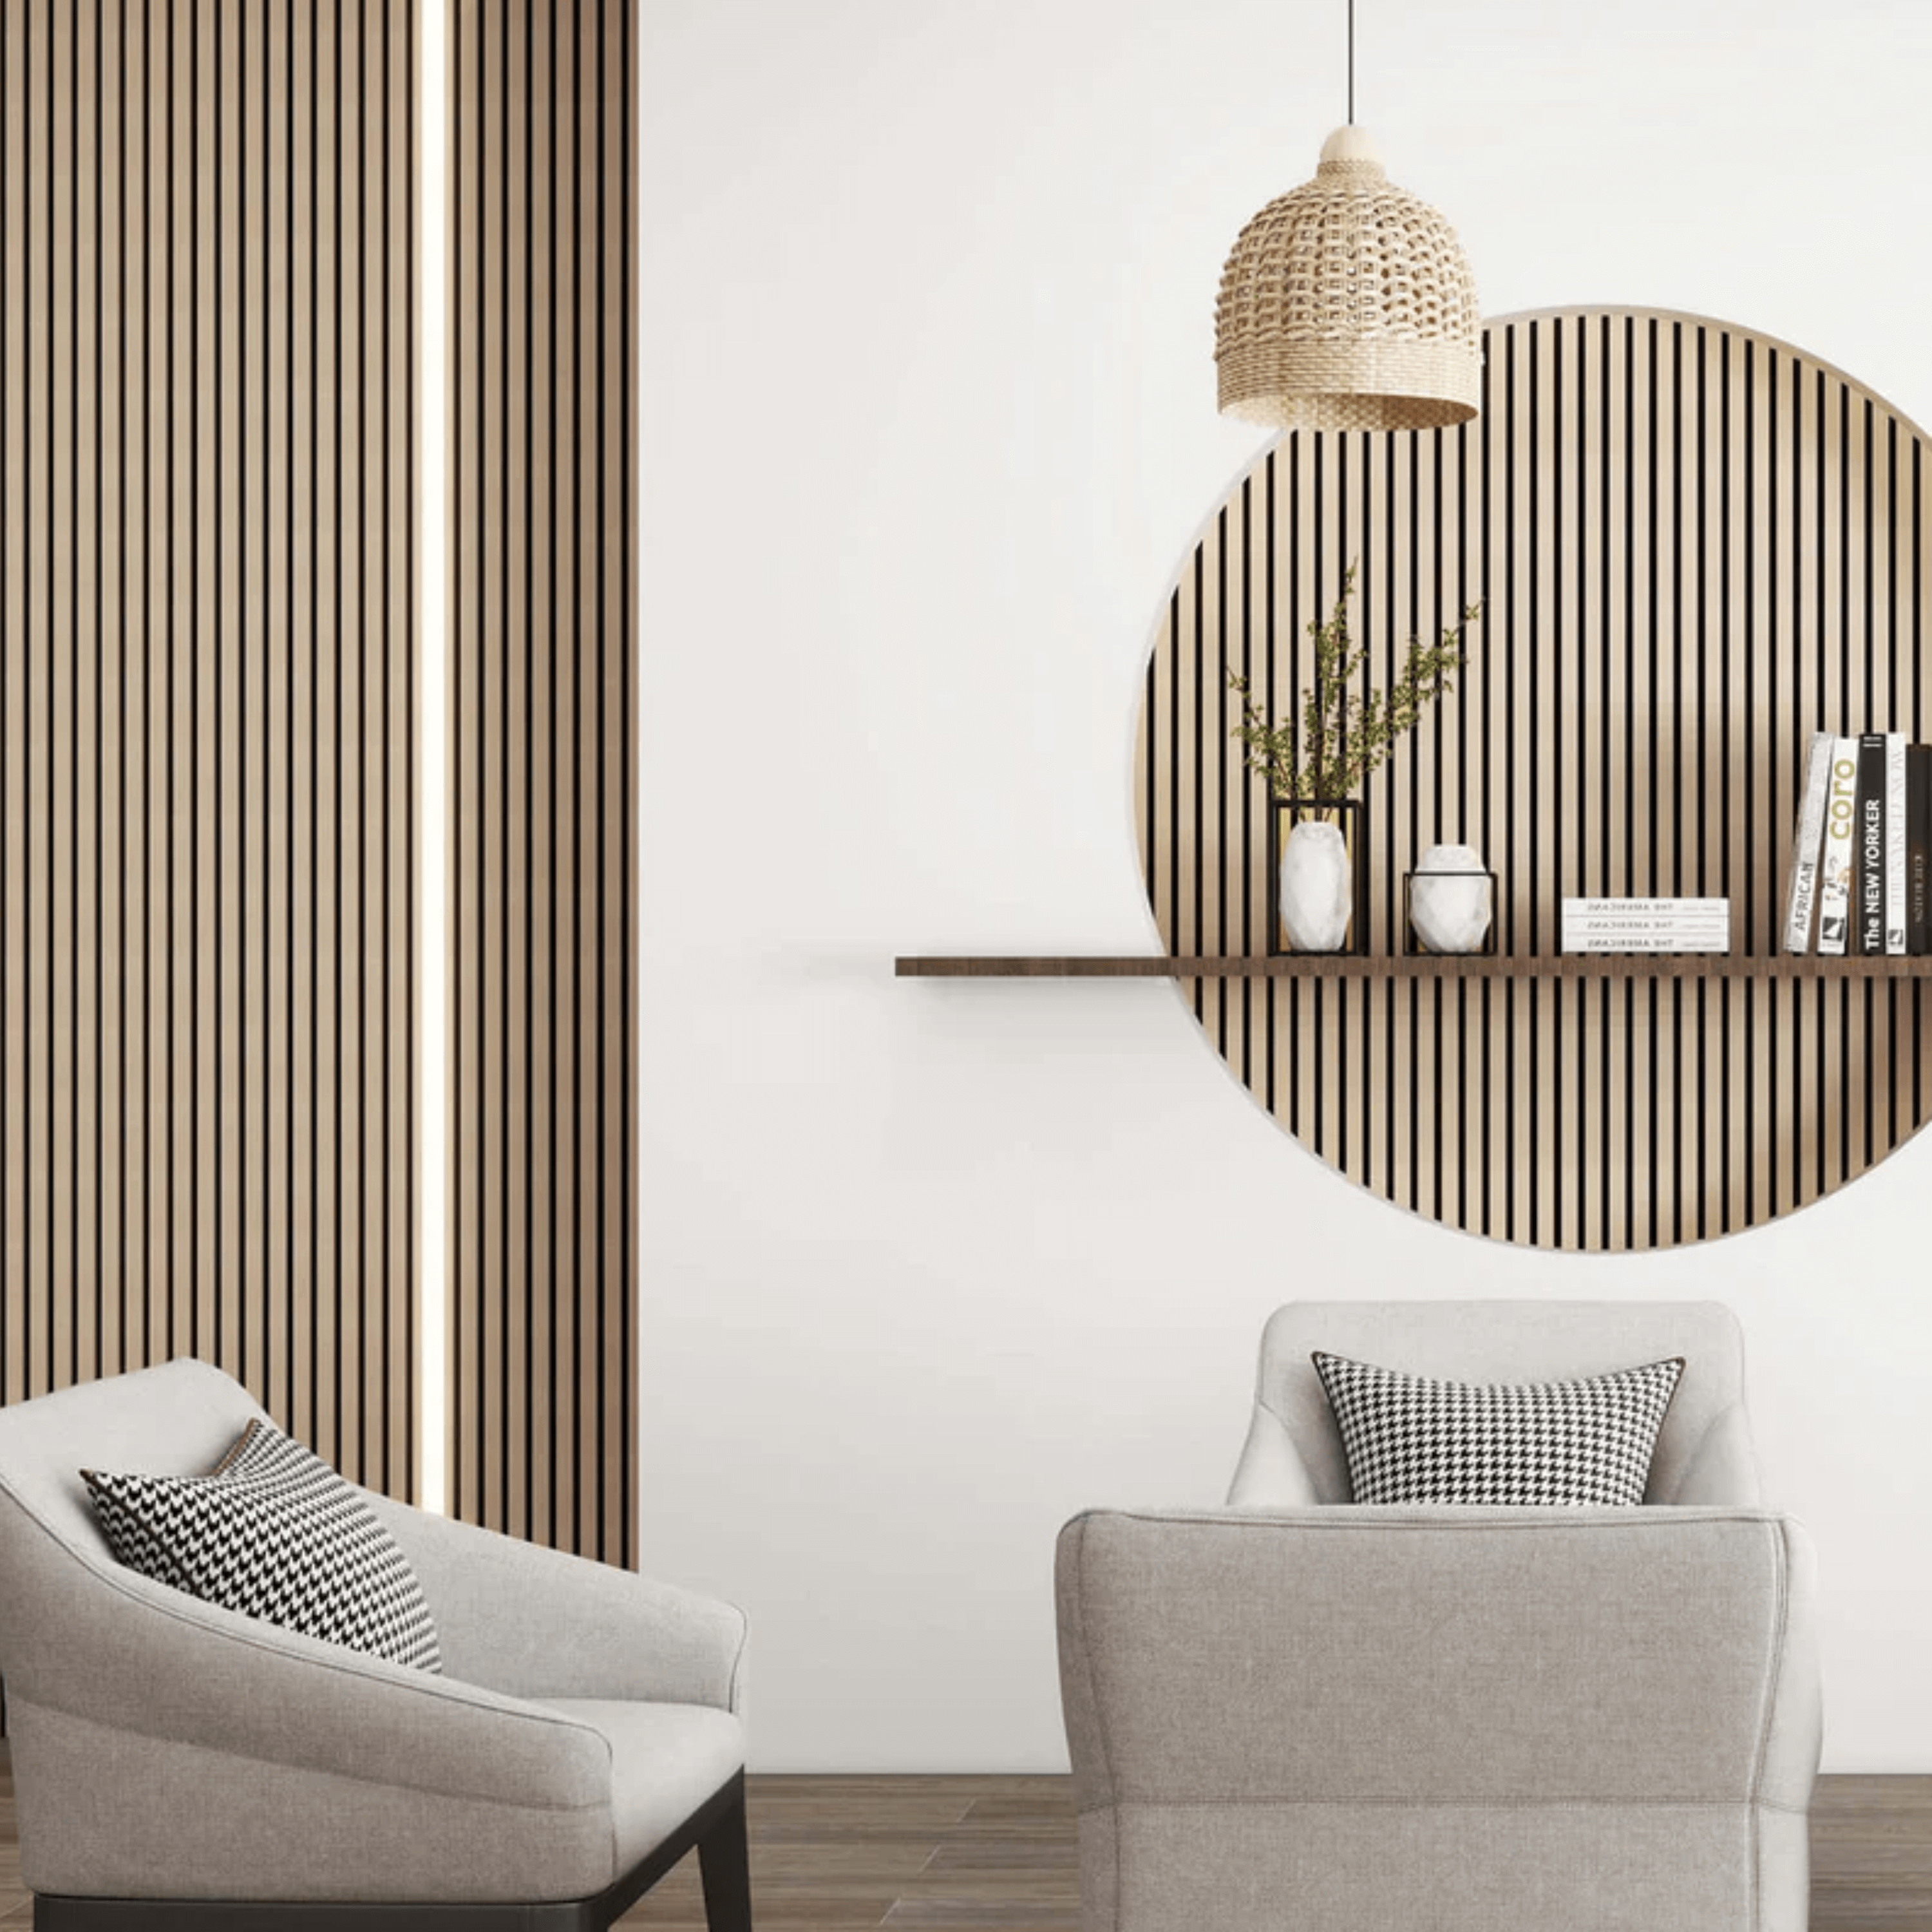
Living Room: Create a Feature Wall
Add instant style and texture – no renovation needed.
Transform a blank living room wall with acoustic panels arranged in your chosen pattern or layout. Whether you go bold with colour or keep it neutral, the result is a modern, textured backdrop that elevates the entire space while subtly improving acoustics.

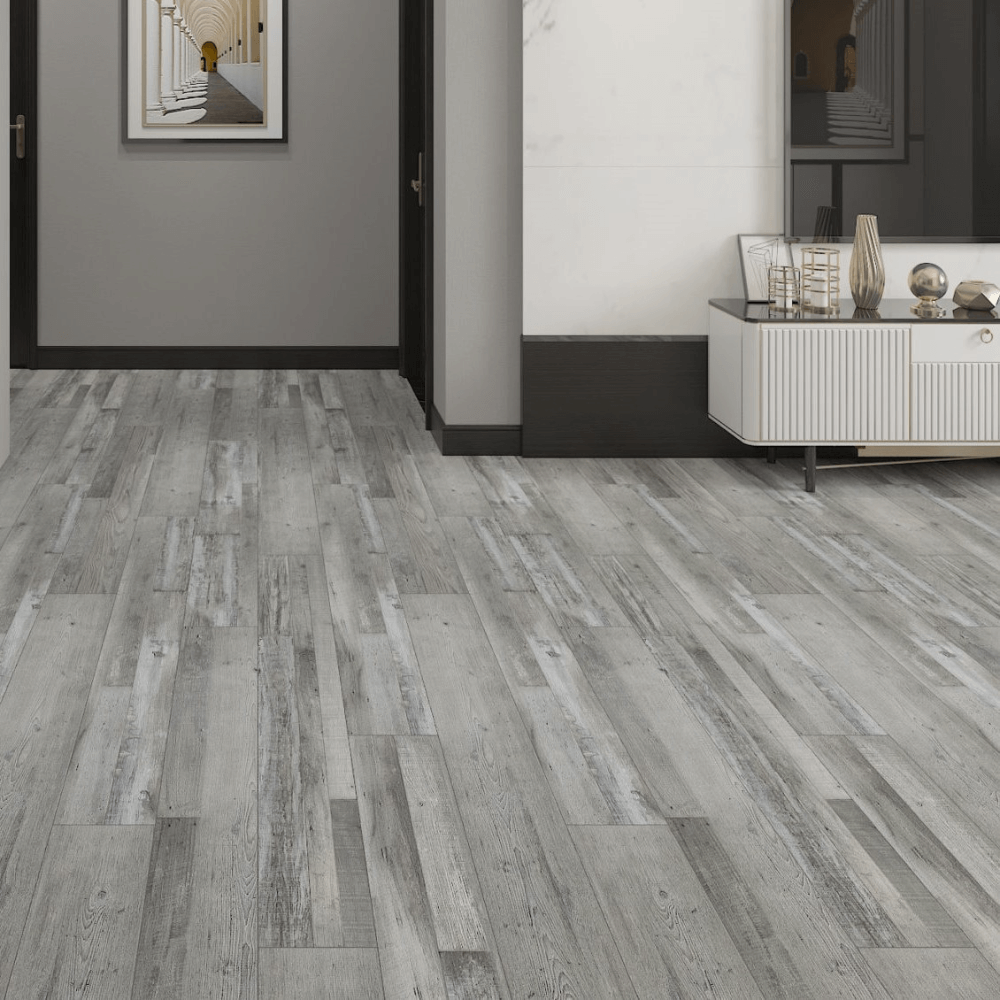
Hallway Glow-Up: Statement Entryway
Make a lasting first impression.
Vertical panels near the entrance instantly elevate a blank wall. Add a mirror or floating shelf and you've got a photo-worthy, magazine-style hallway.
✔️ Easy to remove when it’s time to move out.

Mood Lighting: LED-Backlit Panels
Your walls, but smarter.
Add LED strip lights behind or beneath panels for soft ambient lighting. Ideal for creating a calm bedroom atmosphere, a moody living room vibe, or a glowing workspace.
💡 Explore our favourite LED lighting ideas for panel installations.

Media Wall: TV Backdrop Upgrade
Stylish, sound-smart, and perfect for binge nights.
Frame your television with acoustic panels to create a sleek media wall that looks built-in — without the builder. The panels reduce echo for better sound clarity and bring a modern, textured finish to your living room or snug. Choose full-wall coverage for impact or centre the panels just behind the screen for a minimalist vibe.
💡 Need inspiration? Check out our top acoustic media wall designs.

Final Thoughts: Style Without Risk
Acoustic panels are the ideal renter-friendly upgrade. With a drill, a free afternoon, and landlord approval, you can completely change the look and feel of your home—without damaging it. Just screw them in, enjoy your space, and remove them later with confidence.