DIY or Professional Installation? Plus How to Keep Your Wall Panels Looking New
Time to read 3 min
Time to read 3 min
Wall panels are designed to elevate interiors instantly, but how they’re installed — and how they’re cared for afterwards — makes a huge difference to how they look over time.
One of the most common questions our customers ask is: 'Can I install the panels myself, or do I need a professional installer?'
Closely followed by another: 'How do I keep them looking new?'
This guide answers both, helping you make the right choice for your space while ensuring your panels stay beautiful for years.
DIY installation can be a great option if your project is straightforward and you’re comfortable with basic tools.
It works particularly well when:
Walls are flat and in good condition
You’re covering a small or medium-sized area
You’re confident with measuring, cutting, and aligning panels
Have used basic tools before and have experience with DIY projects
Many modern wall panels are designed with DIY in mind, making installation quicker than people expect.
Our shower panels have a tongue-and-groove interlocking system so they all fit into place seamlessly, and our acoustic panels only require an electric drill to install.
A careful DIY install can look just as good as a professional one — provided it’s done slowly and accurately.
Professional installation is often the best choice for larger or more complex projects.
It’s worth considering if:
Walls are uneven or require preparation
Panels need cutting around sockets, fixtures, switches, or features
You’re installing panels floor-to-ceiling or across multiple walls
The space is commercial, such as an office, café, or studio
Professionals not only install panels more quickly, but they also understand expansion gaps, fixings, and alignment — all of which help panels age better over time.
While installation and maintenance principles overlap, different panel types are designed for very different environments. Choosing the right one from the start makes installation easier and keeps maintenance minimal.
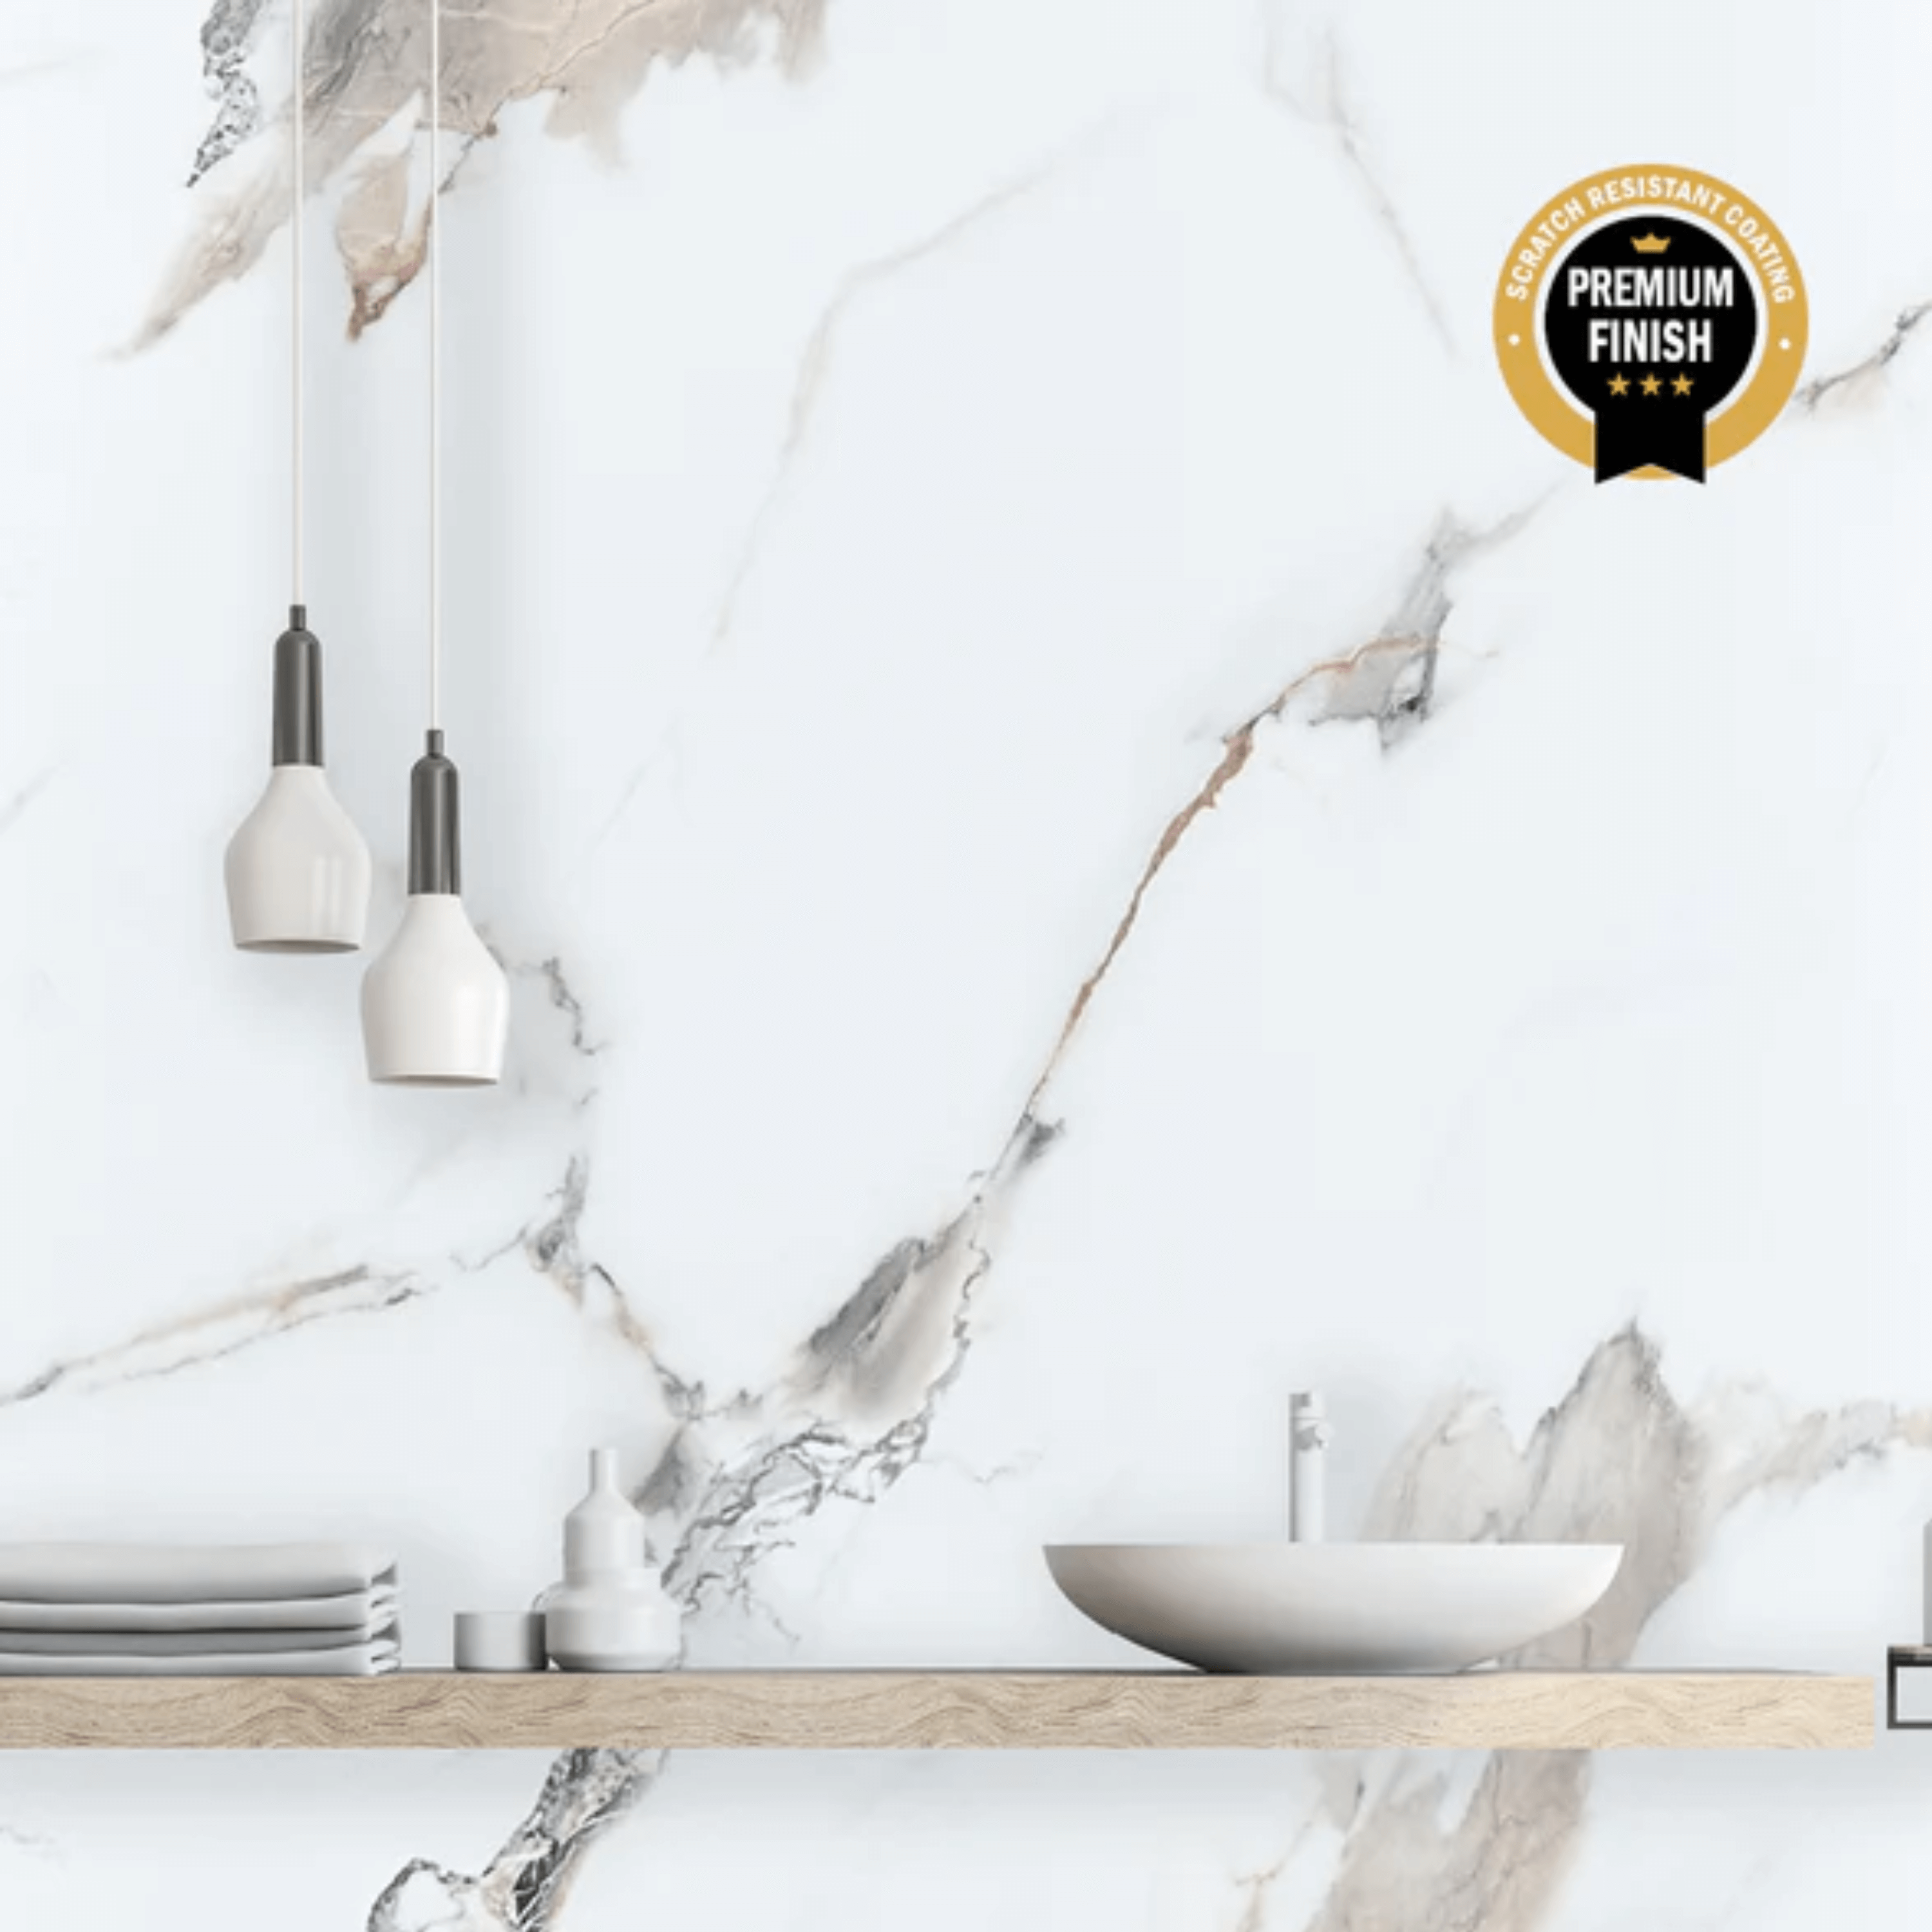
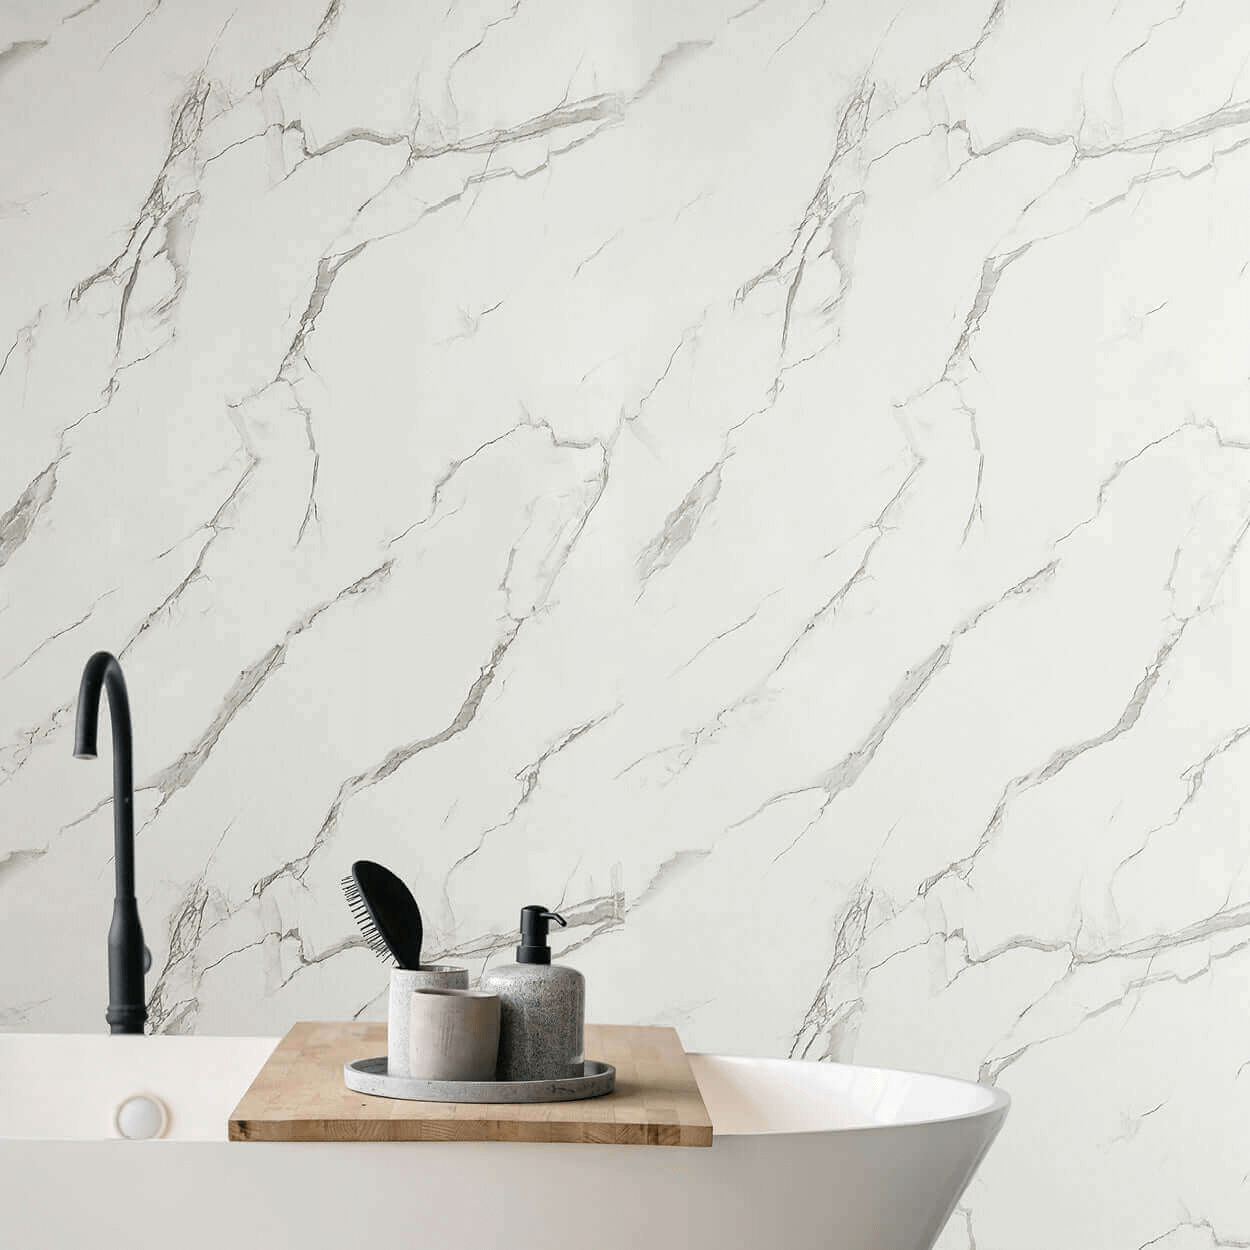
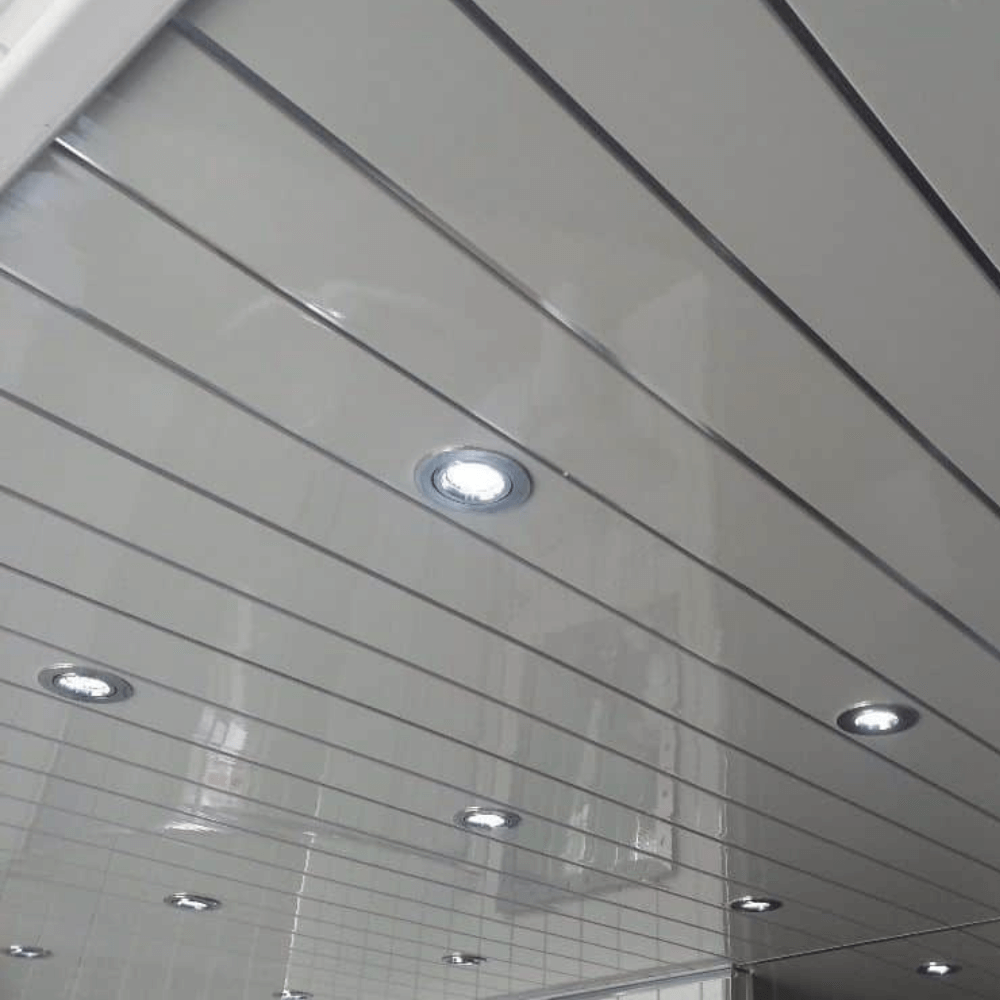
Bathroom wall and shower panels are fully waterproof and made to handle constant exposure to moisture, steam, and temperature changes.
Best for:
Installation notes:
Maintenance:
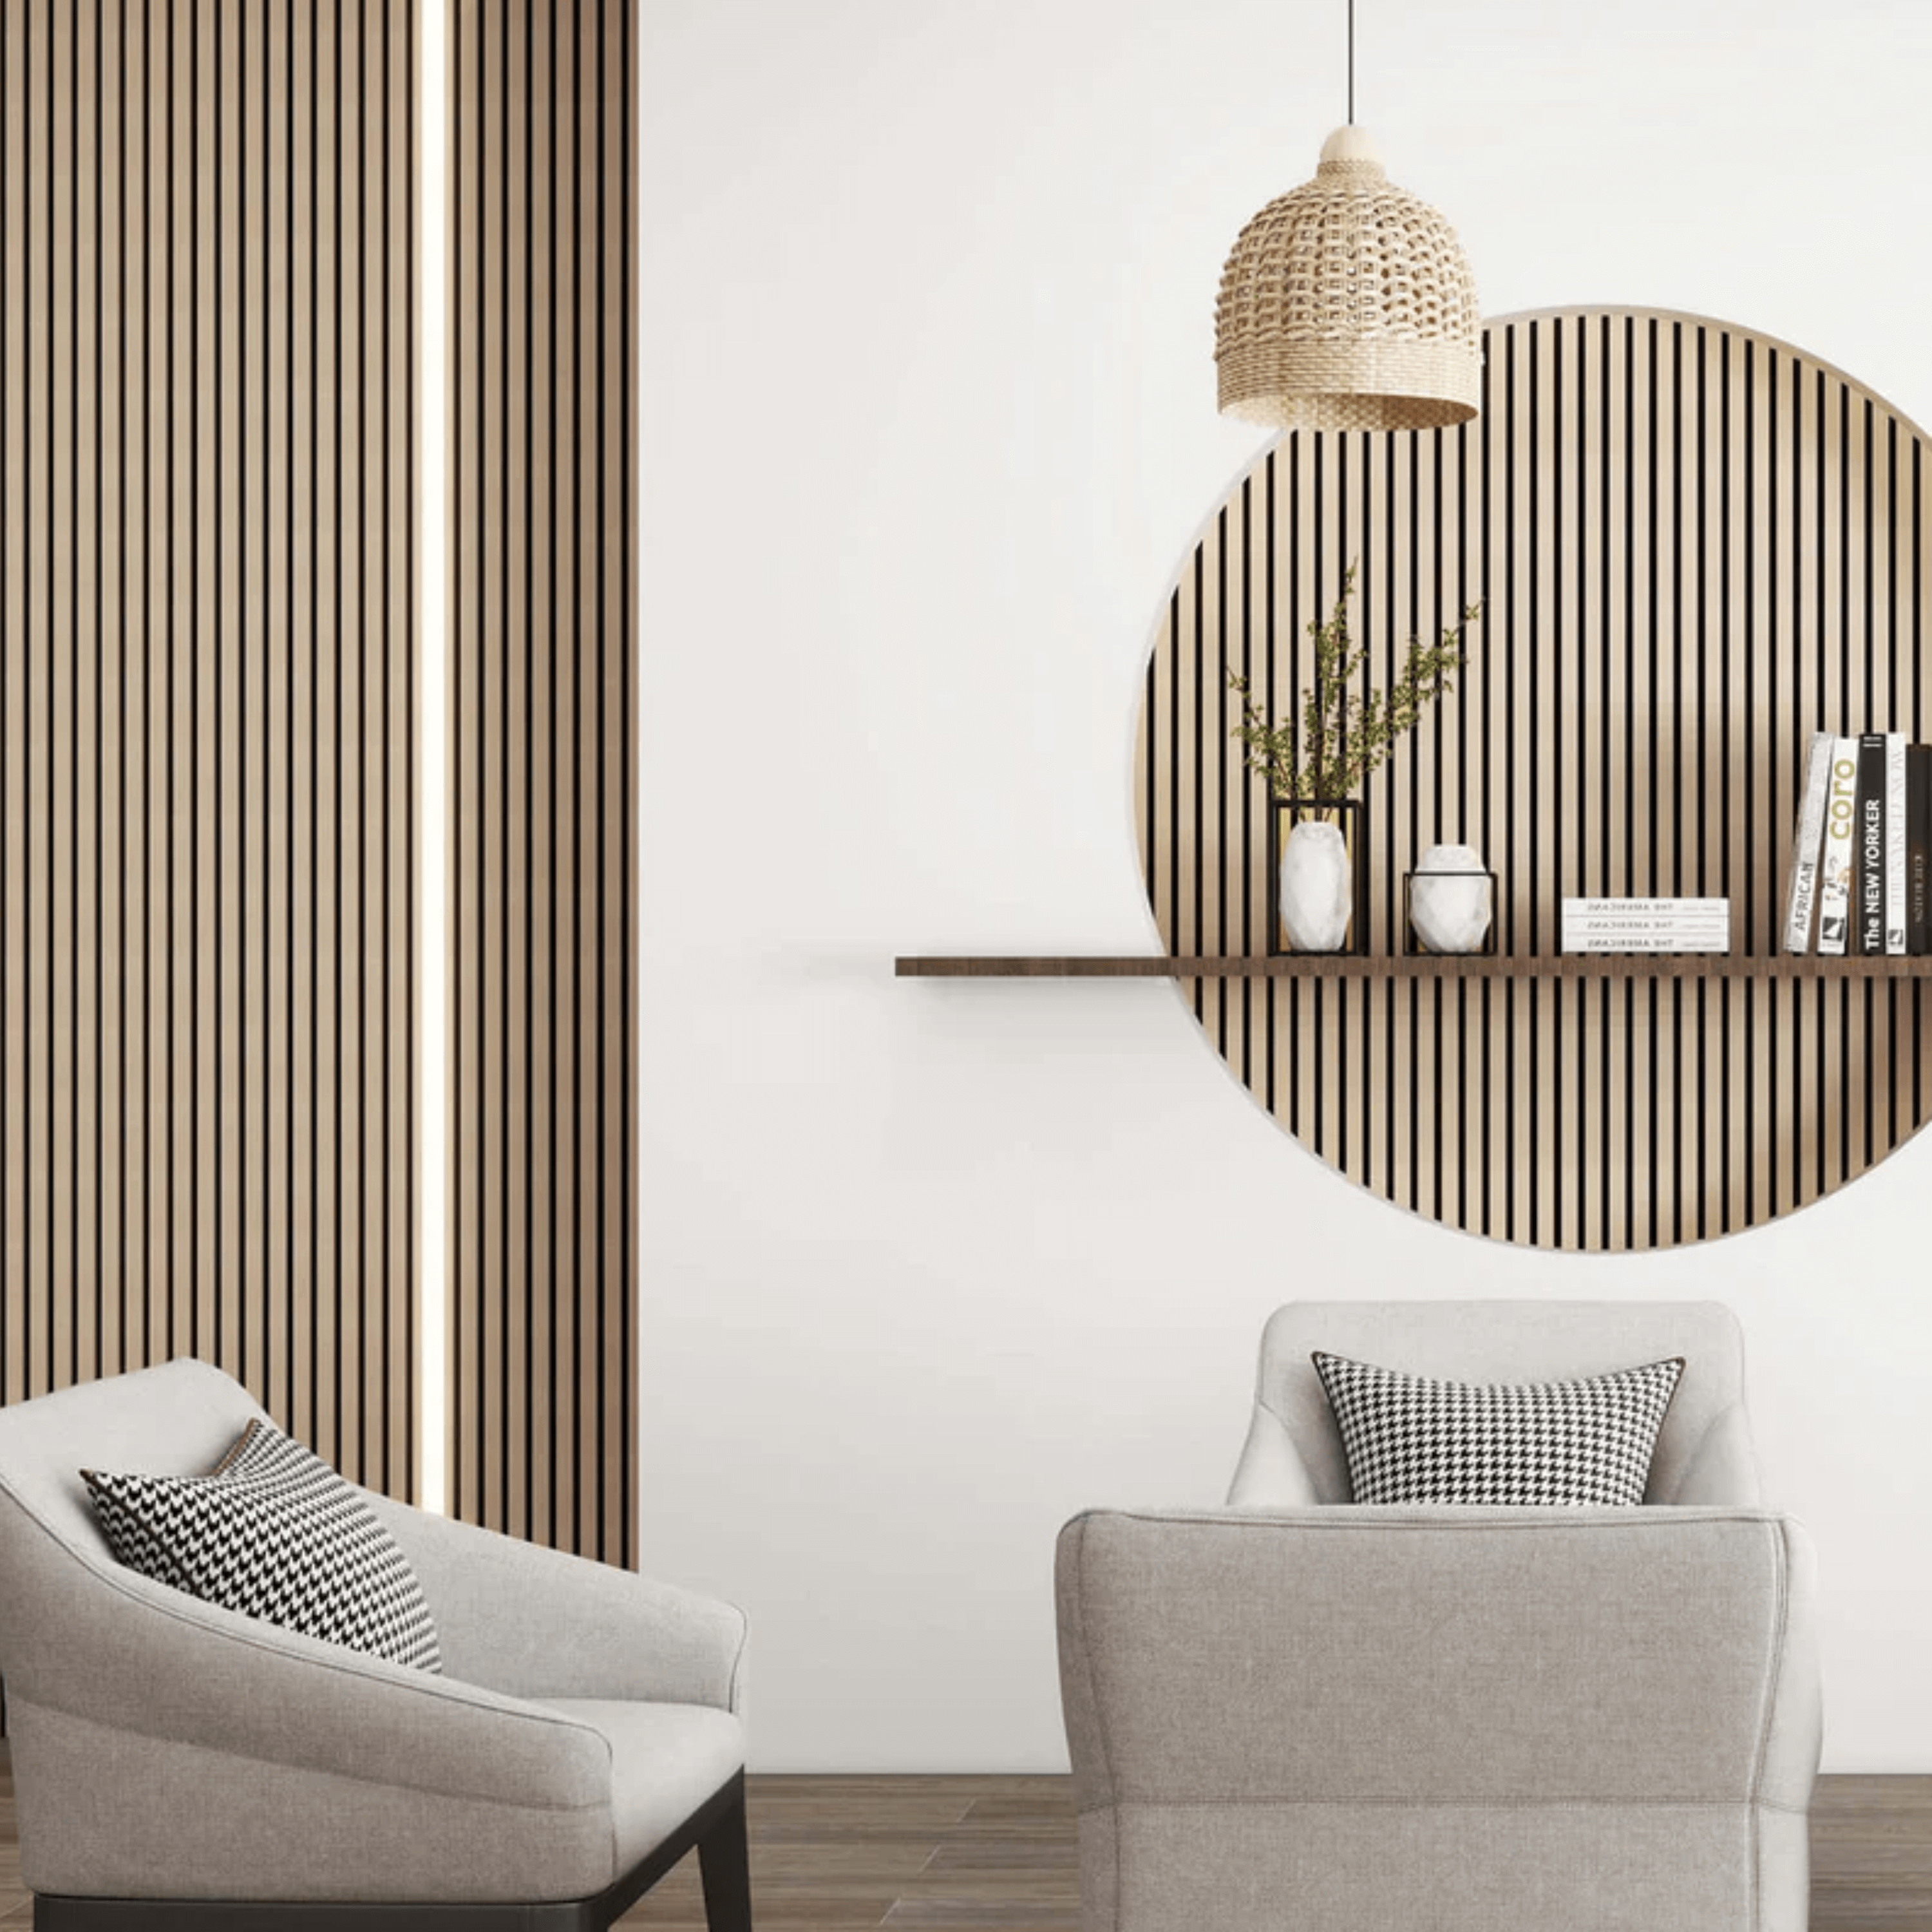
Acoustic panels are designed to absorb sound and reduce echo while also enhancing interior design.
Best for:
Installation notes:
Maintenance:
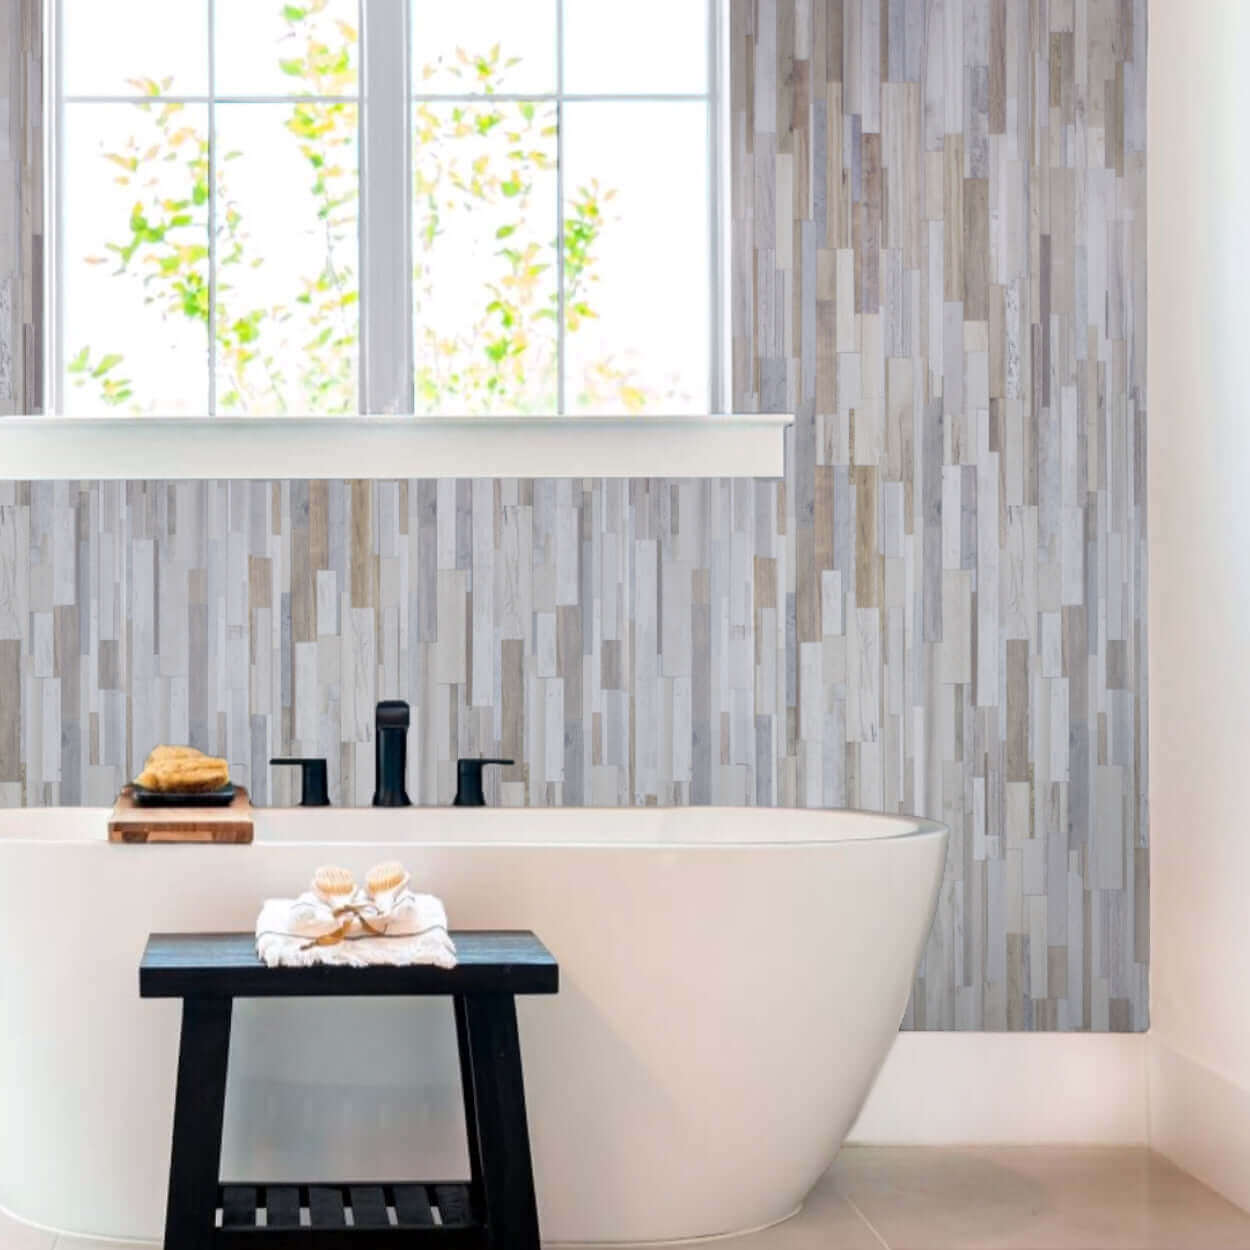
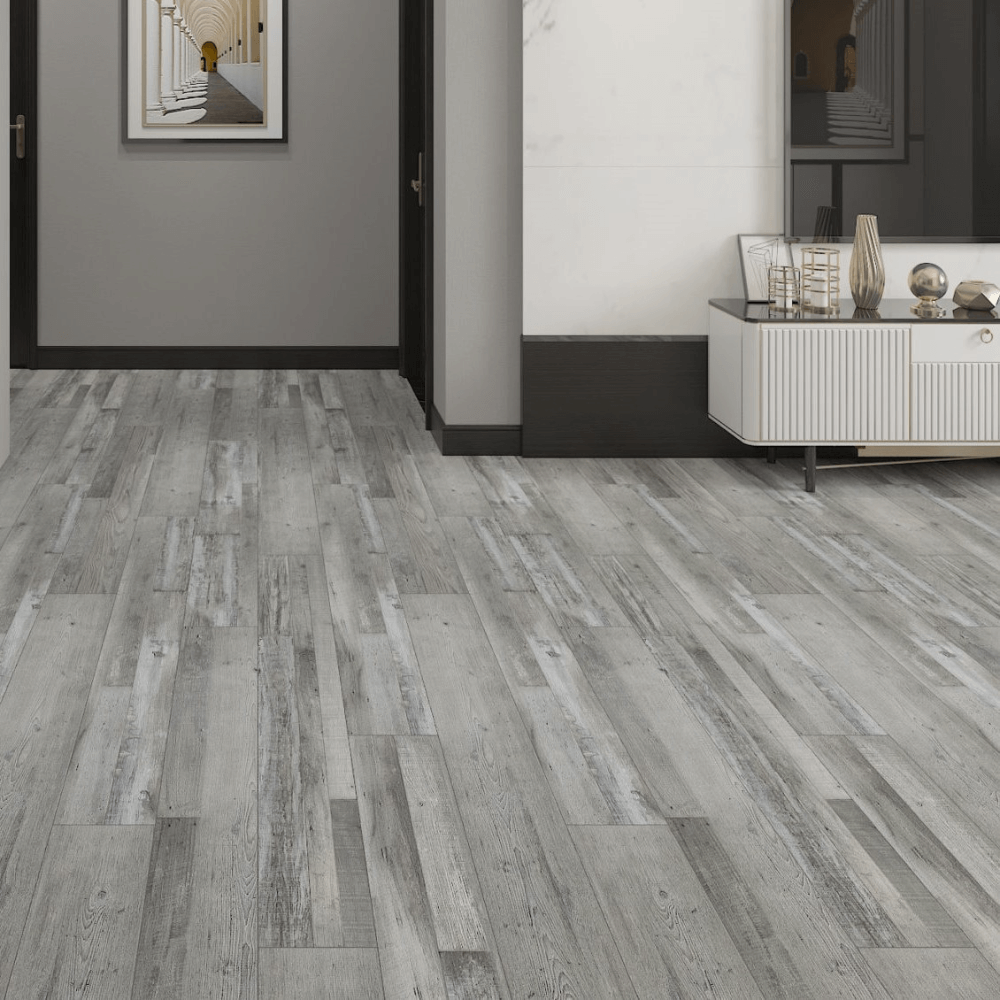
AquaGuard panels sit in the middle. They are decorative, and they are water-resistant. They’re water-resistant rather than fully waterproof, making them ideal for general interiors where durability matters.
Best for:
AquaGuard panels are not suitable for shower enclosures or any area with constant water exposure.
Installation notes:
Maintenance:
Understanding panel differences helps you decide whether DIY installation is realistic or if professional fitting is the safer option.
As a rule:
Choosing the right panel type from the start reduces installation issues and keeps maintenance simple long-term.
This is where the two topics truly connect.
Panels that are installed correctly are easier to maintain and stay looking new for longer. Poor installation can lead to:
Whether you choose DIY or professional installation, accuracy at the start directly impacts how much maintenance is needed later.
Once installed, maintenance is refreshingly simple.
Regular care:
Long-term care:
A well-installed panel that’s lightly maintained will look almost identical years later — especially compared to painted walls, which mark and fade far more easily.
There’s no single right answer.
DIY installation is ideal if you enjoy hands-on projects and want to save on fitting costs. Professional installation is best if you want guaranteed results, minimal risk, and a premium finish.
Whichever route you choose, careful installation and gentle maintenance go hand in hand. Get those two things right, and your panels will continue to enhance your space long after installation day.