Bathroom Wall Panel Ideas for Baths, Windows and Awkward Layouts
Time to read 4 min
Time to read 4 min
Most bathrooms are not perfect squares.
You may have a window above the bath, a narrow wall beside the shower or a vanity unit sitting between two awkward corners. These features can make planning feel harder, but they do not stop you from using bathroom and shower wall panels.
The key is to work with the room you have.
Start with the fixed features, then use the panels to connect each area. With a little thought, even an awkward layout can feel clean, balanced and well finished.
Before deciding where the panels will go, look at the features that cannot easily move.
These may include:
Use these points to shape the design.
For example, the panels could frame a window, continue around a bath or finish neatly beside a vanity unit. You do not need to force a perfectly symmetrical layout if the room itself is not symmetrical.
A design often looks stronger when it follows the natural shape of the bathroom.
Bathroom windows often sit above a bath or close to the shower. This makes them one of the first features to consider.
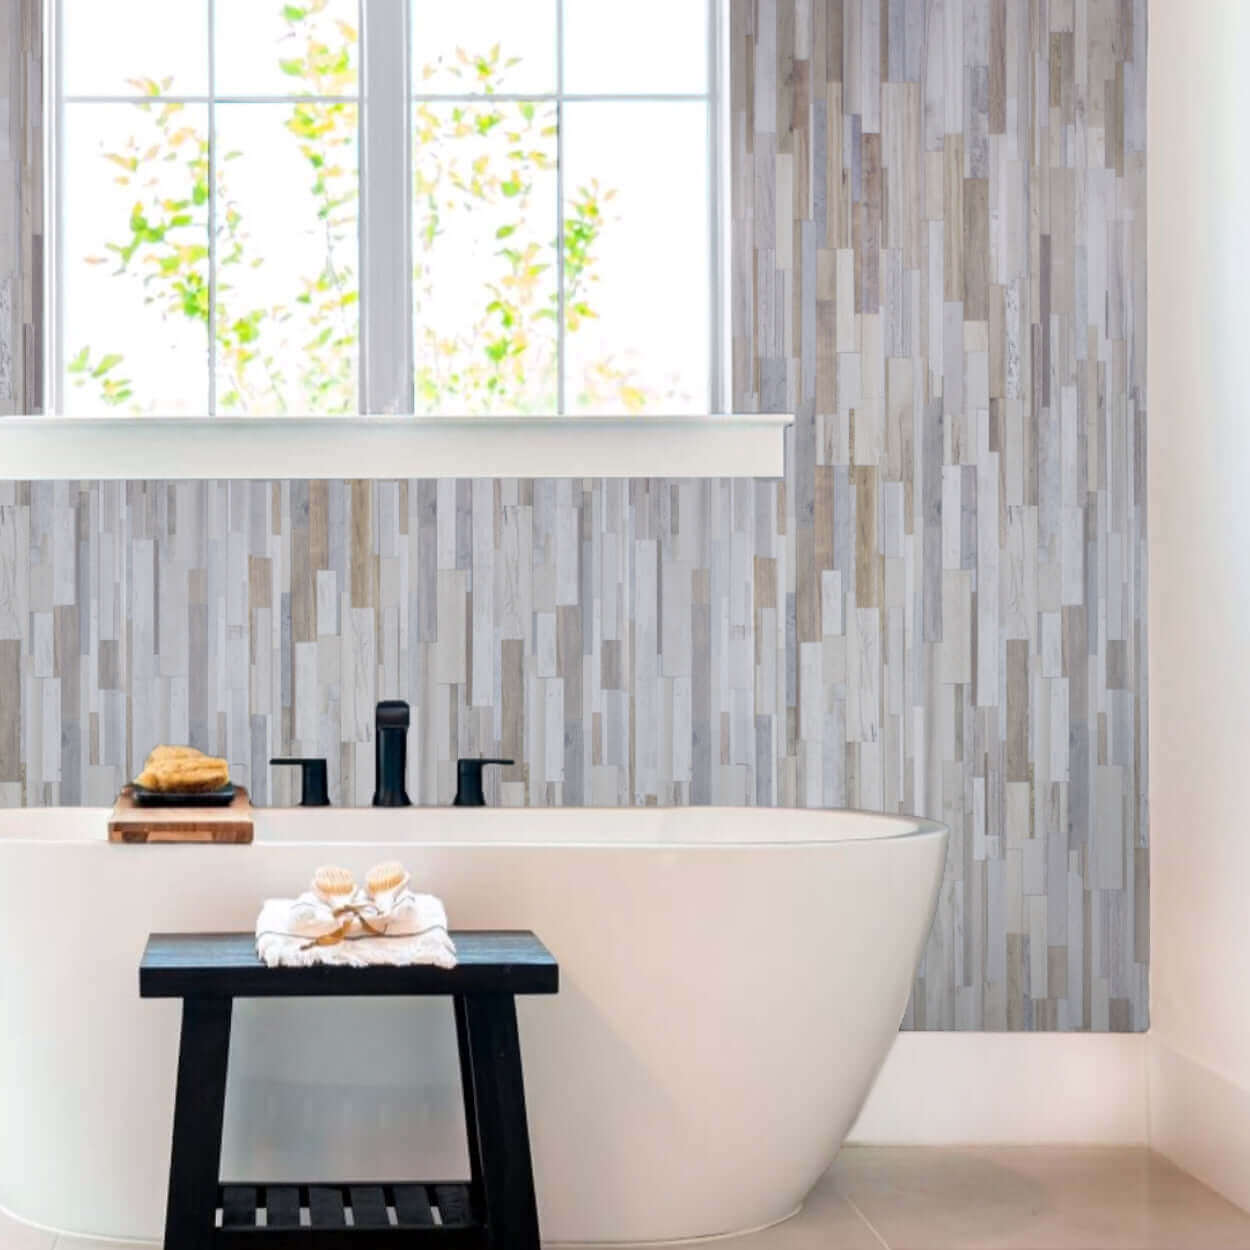
Panels can continue around the window to create one connected wall. Think about the top, bottom and sides of the opening before deciding where the main panels will begin.
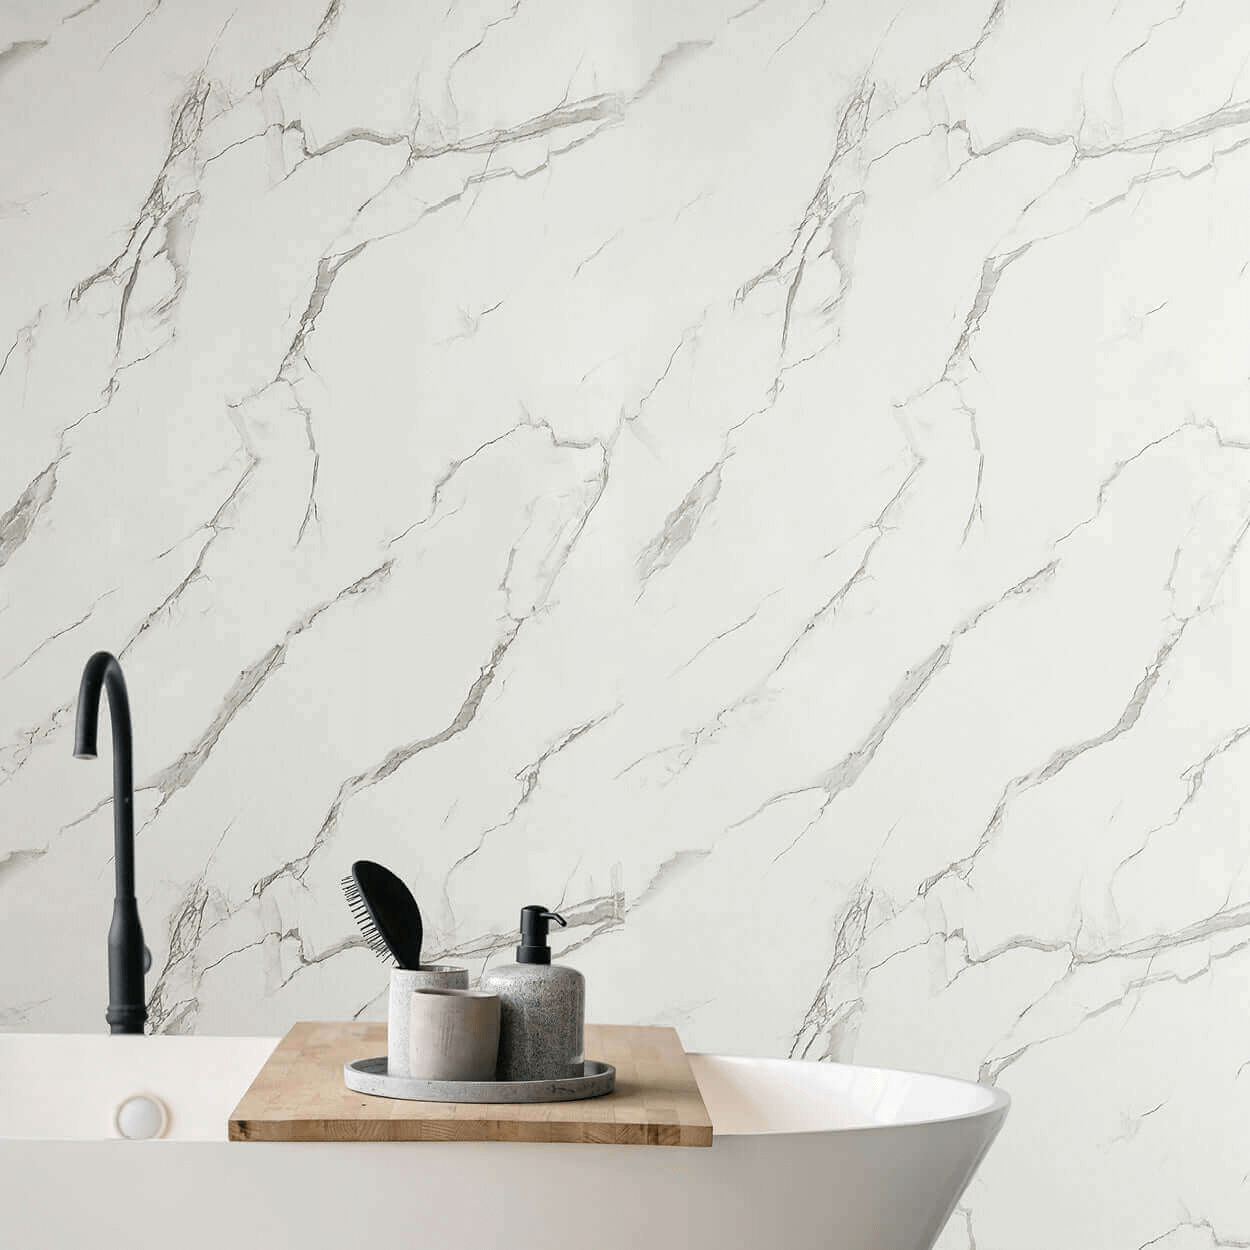
A lighter marble or stone design can help the area feel bright and open. Stronger patterns can also work, but check where the main veins or details will sit once the panels are cut.
You may also need trims to finish the edges around the recess. Include these when measuring and ordering so you have everything ready before work begins.
The wall around a bath is a natural place to use panels.
You could panel:
Using the same finish across these areas can make the bathroom feel more connected.
You do not always need to panel the whole room. Covering the main bath area may be enough to create a strong feature while leaving the remaining walls painted.
This works particularly well when the panel design already has plenty of detail. A marble or stone finish can stand out without needing to cover every surface.
Small sections of wall are easy to overlook.
You may have a narrow strip beside the shower, a slim return wall or a small gap between the vanity and doorway. Leaving these areas untreated can sometimes make the design feel unfinished.
Continuing the panel finish across a narrow section can:
Large patterns can still work in a compact shower. The important thing is to check which part of the design will remain visible once the panel has been cut. A sample can help you judge the colour and pattern scale in the room’s actual light before ordering the full panels.
The wall behind a vanity or toilet often includes mirrors, sockets, storage and pipework.
You can still create a strong panelled feature, but it helps to plan the furniture and wall finish together.
Think about:
Using the same panel behind the basin and toilet can make a small bathroom feel more coordinated.
Another option is to create a smaller splashback behind the basin. This can repeat the shower finish without covering the full wall.
Corners do not need to break up the design.
Taking the same panel finish around a corner can help two areas feel like part of one scheme. This works well:
Think about where the main part of the pattern will sit before cutting the panels. With marble-inspired designs, the pattern does not need to match perfectly from one wall to the next. It should simply feel balanced.
Try not to place the strongest part of the design where it will be hidden behind a cabinet, mirror or toilet.
Recessed shelves are useful in smaller showers because they add storage without taking up extra room.
You can continue the main panel finish inside the recess for a more seamless look. You could also use a different finish at the back to create a small feature. Keep the wider bathroom design in mind. A contrasting recess should still work with the colours and finishes used elsewhere.
Include the recess when calculating how many panels and trims you need.
Full-wall coverage is not always necessary.
Panels can stop:
Use an existing feature as the stopping point whenever possible. Ending at a corner, cabinet or shower screen usually looks more deliberate than stopping in the middle of an open wall.
Where the panel edge will remain visible, a suitable trim can create a cleaner transition into the painted area.
An awkward bathroom does not need an overcomplicated design.
Start with the window, bath, shower and furniture. Then decide where the panels will help connect the space. Continue the finish where it improves the flow. Stop it where another feature creates a natural boundary.
The aim is not to hide every unusual corner. It is to make each part of the bathroom feel like it belongs in the same scheme.