Installing acoustic panels in your bedroom can transform the space into a quieter, more comfortable place to relax and sleep. Whether you want to reduce outside noise, improve the sound quality for a TV setup, or simply add a stylish wall finish, getting your measurements right is the first step. This guide will walk you through the exact process we recommend at Easy Panels.
Why Acoustic Panels Work Well in Bedrooms
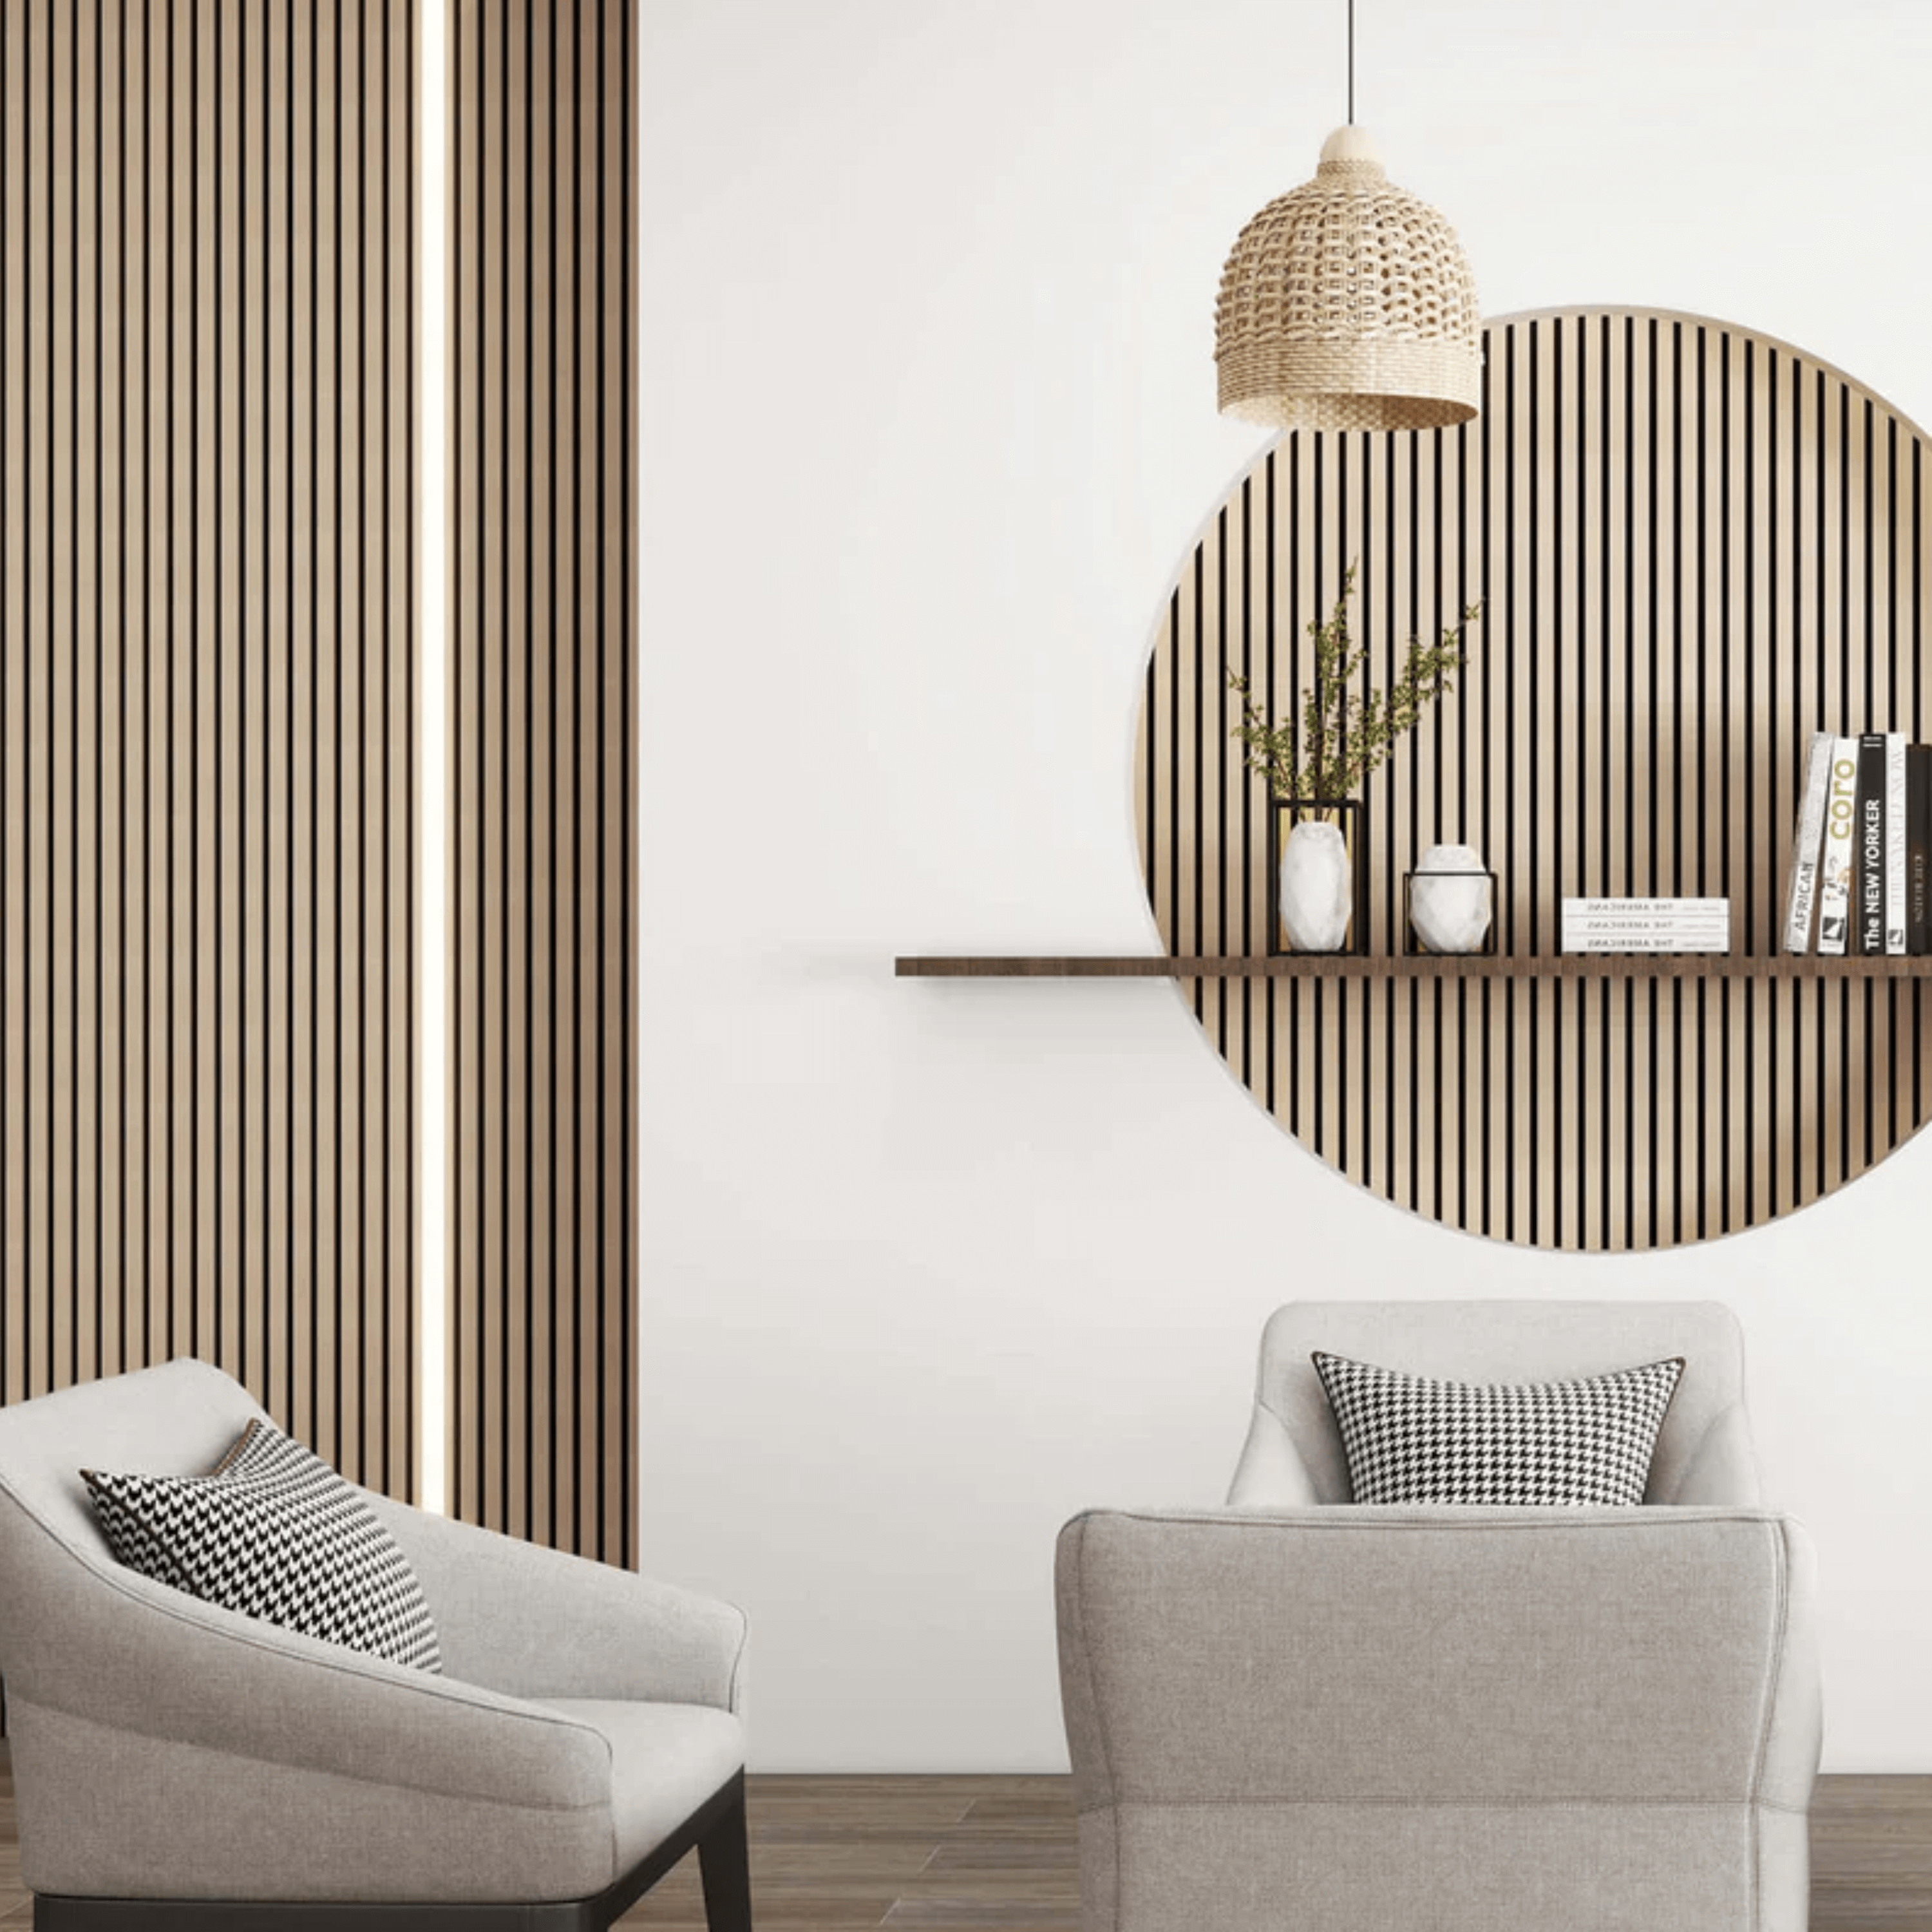
Our acoustic panels are more than just decorative — they also help create a calmer environment. In a bedroom, they:
Reduce noise from outside or other rooms.
Soften echoes in larger or sparsely furnished spaces.
Add warmth and texture to your décor.

Before You Begin – Choose Your Coverage
Decide where the panels will go:
Behind the bed — a popular choice that doubles as a stylish backdrop.
One or more full walls — for maximum sound improvement.
Partial height — ideal for creating a feature without covering the full wall. Our 120 x 60cm acoustic panels are designed for these types of projects.
Tools You’ll Need
5m+ measuring tape (steel tape for accuracy)
Pencil and notepad (or your phone)
Spirit level (to check for straight lines)
Stepladder for taller walls or ceilings

Step-by-Step Measuring Guide
When measuring bedroom walls, think about whether you’re panelling behind the bed as a feature, creating a full accent wall, or covering several walls for maximum noise reduction. Once you’ve chosen your coverage, follow these steps:
1. Measure the Wall Width
-
Start at one corner and measure to the other at skirting board height.
Repeat at mid-wall and near the ceiling — walls are rarely perfectly straight.
-
Record the largest measurement, as it’s always easier to trim panels down for a perfect fit than to fill unexpected gaps.
2. Measure the Wall Height
Measure from the top of the skirting board to the ceiling.
For partial coverage, measure from the skirting to your desired top point.
Take measurements in two or three spots and use the smallest figure.
Leave a 1–3 mm expansion gap at the top or bottom, which trims can cover neatly.
3. Note Any Obstacles
Record the size and position of doors, windows, sockets, radiators, or other features.
Note the height from the floor and the distance from the nearest corner.
This makes cutting easier and reduces mistakes.
4. Calculate How Many Panels You'll Need
Our acoustic panels come in four standard sizes (height × width):
120 × 60 cm — covers 0.72 m²
240 × 60 cm — covers 1.44 m²
260 × 60 cm — covers 1.56 m²
280 × 60 cm — covers 1.68 m²
Here’s the calculation:
Multiply your wall’s width × height (in metres) to get the total surface area.
Check the coverage for your chosen panel size from the list above.
Divide the total wall area by the panel’s coverage.
Always round up to the nearest whole panel — it’s better to have extra than to fall short.
Example:
If your wall is 3 m wide × 2.4 m high, the total area is 7.2 m².
Using 240 × 60 cm panels (1.44 m² each): 7.2 ÷ 1.44 = 5 panels needed.
Tips from the Easy Panels Team
Measure twice — small mistakes can lead to delays.
Consider bed position — centring panels behind the bed can improve the visual balance.
Mark your wall — light pencil lines can help you visualise the panel placement before ordering.
Ordering Your Acoustic Panels
Once you’ve got your measurements, simply select the number of panels you need from our Acoustic Panels Collection and don’t forget the end trims designed for acoustic panels and adhesive. If you’re unsure, our customer service team can check your measurements before you order to make sure you’re getting it right the first time.