Acoustic panels can make a big difference in a dining room, especially in homes with open-plan layouts or hard flooring. By reducing echo and controlling noise, they help create a more comfortable space for meals and conversations. Accurate measurements ensure your panels fit perfectly and perform at their best.
Why Acoustic Panels Work Well in Dining Rooms
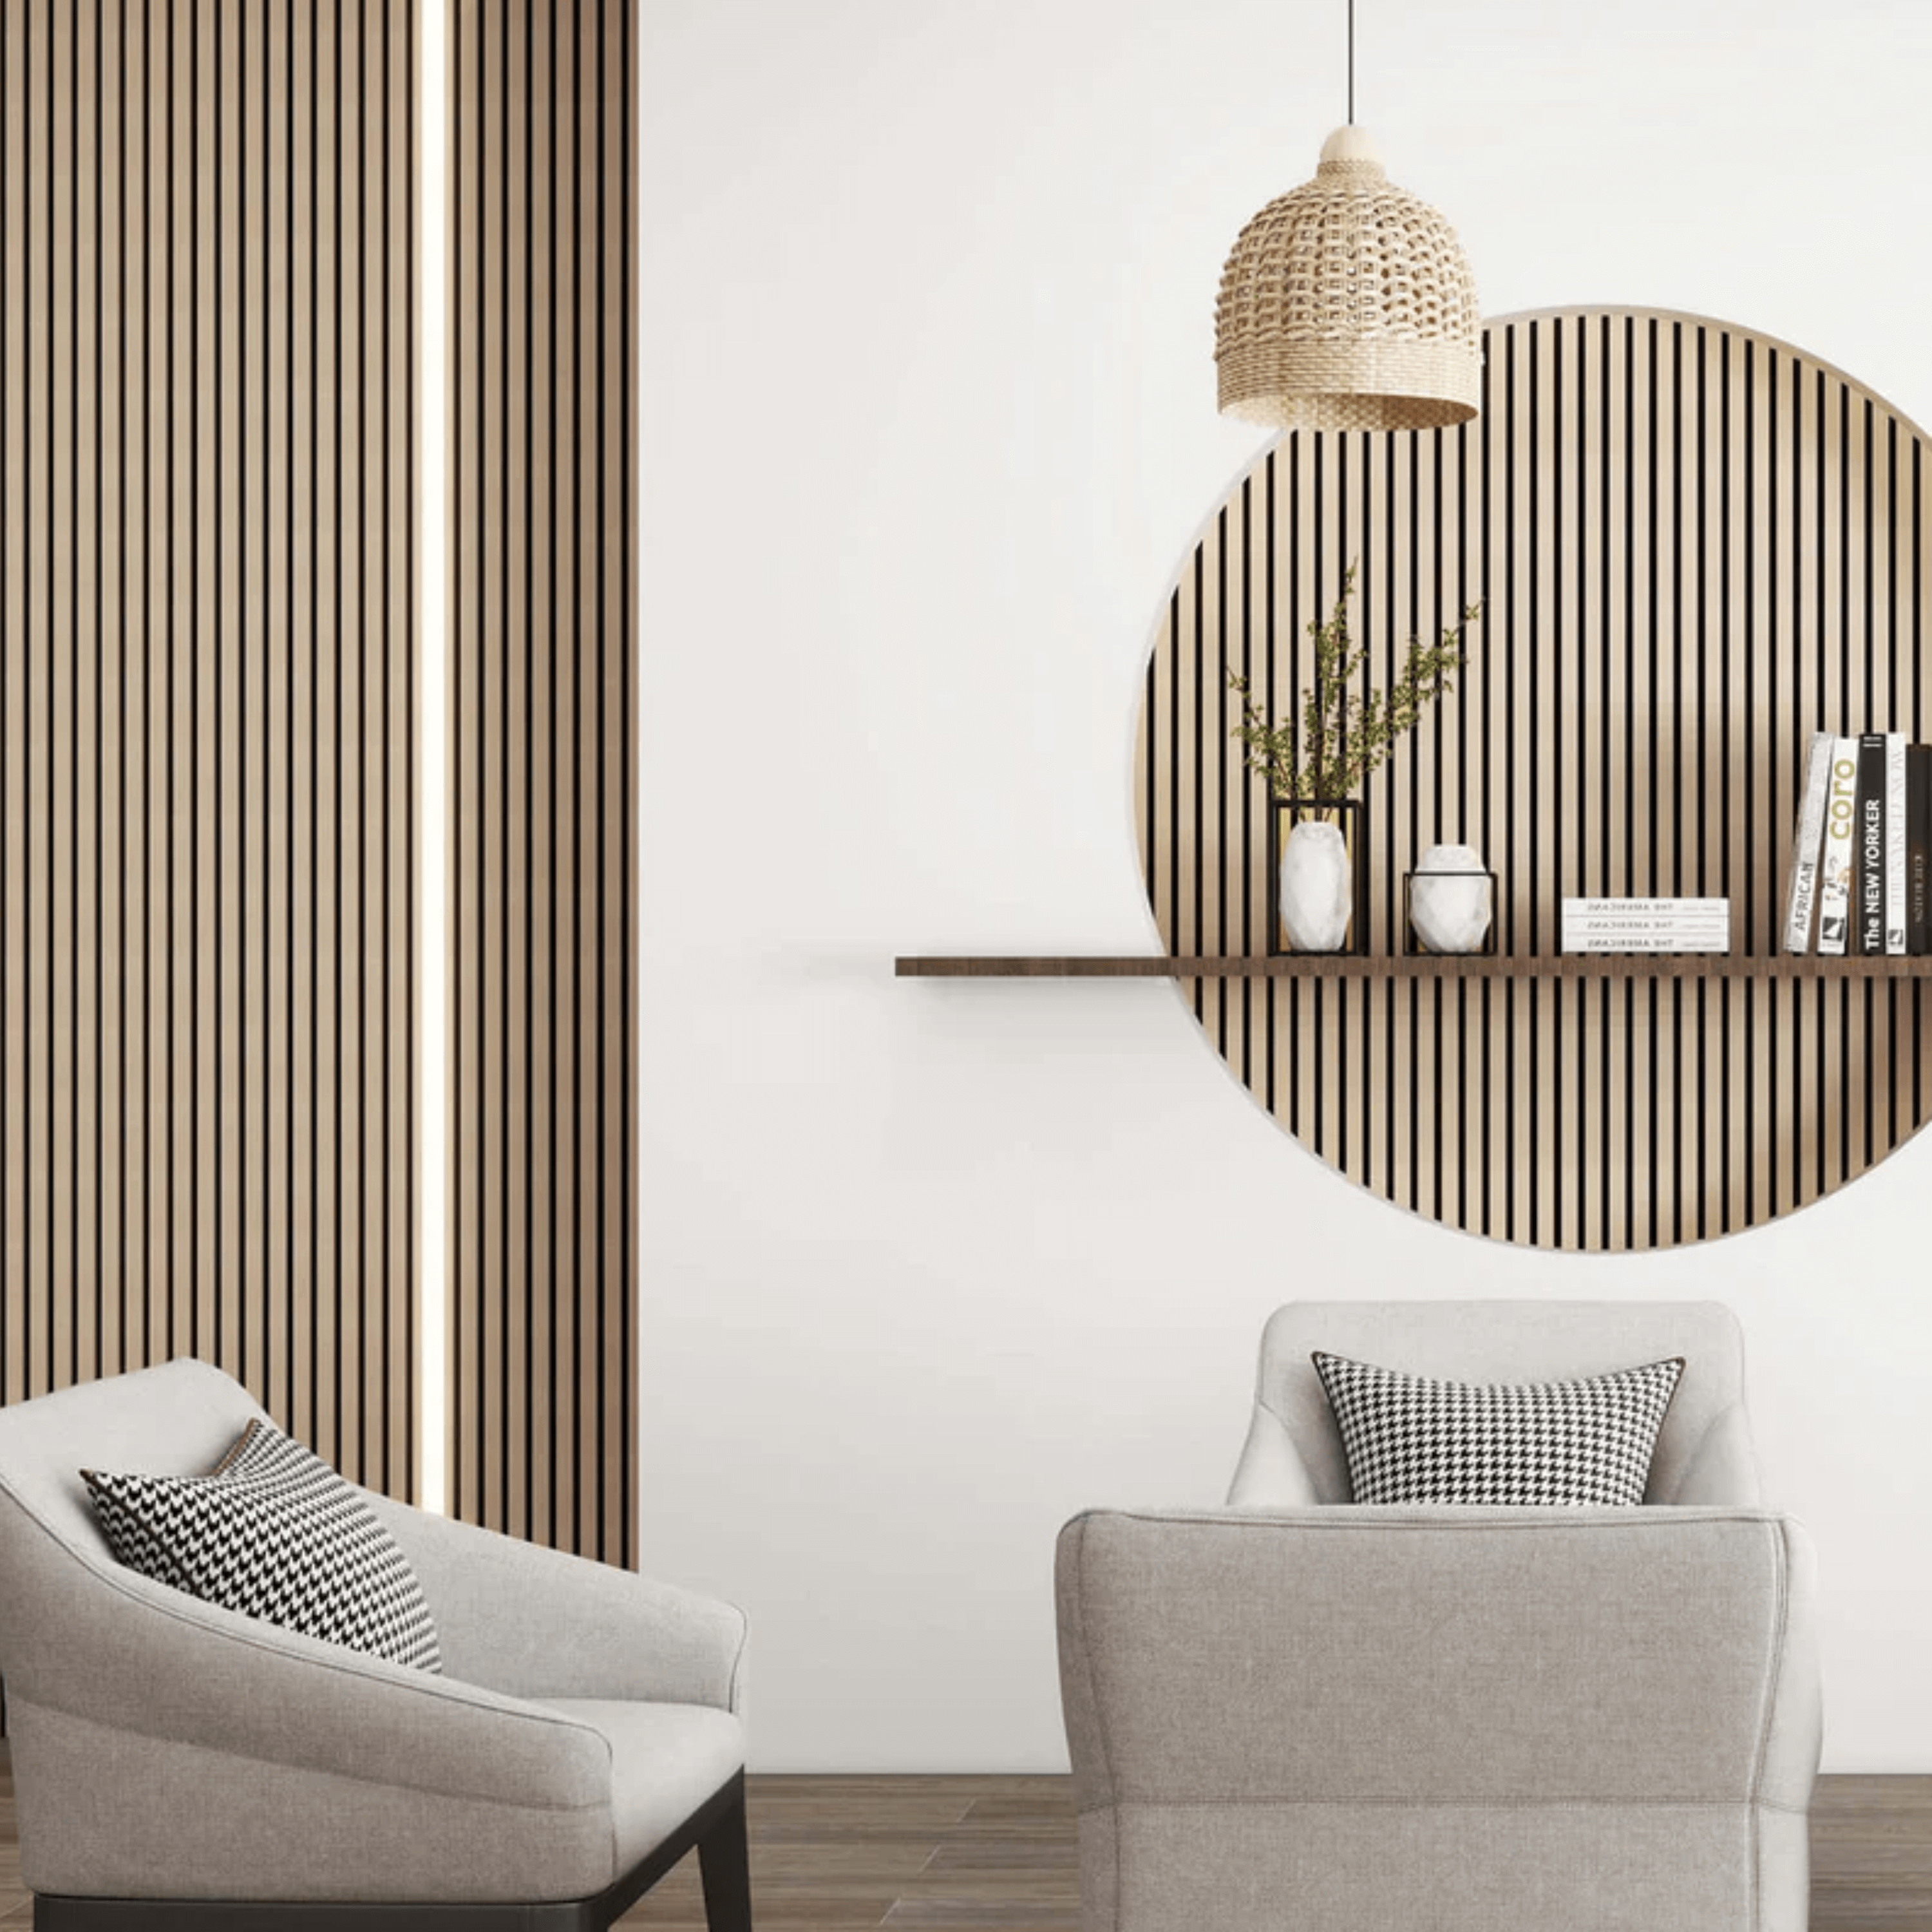
Our acoustic panels offer both style and function. In a dining room, they:
Soften sound to make conversation easier.
Reduce echo in rooms with high ceilings or minimal soft furnishings.
Add a warm, sophisticated look to your dining area.

Before You Begin – Choose Your Coverage
Decide which wall or walls will have the panels:
One main wall — often the wall the dining table sits against.
Side walls — to improve acoustics across the whole space.
Multiple walls — best for large dining rooms or open-plan areas.
Tools You’ll Need
5m+ measuring tape (steel tape for accuracy)
Pencil and notepad (or phone)
Spirit level (to check for straight lines)
Stepladder for high walls

Step-by-Step Measuring Guide
Dining rooms can have windows, radiators, or doors that break up the wall space. Taking careful measurements helps you balance the layout and create a visually even finish. Use the method below:
1. Measure the Wall Width
- Start at one corner and measure to the other at skirting board height.
- Repeat at mid-wall and near the ceiling to check for any variation — walls are rarely perfectly straight.
- Record the largest measurement, as it’s always easier to trim panels down for a perfect fit than to fill unexpected gaps.
2. Measure the Wall Height
- Measure from the top of the skirting board to the ceiling.
- If you’re only covering part of the wall, measure from the skirting to your desired height.
- Take measurements in at least two or three spots. Leave a 1–3 mm expansion gap at the top or bottom, which you can cover with trim for a clean finish.
3. Note Any Obstacles
- Record the size and position of doors, windows, sockets, radiators, or other obstructions.
For each, note the height from the floor and the distance from the nearest corner.
-
Having this info will make cutting easier and reduce costly mistakes.
4. Calculate How Many Panels You'll Need
Our acoustic panels come in four standard sizes (height × width):
120 × 60 cm — covers 0.72 m²
240 × 60 cm — covers 1.44 m²
260 × 60 cm — covers 1.56 m²
280 × 60 cm — covers 1.68 m²
Here’s the calculation:
Multiply your wall’s width × height (in metres) to get the total surface area.
Check the coverage for your chosen panel size from the list above.
Divide the total wall area by the panel’s coverage.
Always round up to the nearest whole panel — it’s better to have extra than to fall short.
Example:
If your wall is 3 m wide × 2.4 m high, the total area is 7.2 m².
Using 240 × 60 cm panels (1.44 m² each): 7.2 ÷ 1.44 = 5 panels needed.
Tips from the Easy Panels Team
-
Consider lighting — panels look great under pendant or wall lights.
Work with your table placement — align panels with the central point of the dining table for balance.
Check your measurements twice — especially in open-plan rooms with multiple adjoining walls.

Ordering Your Acoustic Panels
Once you’ve got your measurements, simply select the number of panels you need from our Acoustic Panels Collection and don’t forget the end trims designed for acoustic panels and adhesive . If you’re unsure, our customer service team can check your measurements before you order to make sure you’re getting it right the first time.