BEFORE YOU START
Understand How Composite Decking Works
Composite boards expand and contract slightly with temperature changes.
Your installation must account for this movement — with gaps, spacing, and correct fixing.
What’s Included in this Guide
This guide covers installing:
- Deck Boards (main surface)
- Edging Trim (fascia)
- Step Boards (bullnose)
- Corner Angle Trim
- Deck End Caps
- Step End Caps
Tools You’ll Need
- Tape measure
- Spirit level
- Carpenter’s square
- Rubber mallet
- Pencil
- Drill/driver + stainless-steel screws
- Pack of spacers (3–6mm)
- Circular saw or mitre saw (fine-tooth blade recommended)
- Chalk line
- Protective mask and safety glasses
Acclimatisation
Leave boards outside for 24–48 hours in the area they will be installed. This reduces movement once installed.
BUILDING THE SUBFRAME (THE MOST IMPORTANT PART)
Composite decking is only as strong as the structure beneath it.
Suitable Subframe Materials
- Pressure-treated timber (common & affordable)
- Composite joists
- Aluminium joists (premium option)
Ground Preparation
If installing over soil or grass, follow these steps:
- Remove all vegetation.
- Lay a weed control membrane.
- Add gravel/hardcore for drainage.
- Place support pads or concrete blocks at intervals to sit your joists on.
Never lay composite boards directly onto the ground or flat concrete — they need airflow underneath to prevent moisture buildup.
Joist Spacing
For standard deck boards:
For step boards or areas with higher load:
For diagonal patterns:
- 250mm is recommended due to increased board span.
Squaring & Levelling the Frame
A square frame ensures neat board lines and no creeping gaps.
The 3-4-5 Rule (Beginner Friendly)
- Measure 3m on one joist.
- Measure 4m along another.
- The diagonal between those points should be 5m.
If it is, your corners are square.
Common Mistakes
❌ Joists not level:
Leads to bouncy boards, pooling water, and gaps appearing over time.
❌ Insufficient support:
Composite decking is heavier than timber; under-supported decks sag.
3. PLAN YOUR BOARD LAYOUT
Expansion Gaps Are Essential
Composite boards must have spacing:
- 3–6mm gap between board ends
- 3–8mm gap along sides
- 8–10mm perimeter gap against walls or fences
Why?
Boards expand in hot weather and contract in cold weather.
Without these gaps, boards can lift, buckle, or creak.
Direction of Boards
Choose one of the two reversible surfaces:
- Woodgrain side → natural look
- Grooved side → grippier & more modern
Important:
If the deck is in a direction where water needs to drain, install grooves running downhill.
4. INSTALLING THE FIRST BOARD (MOST IMPORTANT STEP)
The first board determines the straightness of the entire deck.
Step-by-Step
1. Install Starter Clips (if using clip system)
- Fix along the first joist.
- Ensure they form a perfectly straight line using a chalk string.
2. Position the First Board
- Slide it into the starter clips.
- Leave expansion gap at both ends.
3. Fix with Fasteners
You can install using:
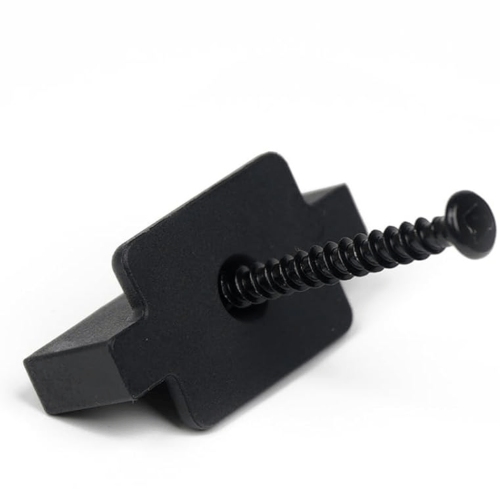
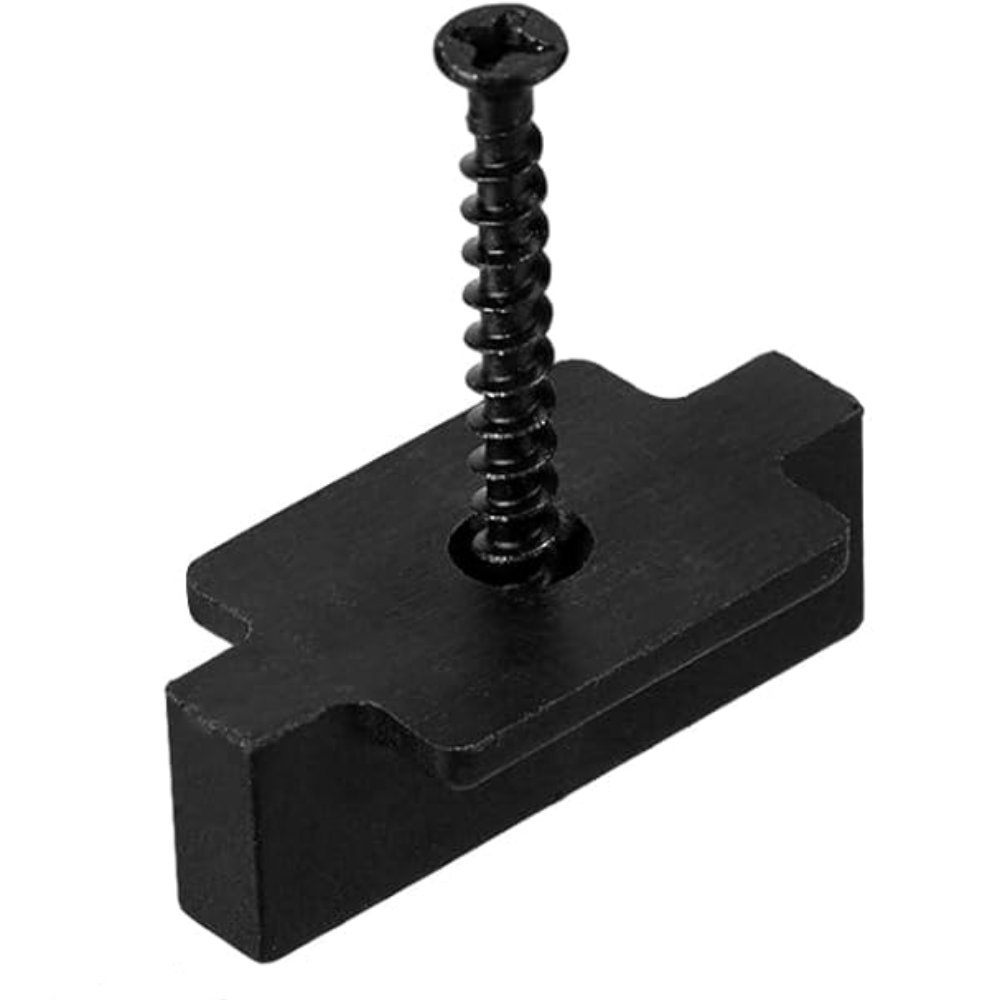
Hidden Fasteners
- Place clip in board groove
- Screw into joist
- Insert next board into clip
- Repeat
Do not overtighten — clips must allow movement.
Direct Screw Fixing
If you prefer screws:
- Pre-drill through the groove lip (NOT the top surface)
- Use stainless-steel screws
- Keep screws straight and evenly spaced
Top-screwing is possible but not recommended unless necessary — it’s less attractive.
5. CONTINUING THE DECKING
Keep Spacing Consistent
Use spacers between all boards.
Stagger End Joints
Think of brickwork — stagger joints for strength and appearance.
Keep Checking Alignment
A string line or chalk line every few boards is essential to avoid drift.
6. CUTTING BOARDS
Composite boards cut similarly to timber but require clean, accurate cuts.
Tips:
- Use a fine-tooth wood or composite blade
- Cut slowly for clean edges
- Support both ends of the board
- Sand lightly if fuzzing occurs
Avoid:
❌ Cutting too fast (causes melting)
❌ Leaving rough edges unwiped (sharp plastic fibres)
7. INSTALLING EDGING TRIM (FASCIA)
Edging trim hides joists and cut ends — giving the deck a premium finish.
Installation Steps
- Measure and cut trim to required length.
- Pre-drill fixing holes every 300–400mm.
- Screw directly into joists (use stainless-steel screws).
- Maintain expansion gap where two trims meet.
- Ensure top of trim aligns with top edge of boards.
Tips:
- Use colour-matched screws if visible.
- Install fascia last so you can hide small cut imperfections.
8. INSTALLING STEP BOARDS
Step boards (bullnose) create the front edge of steps.
Steps:
- Reinforce step frame with joists at 250mm centres.
- Install bullnose step board first (front).
- Fix through groove lip or underside using screws.
- Install decking board behind it for tread.
- Add fascia or corner angle for side finishing.
Tips:
- Use anti-slip surface for steps if available.
- Check level and tread depth to avoid uneven steps.
Avoid:
❌ Using standard deck boards as step fronts (they lack nose overhang)
❌ Long unsupported overhangs (they can crack)
9. INSTALLING CORNER ANGLE TRIM
Corner angle trim protects exposed corners and gives clean detailing.
Steps:
- Cut to length with mitre saw.
- Pre-drill holes approx. every 300–400mm.
- Fix using stainless-steel screws.
- Ensure clean overlap over deck board edges.
- Leave small expansion gap where two trims meet.
Tips:
- Mitre corners (45°) for premium appearance.
10. INSTALLING END CAPS (HOLLOW BOARDS)
End caps are very simple but extremely important.
Steps:
- Ensure the board end is clean and square.
- Align end cap to hollow chambers.
- Push firmly until snug.
- Tap lightly with rubber mallet if necessary.
Avoid:
❌ Using end caps on solid boards
❌ Forcing if resistance is high (clean the cavity first)
11. INSTALLING STEP END CAPS (STEP BOARDS)
Designed specifically for step boards.
Steps:
- Identify left and right cap.
- Insert into hollow step board end.
- Push firmly until fully seated.
- Tap gently with mallet if required.
Tips:
- Install after step boards are fixed for best fit.
12. CLEANING & MAINTENANCE
Do:
✔ Sweep regularly
✔ Wash with warm soapy water
✔ Use soft brush or mop
✔ Rinse thoroughly
✔ Clear drainage gaps
Don’t:
❌ Use bleach
❌ Use solvents
❌ Drag metal furniture across boards
❌ Place fire pits directly on boards
13. COMMON INSTALLATION MISTAKES (AND HOW TO AVOID THEM)
❌ No expansion gaps
Boards buckle in heat.
→ Always leave recommended gaps.
❌ Joists too far apart
Boards bounce or sag.
→ Keep spacing 250–350mm max.
❌ Overtightening fasteners
Boards creak or crack over time.
→ Fasteners must allow movement.
❌ Laying boards directly on the ground
Waterlogging and mould follow.
→ Always use a ventilated subframe.
❌ Cutting without support
Chips or splinters appear.
→ Support both ends when cutting.
YOUR DECK IS COMPLETE!