Can You Mount a TV, Shelves or Artwork Over Acoustic Wall Panels?
Time to read 4 min
Time to read 4 min
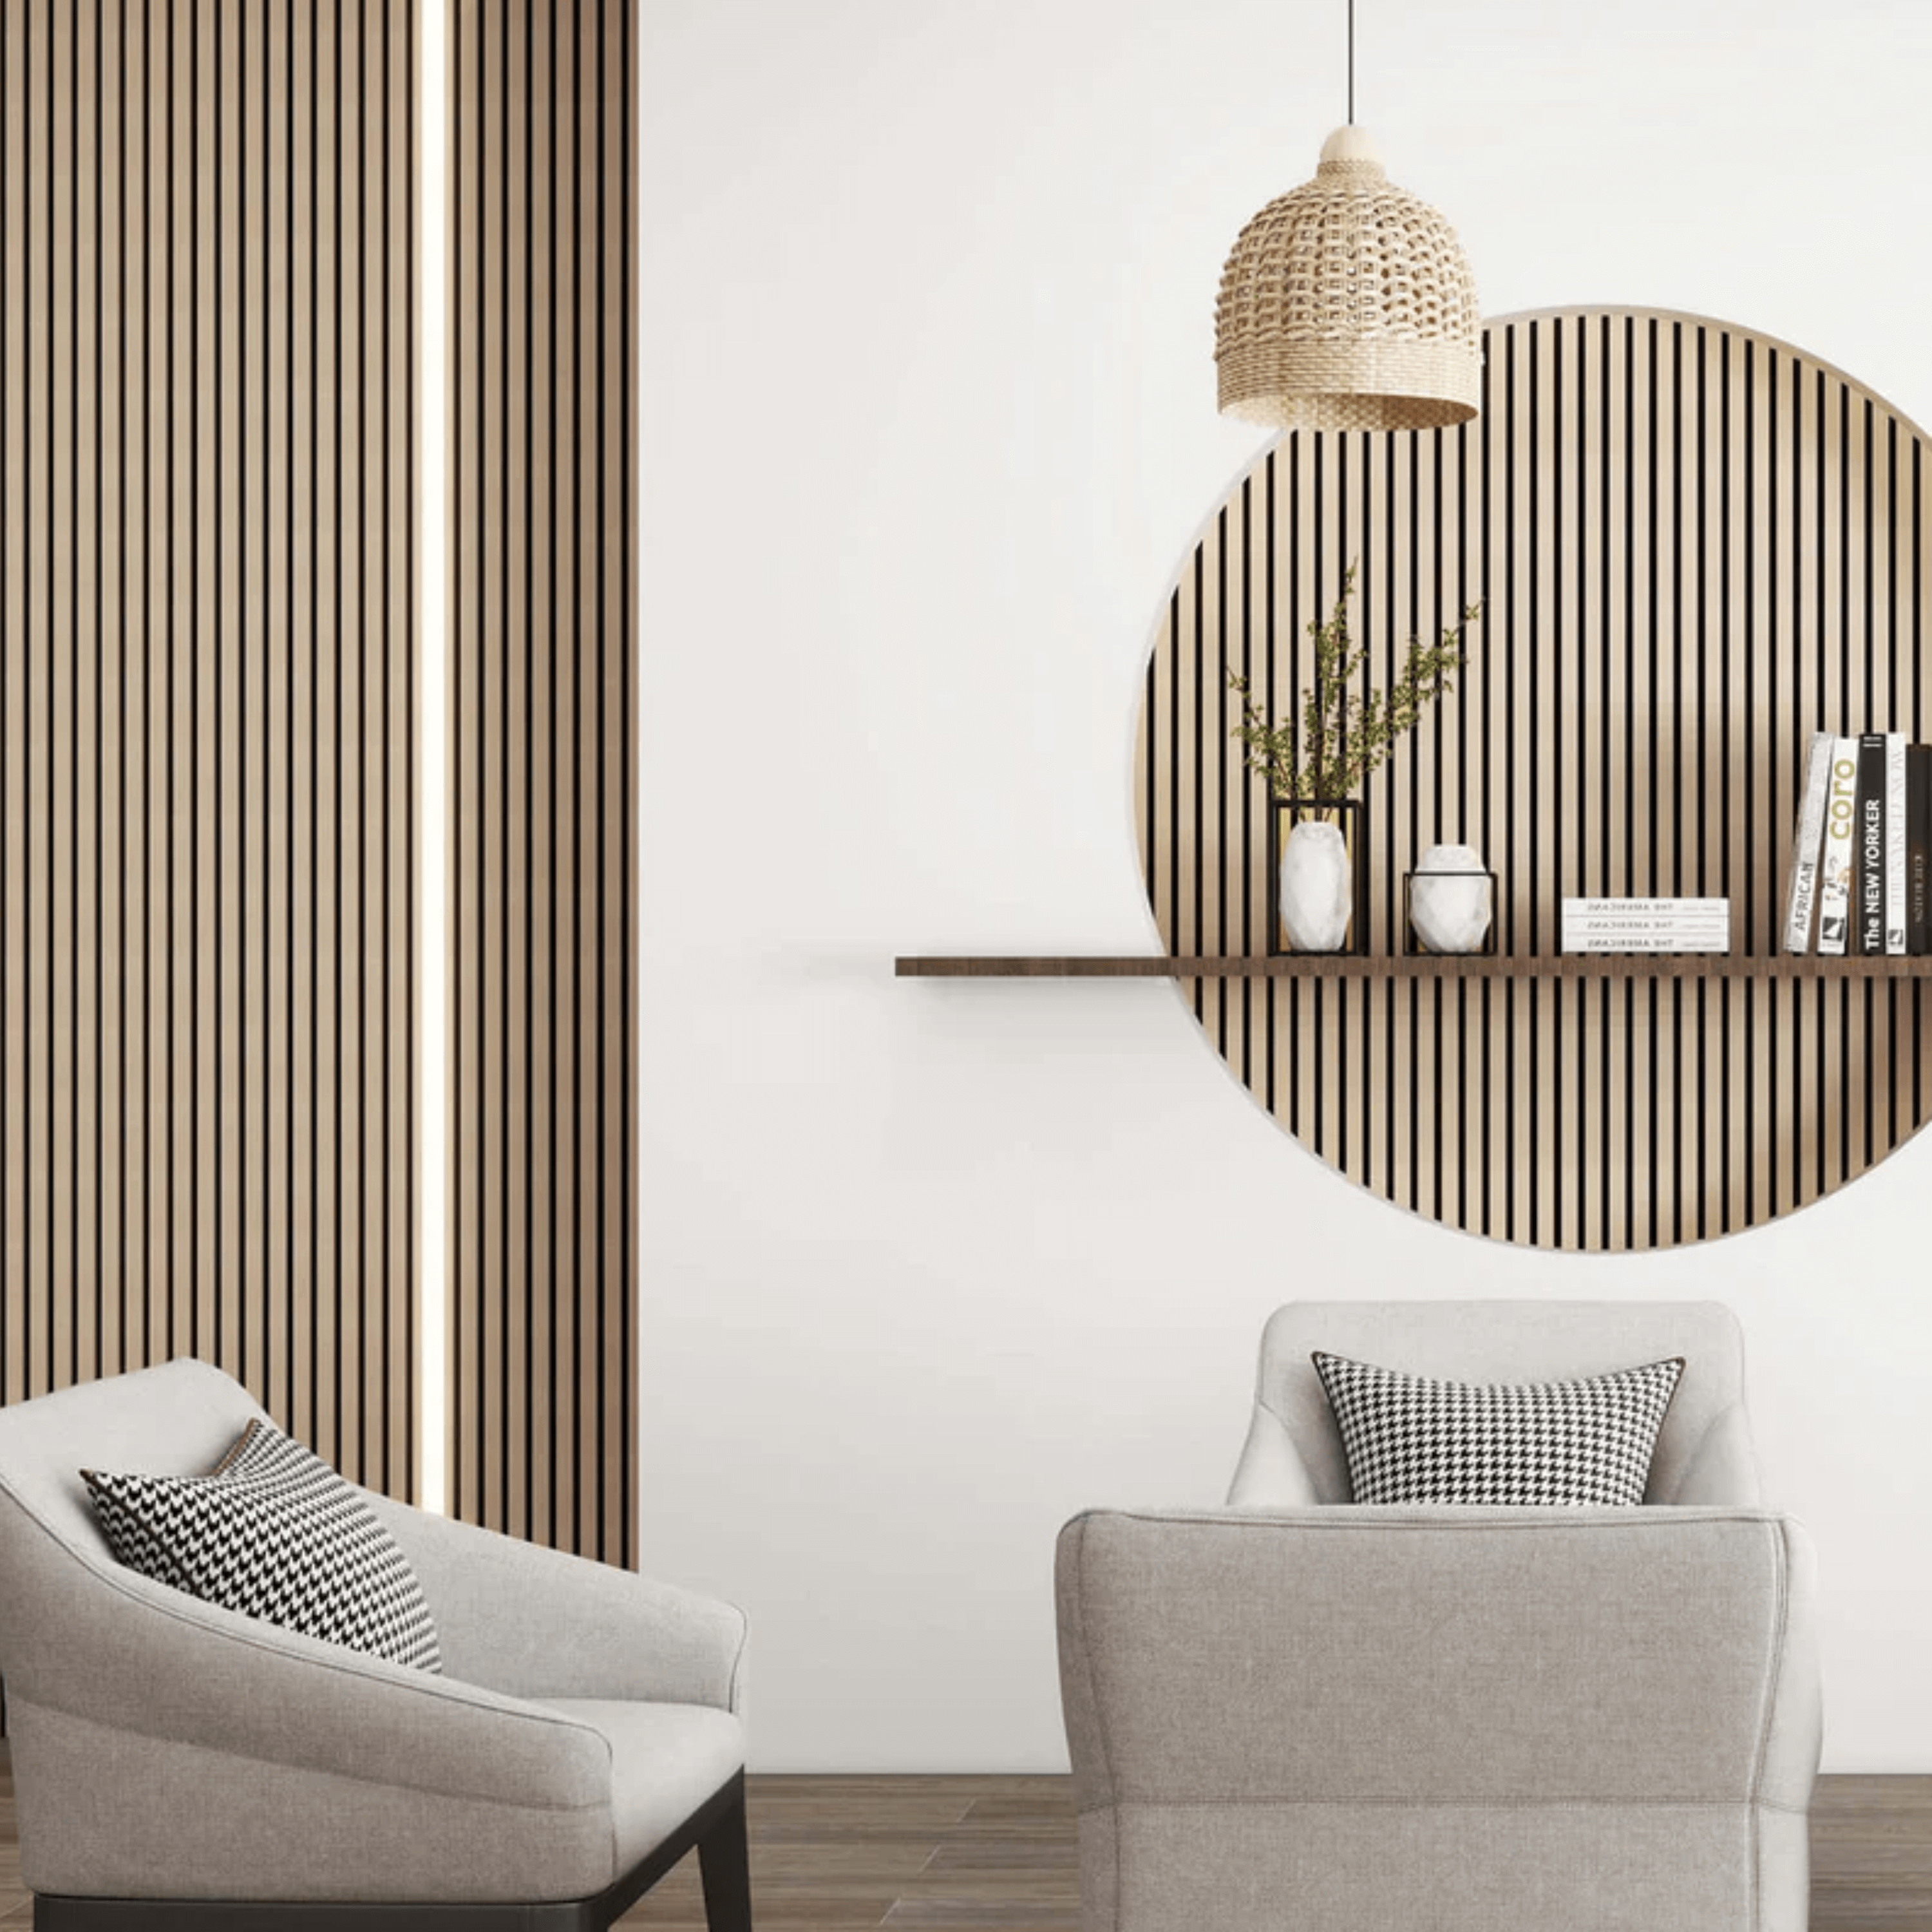
Acoustic wall panels make an effective backdrop for televisions, desks, fireplaces, shelving and artwork. The vertical slats add warmth and texture, while the felt backing helps soften unwanted echo within the room.
They should, however, be treated as a decorative wall finish rather than a structural support.
Television brackets, heavy shelves and large mirrors need to be secured to the wall behind the panels. For the cleanest result, plan and install these fixings before the acoustic panels go up.
Before cutting or fitting anything, mark out the complete panelled area and decide where every permanent feature will sit.
This may include:
The straight vertical lines of acoustic panels make alignment more noticeable than it might be on a plain wall. Check that the television, desk or main feature will sit centrally within the finished layout.
You should also decide whether the panels will cover the whole wall or create a narrower feature section. Browse our acoustic wall panel collection to compare the different finishes before settling on the final design.
Heavy fixtures such as television brackets should be installed before the acoustic panels.
The bracket must be secured using fixings that are suitable for the wall construction. Do not rely on the wooden slats or felt backing to hold the weight of the television.
Before installation, check:
Once the bracket is in position, the acoustic panels can be measured and cut around the mounting points.
Keep the opening as neat as possible, but do not make it so tight that the bracket cannot be adjusted. You may need to reach the fixings, change a cable or remove the television in the future.
A tidy media wall still needs to remain practical.
Heavy shelves should be approached in the same way as a television bracket. Fit the structural supports first, then install the acoustic panels around them.
Think about what the shelf will hold. A shelf for books, speakers or equipment will need more support than one used for a few lightweight decorations.
Plan the:
Floating shelves can work particularly well against acoustic panels, but their concealed supports must still be fixed securely to the wall behind.
Small framed prints, clocks and lightweight decorative pieces can be added after the panels have been installed.
Allow the adhesive to cure for 24 hours, then pierce through the felt backing and secure the fixing into the wall behind the panel.
Do not hang decorative items directly from one of the wooden slats.
Large mirrors, heavy artwork and substantial wall decorations should be planned before installation and treated in the same way as other heavy fixtures.
Media walls often need more connections than people first expect.
Before installing the panels, decide where you will need:
If the panels are being fitted over existing sockets, cut the openings carefully before fixing the panel to the wall. Spacer rings may be needed on the electrical boxes to accommodate the additional panel depth.
Sockets must be secured into the panel and the wall behind it. Any changes to wiring or electrical boxes should be completed by a qualified electrician.
It is also worth considering how cables will be replaced or disconnected later. Avoid hiding important connections in areas that cannot be reached without removing part of the panelled wall.
We do not recommend installing acoustic panels directly behind a radiator or immediately beside a direct heat source. Continued exposure to heat and humidity may affect the wood veneer over time.
Where the feature wall includes a fireplace, check the appliance manufacturer’s clearance requirements before deciding where the panels will begin and end.
The fireplace should also remain accessible for servicing. Do not copy the spacing shown in another customer project without first checking the requirements for your own appliance.
The main fixture should guide the panel layout.
Order samples before committing to a finish, particularly when matching panels with existing flooring, wood furniture, or cabinetry. Explore the available options in the acoustic wall panel collection.
Before work begins, confirm:
Televisions, shelves and artwork can all be incorporated into an acoustic-panel feature wall. The important point is that the wall behind the panels must support the fixture.
Install heavy brackets first, plan sockets and cables before fitting, and attach lightweight decorations through the felt into the wall after the adhesive has cured.
Read our slat wall panel installation guide before starting the project.