Getting your bathroom measurements right is essential for a smooth installation and a perfect finish. Whether you’re fitting full wall coverage, a shower enclosure, or a half-height splash back, knowing exactly how many panels to order will save time, reduce waste, and prevent costly delays.
This guide will walk you through:
How to measure accurately
How to avoid common mistakes
How to calculate the right number of panels for your project
Which panel type is best for your space

Why Choose Bathroom Shower & Wall Panels Over Tiles?
Bathroom wall panels are a stylish, low-maintenance alternative to traditional tiles:
100% waterproof when installed correctly with trims and sealant
Quick to fit with minimal preparation
Easy to clean with no grout lines to scrub
Wide range of finishes to suit any bathroom style

Tools You’ll Need to Measure
- 5m+ steel measuring tape (for accuracy)
Pencil and notepad (or phone)
Spirit level (to check for wall straightness)
Stepladder (for high walls)
- Masking tape (optional, to mark panel coverage)


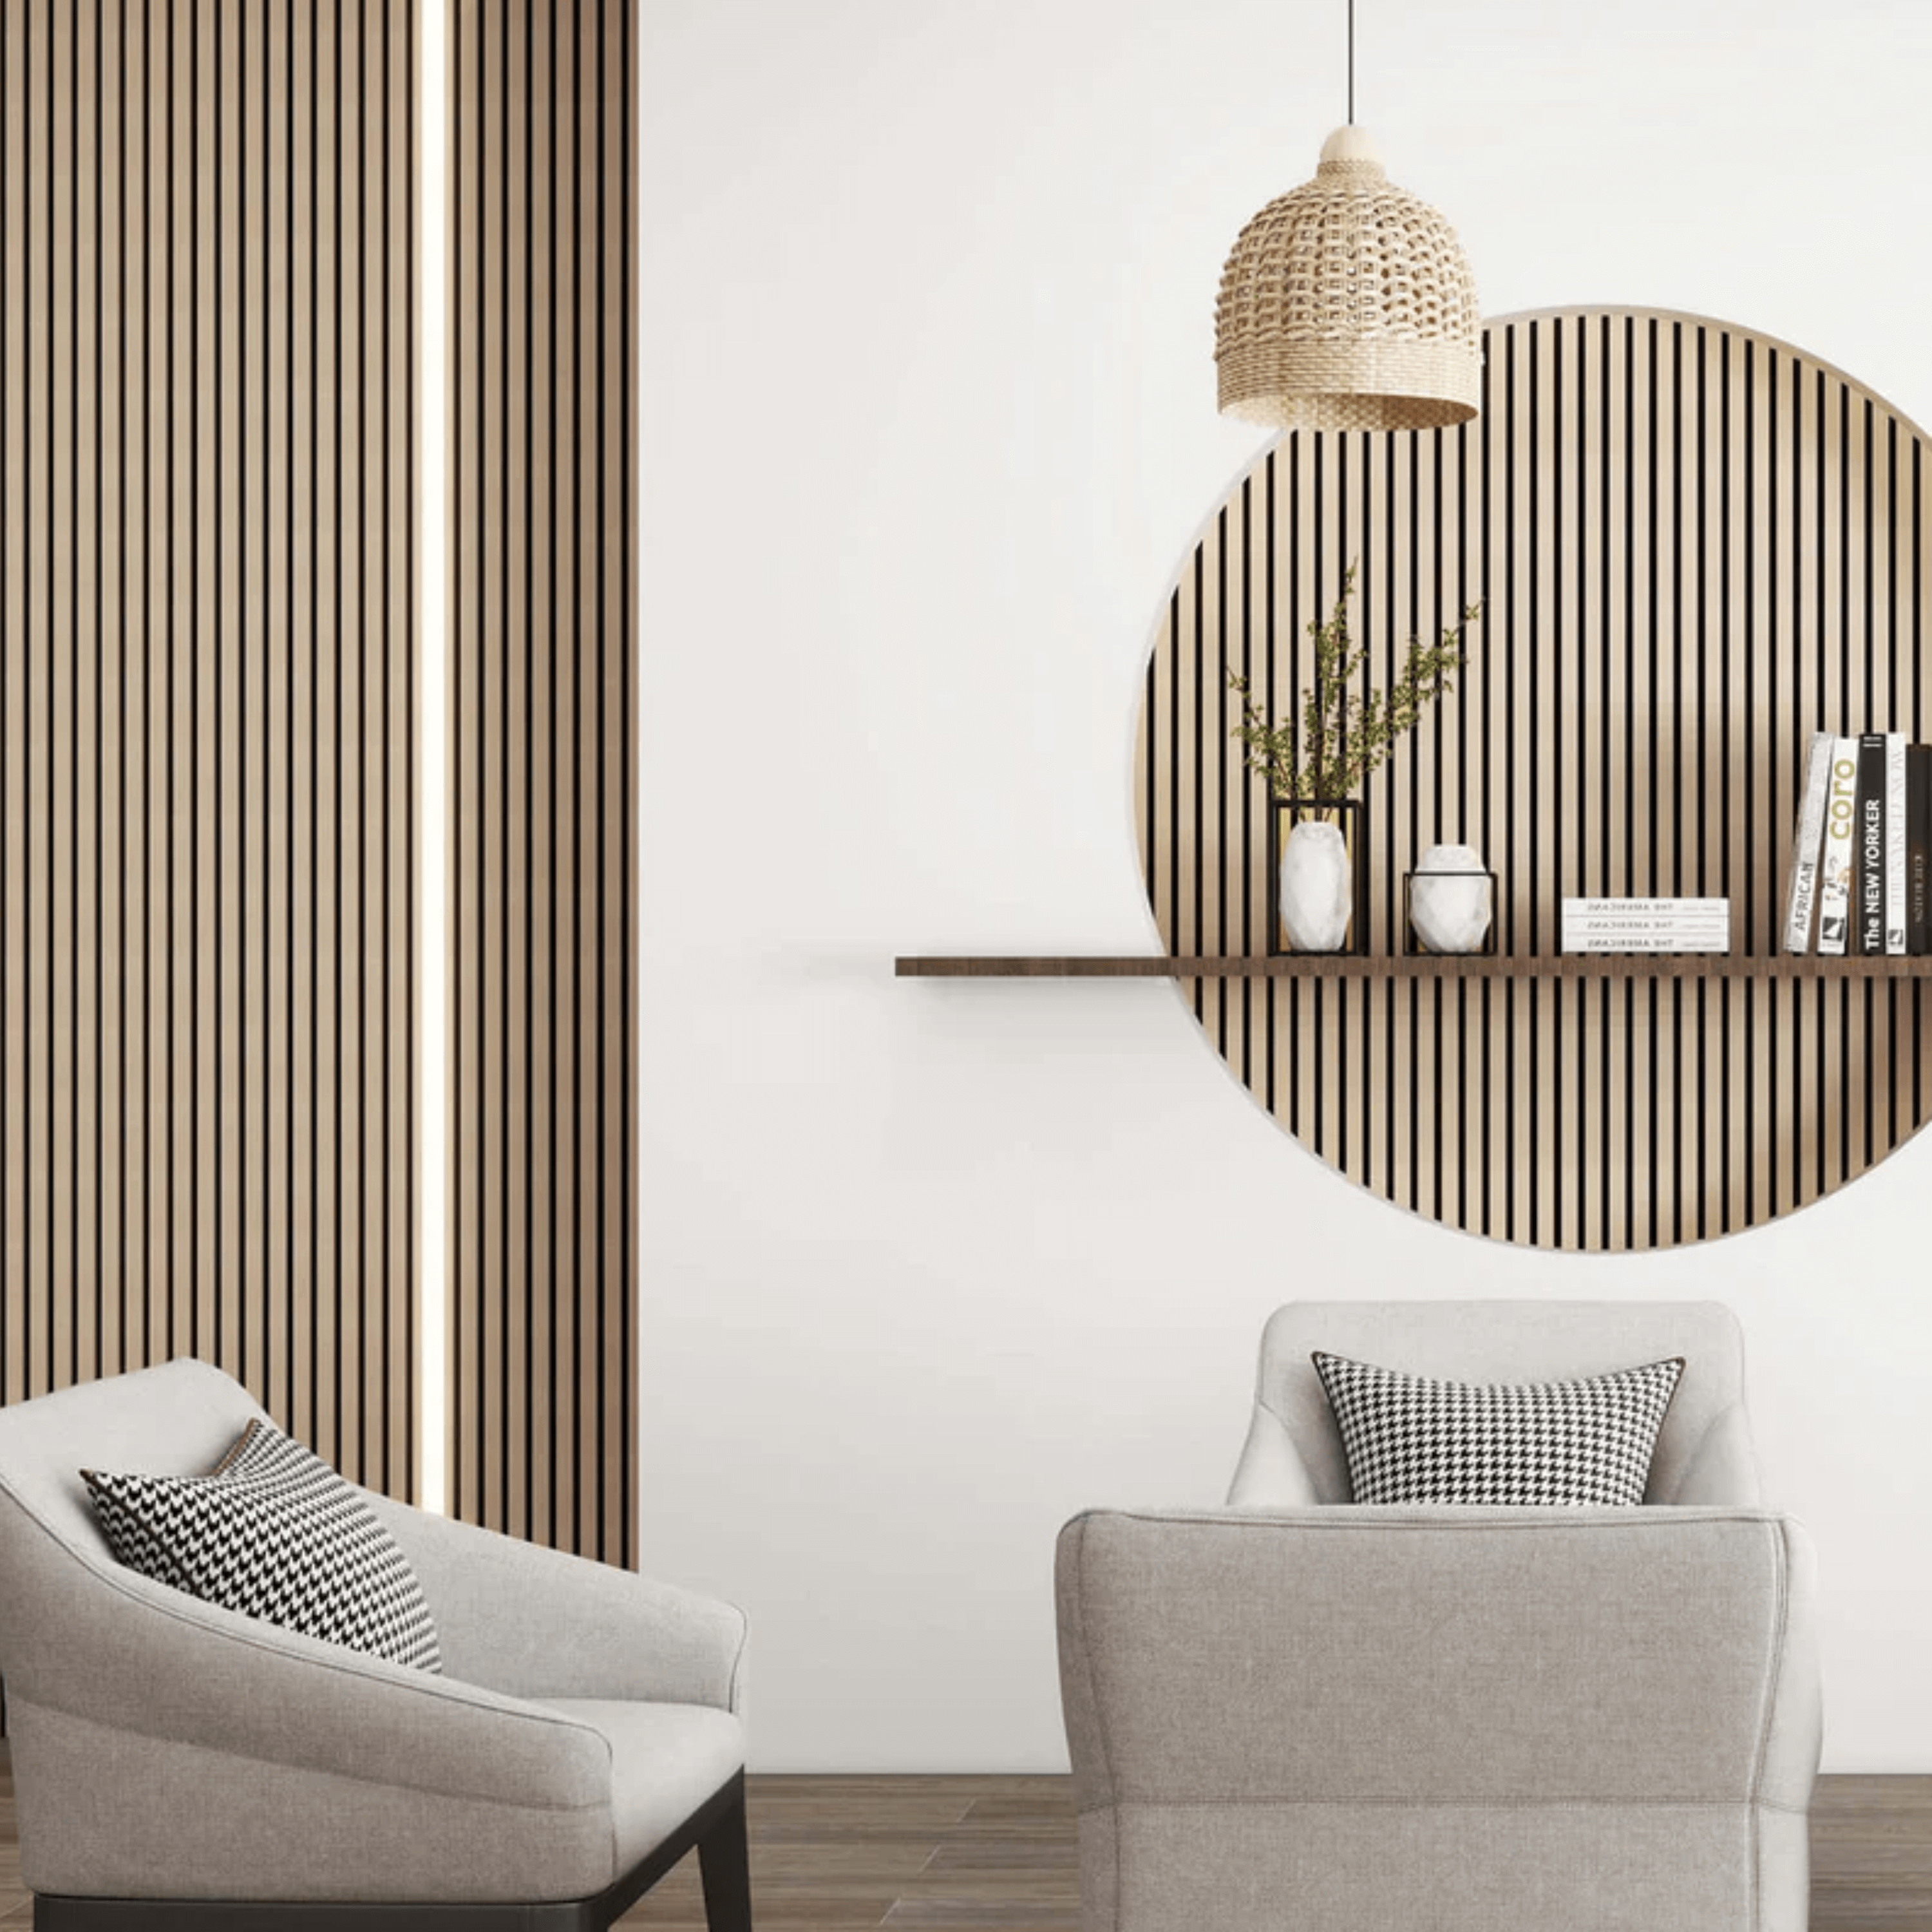
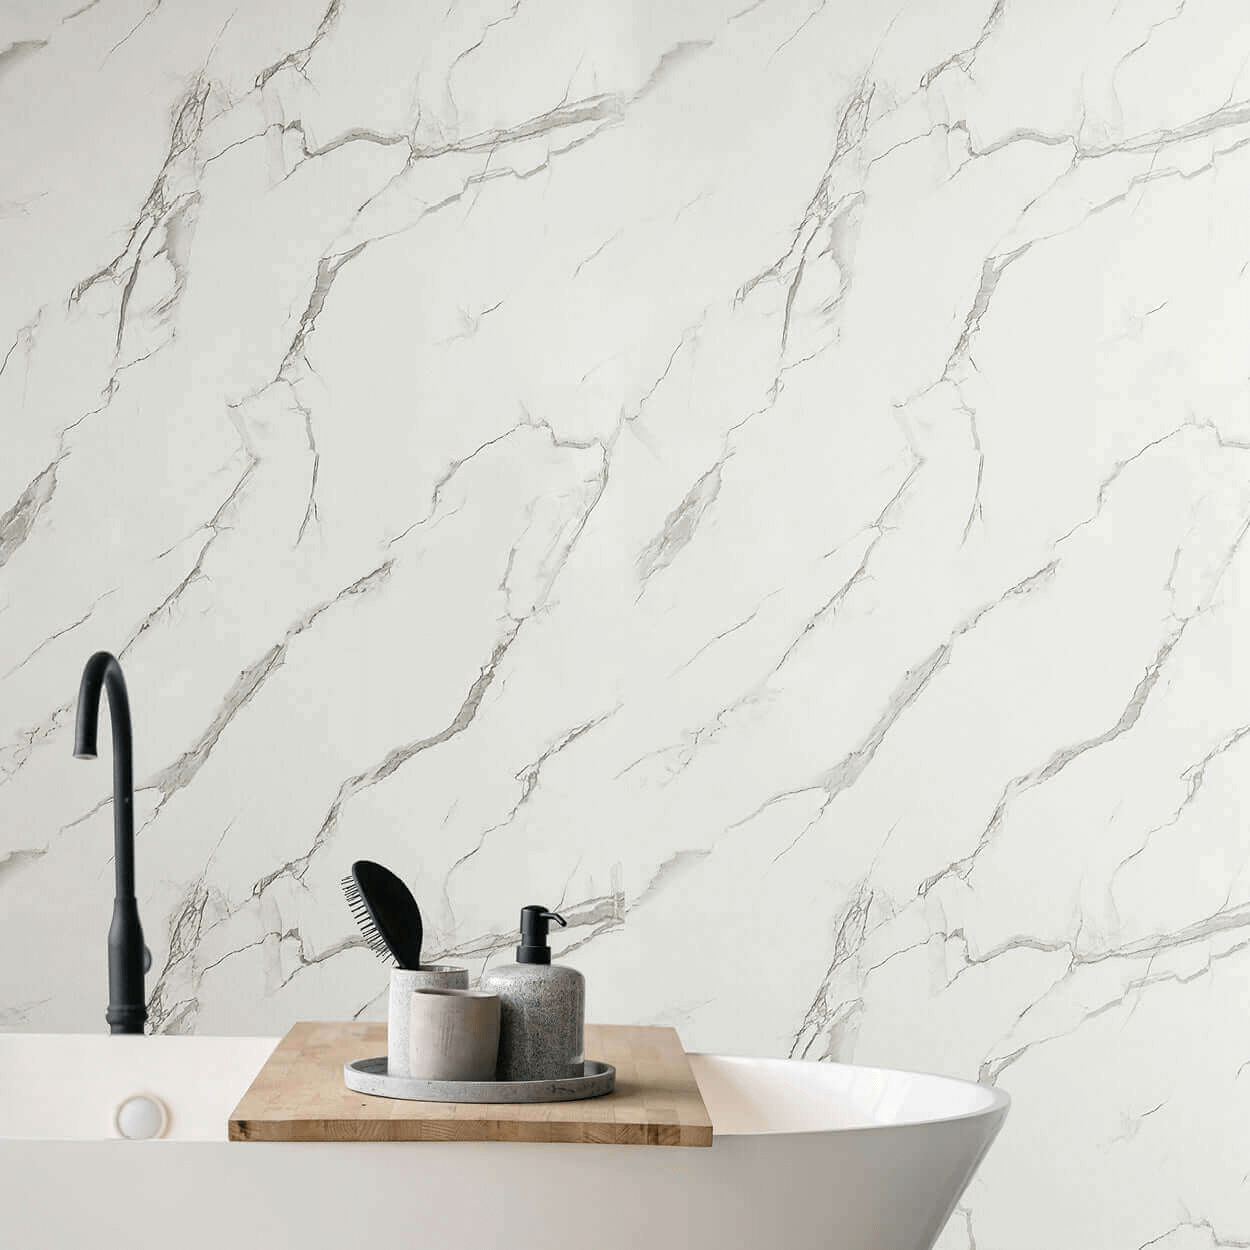
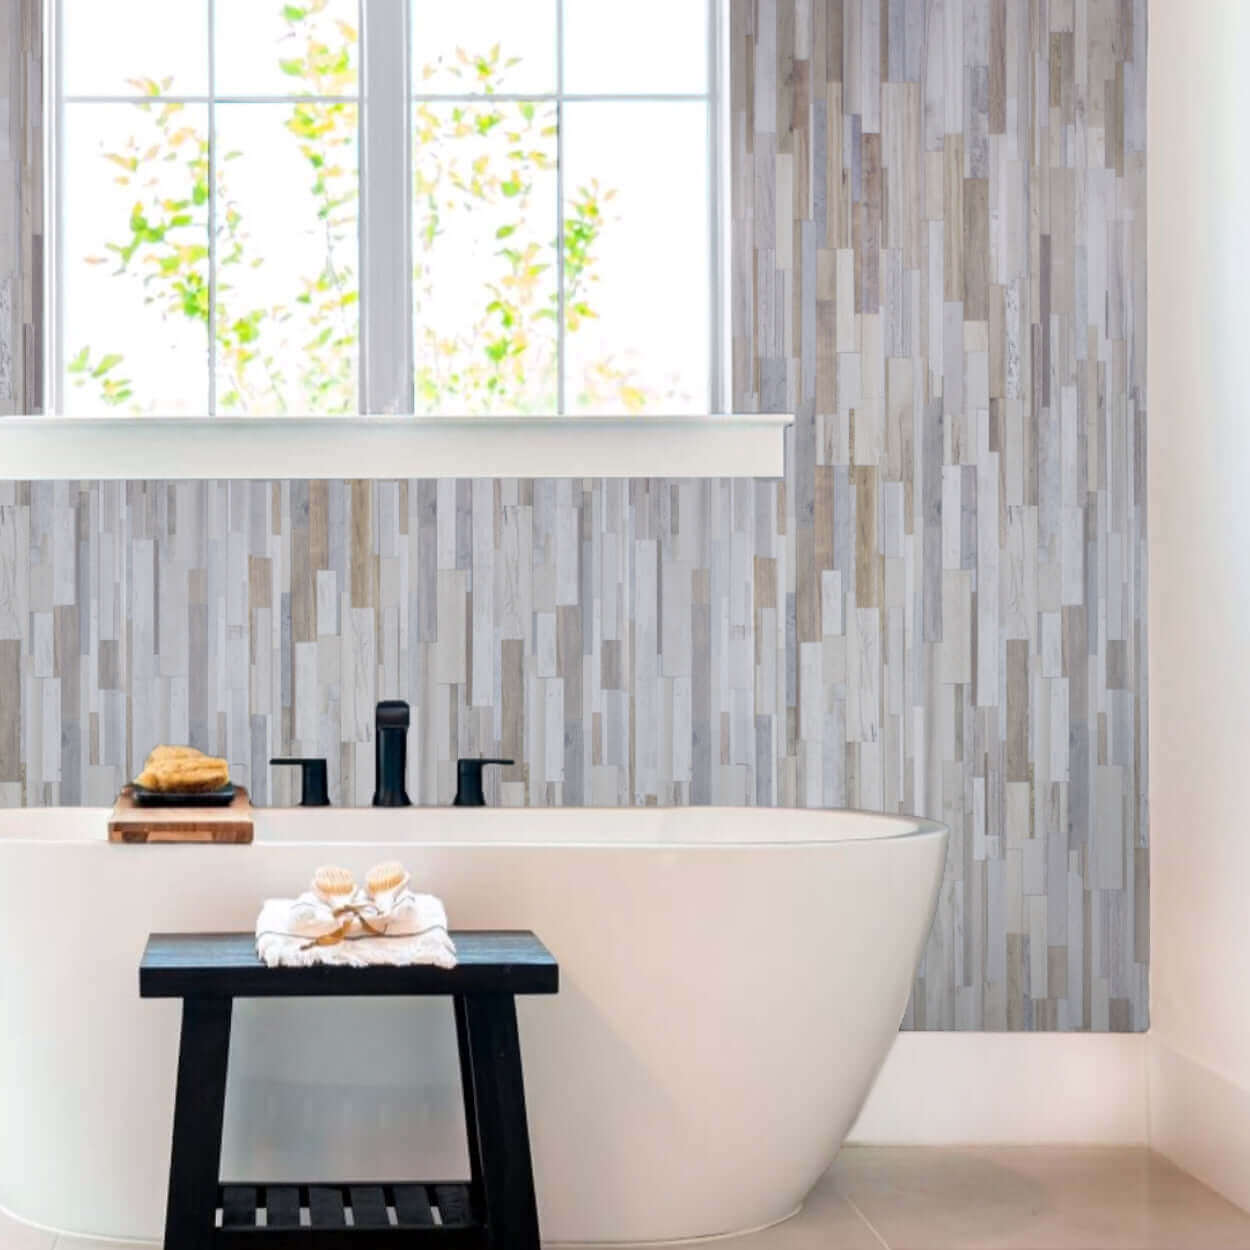
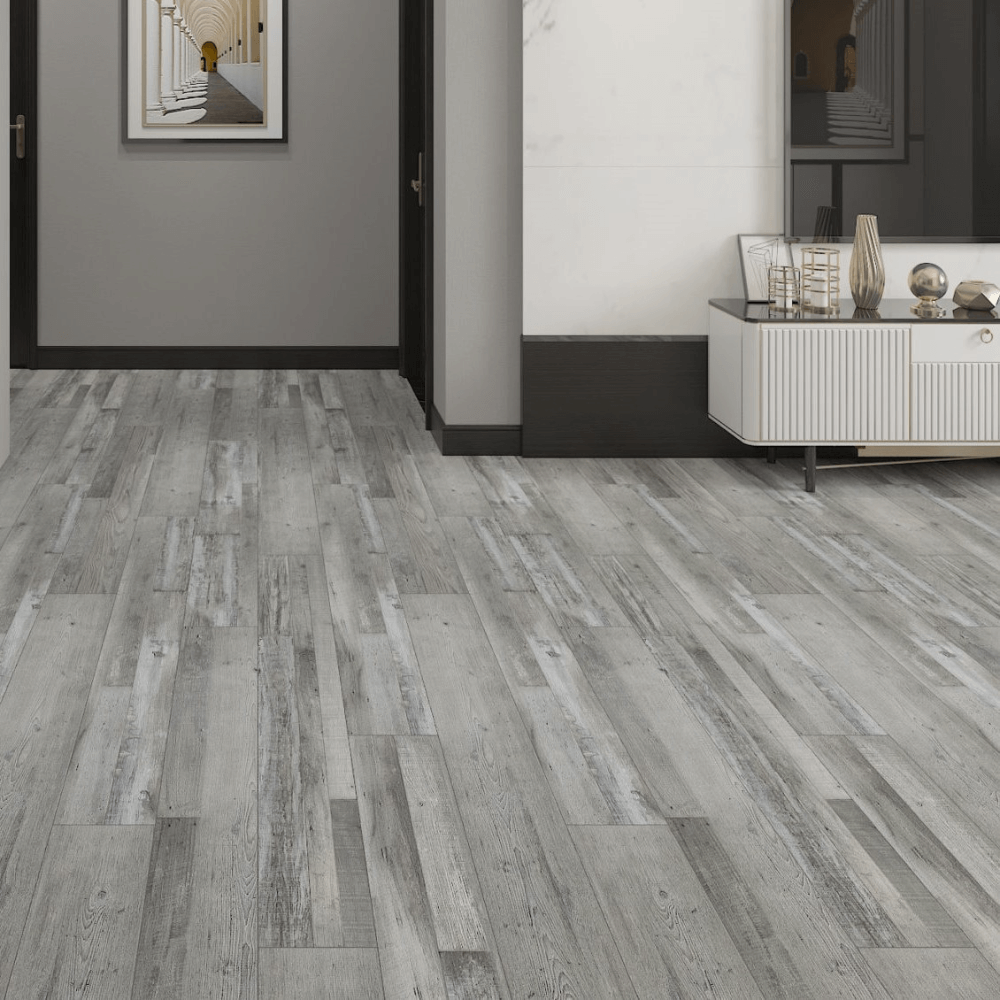
Bathroom Panel Sizes & Best Uses
We offer two main thicknesses and sizes of PVC panels for bathrooms:
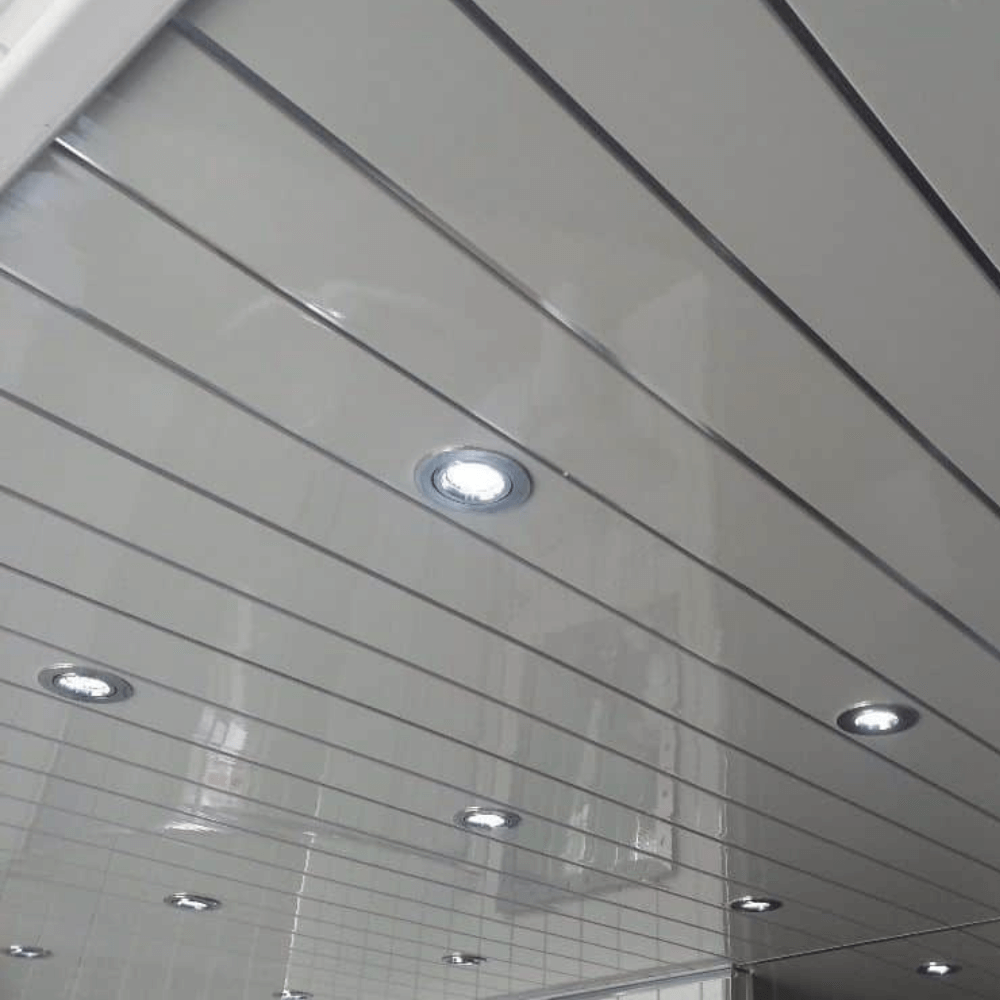
10mm Thick Shower Panels
Size: 1m wide × 2.4m high
Best for: High-moisture areas such as shower enclosures and wet zones
Benefits: Large coverage per panel, fewer joins, more rigid and durable
8mm Thick Bathroom Wall Panels
Size: 250mm wide × 2600mm high (supplied in packs of 4 = 1m wide × 2.6m high total coverage)
Best for: General bathroom walls, utility rooms, and lower-moisture areas
👉 Choosing your panel type before measuring will make your calculations more accurate.
Step-by-Step: How to Measure Bathroom Walls
1. Measure Each Wall Separately
Measure from one corner to the other at floor level, mid-wall, and near the ceiling.
Record the largest measurement, as it’s always easier to trim panels down for a perfect fit than to fill unexpected gaps.
Repeat for every wall — bathrooms often have slight variations or irregular shapes.
2. Measure Wall Height
Measure from the finished floor to the ceiling.
If installing above a bath or shower tray, measure from the tray/bath edge to the ceiling.
Panels can be trimmed down, but exact measurements help you plan cuts more accurately.
3. Record Obstacles and Fixtures
-
Mark and measure the position of:
Windows and alcoves
Pipes, taps, shower valves, niches
Doors (if panelling above them)
Extractor fans, switches, or sockets
Easy Panels’ Top Measuring Tips
Measure after removing old tiles/panels — wall dimensions can change
Plan joins so they’re in discreet areas, not mid-window or mid-feature
Check ceiling height in several spots (especially in older homes)
Don’t forget trims and silicone sealant for a watertight finish
How to Calculate How Many Panels You Need
For 10mm Shower Panels (1m wide × 2.4m high):
Add up the total wall width you want to cover.
Divide by 1 metre (the panel width).
Round up to the nearest whole panel.
Example:
Wall width = 3.4m
3.4 ÷ 1 = 3.4 → 4 panels needed
For 8mm Wall Panels (250mm wide × 2600mm high, packs of 4):
Add up the total wall width you want to cover.
Divide by 0.25 metres (the width of a single panel).
Round up to the nearest whole panel.
Single Wall Example:
Wall width = 2.5m
2.5 ÷ 0.25 = 10 panels needed
Multiple Wall Example:
Wall 1 = 2.5m , Wall 2 = 2.5m → total width = 5m
5 ÷ 0.25 = 20 panels needed
✅ Always calculate each wall separately, then add them together for your total. This avoids underestimating if walls vary in width or height.

Should You Order Extra?
We strongly advise ordering around 10% more than your calculated area. This extra allows for small mistakes, offcuts, or pattern matching during installation. It also ensures all panels come from the same batch — as we might not be able to guarantee a perfect colour match on a second delivery.
DIY vs Professional Installation
- DIY-friendly: Bathroom panels are generally easier to fit than tiles, making them ideal for competent DIYers.
-
Professional recommended: For shower enclosures and high-moisture zones, professional fitting ensures perfect waterproofing and longevity.
Mistakes to Avoid and Wall Preparation
👇Be sure to read our DIY guides on Top 7 Mistakes To Avoid When Installing Shower Panels and Steps to Ready Your Wall For Shower Panels.