Planning a Bathroom Refresh Before Christmas: What to Order and When
Time to read 6 min
Time to read 6 min
If you are hoping to refresh your bathroom before Christmas, the first decision is how much you want to change.
New shower panels and a few finishing touches create a very different project from replacing the bath, moving the basin and changing the floor.
Before choosing a finish, work backwards from the date you need the bathroom ready. Allow time for samples, measurements, delivery and installation, with some breathing room between each stage.
Here is how to put a practical plan together.
Start by looking at the bathroom you already have.
Does the layout work? Are the bath, basin and toilet in good condition? Is it mainly the wall finish that makes the room feel tired?
If the existing fittings still suit your needs, keeping them can make the project more manageable. A different backdrop may be enough to change how the whole space feels.
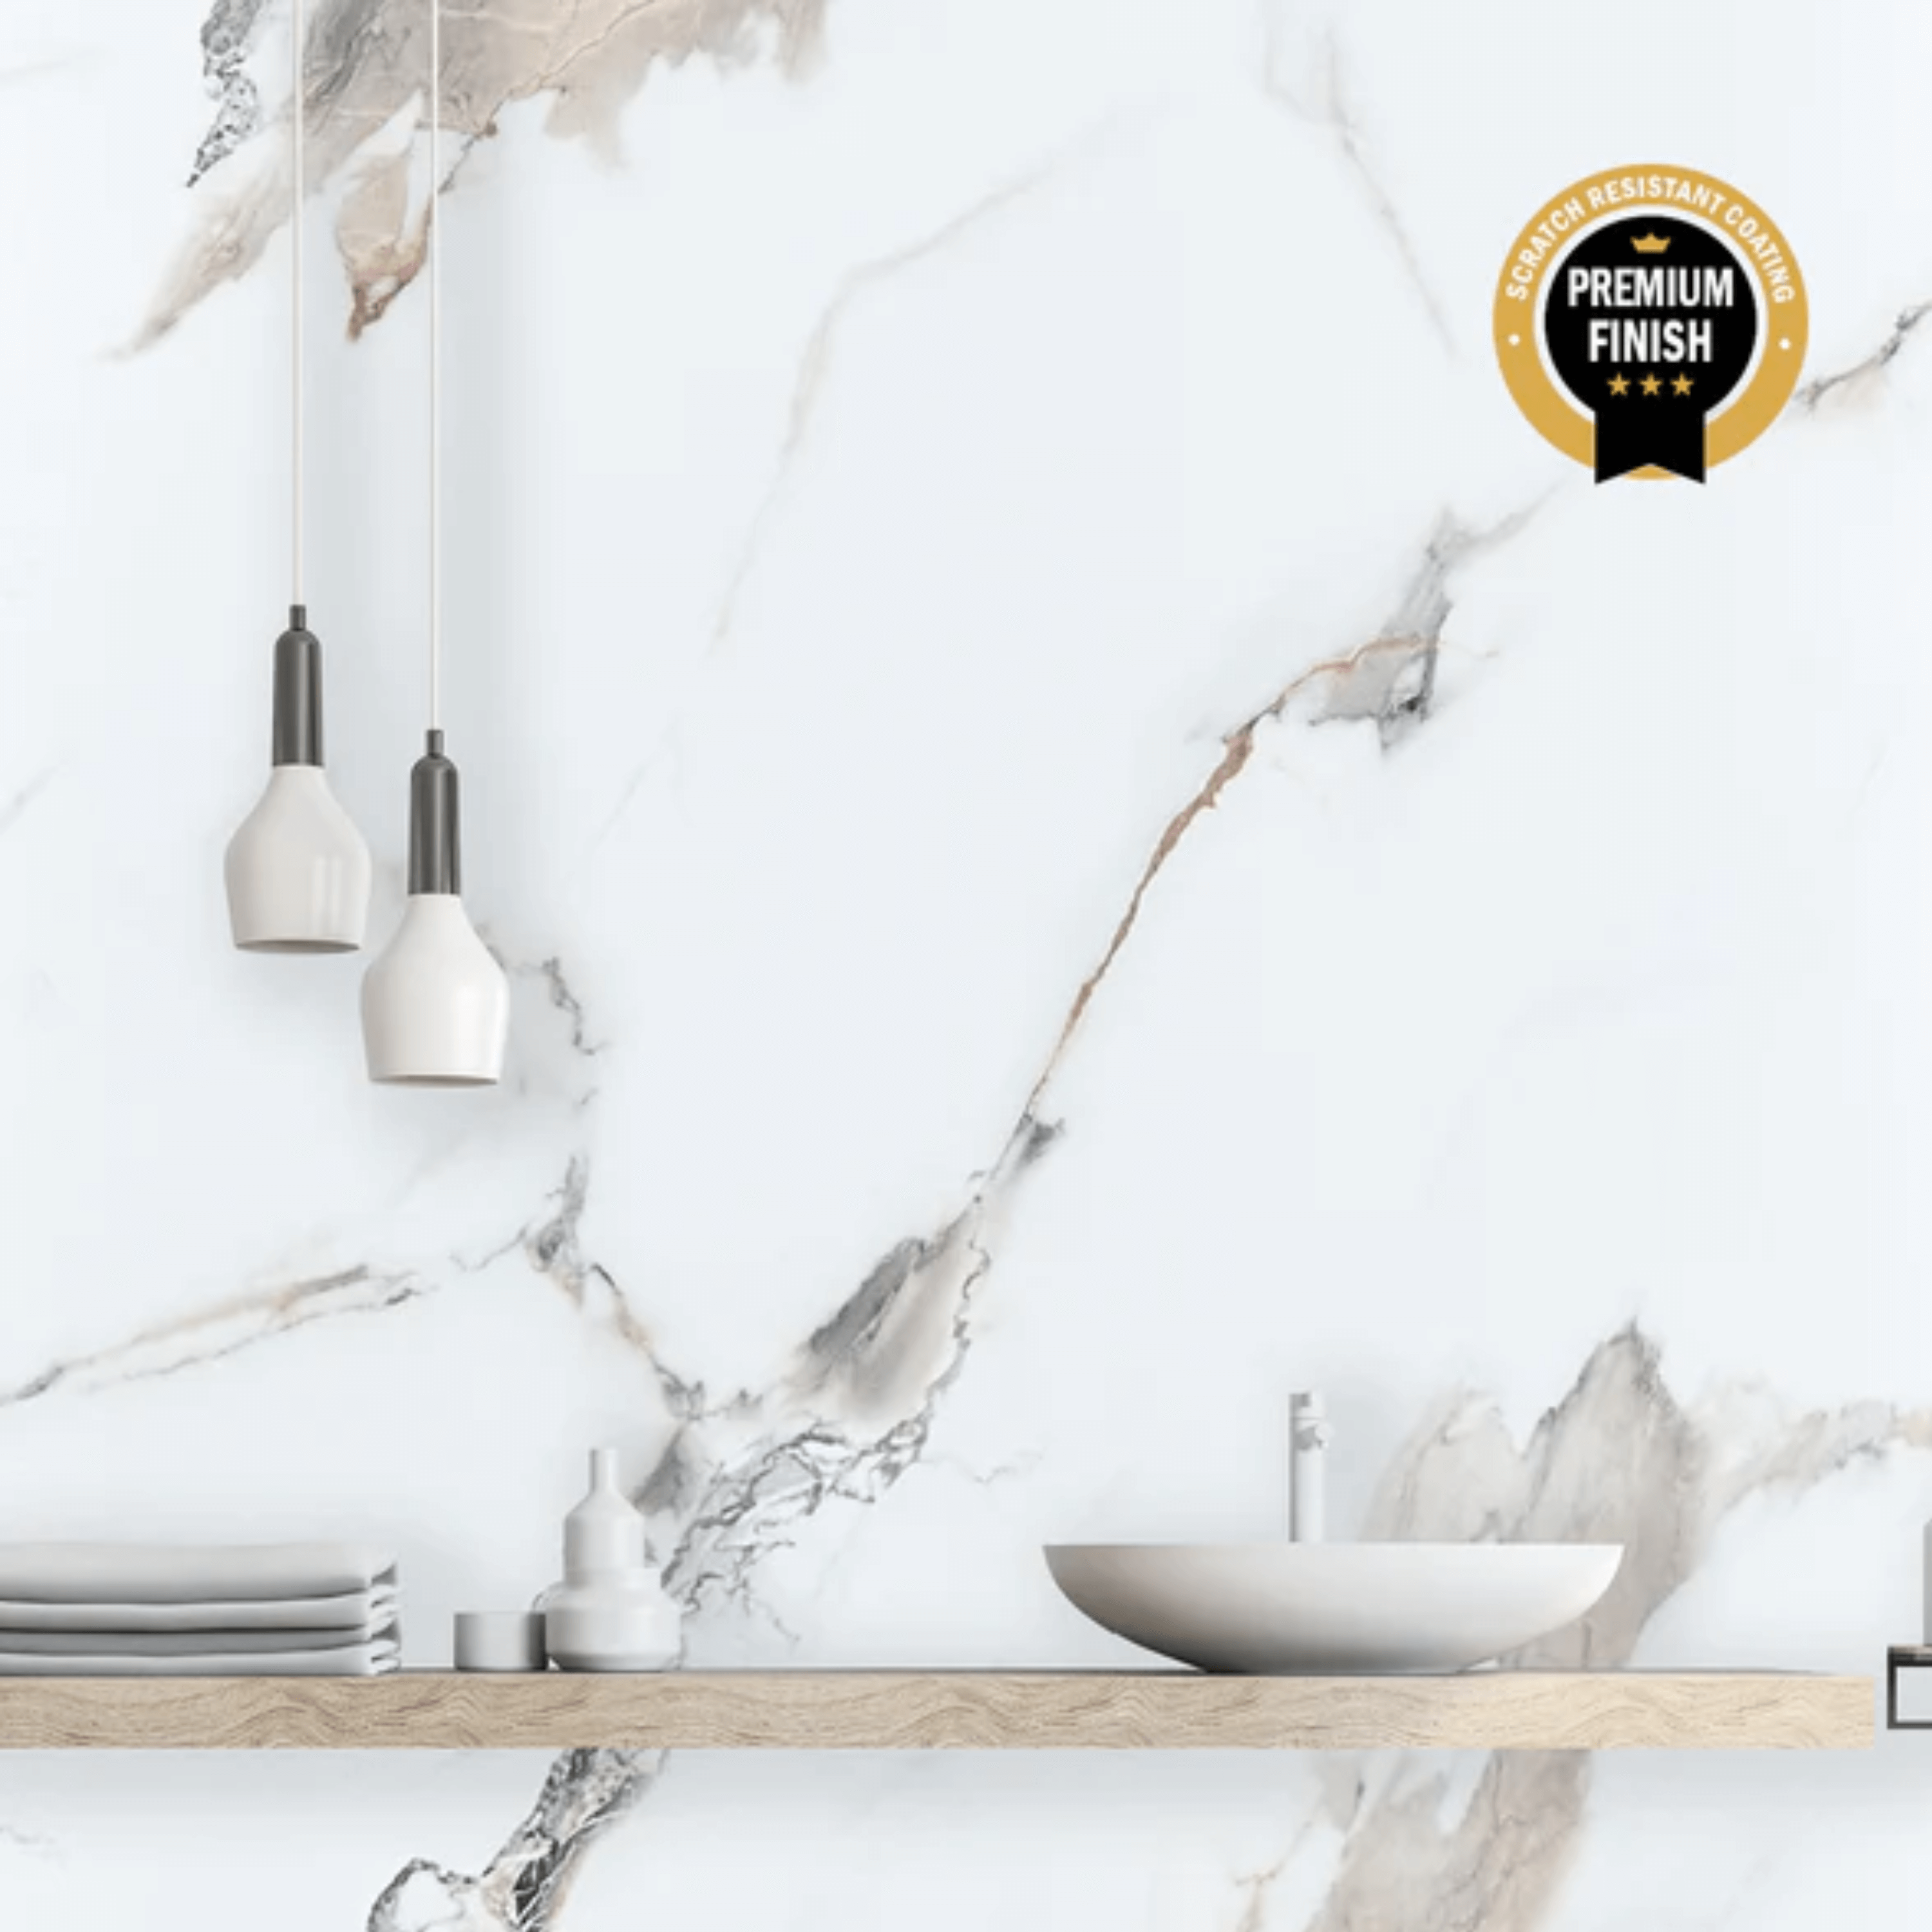
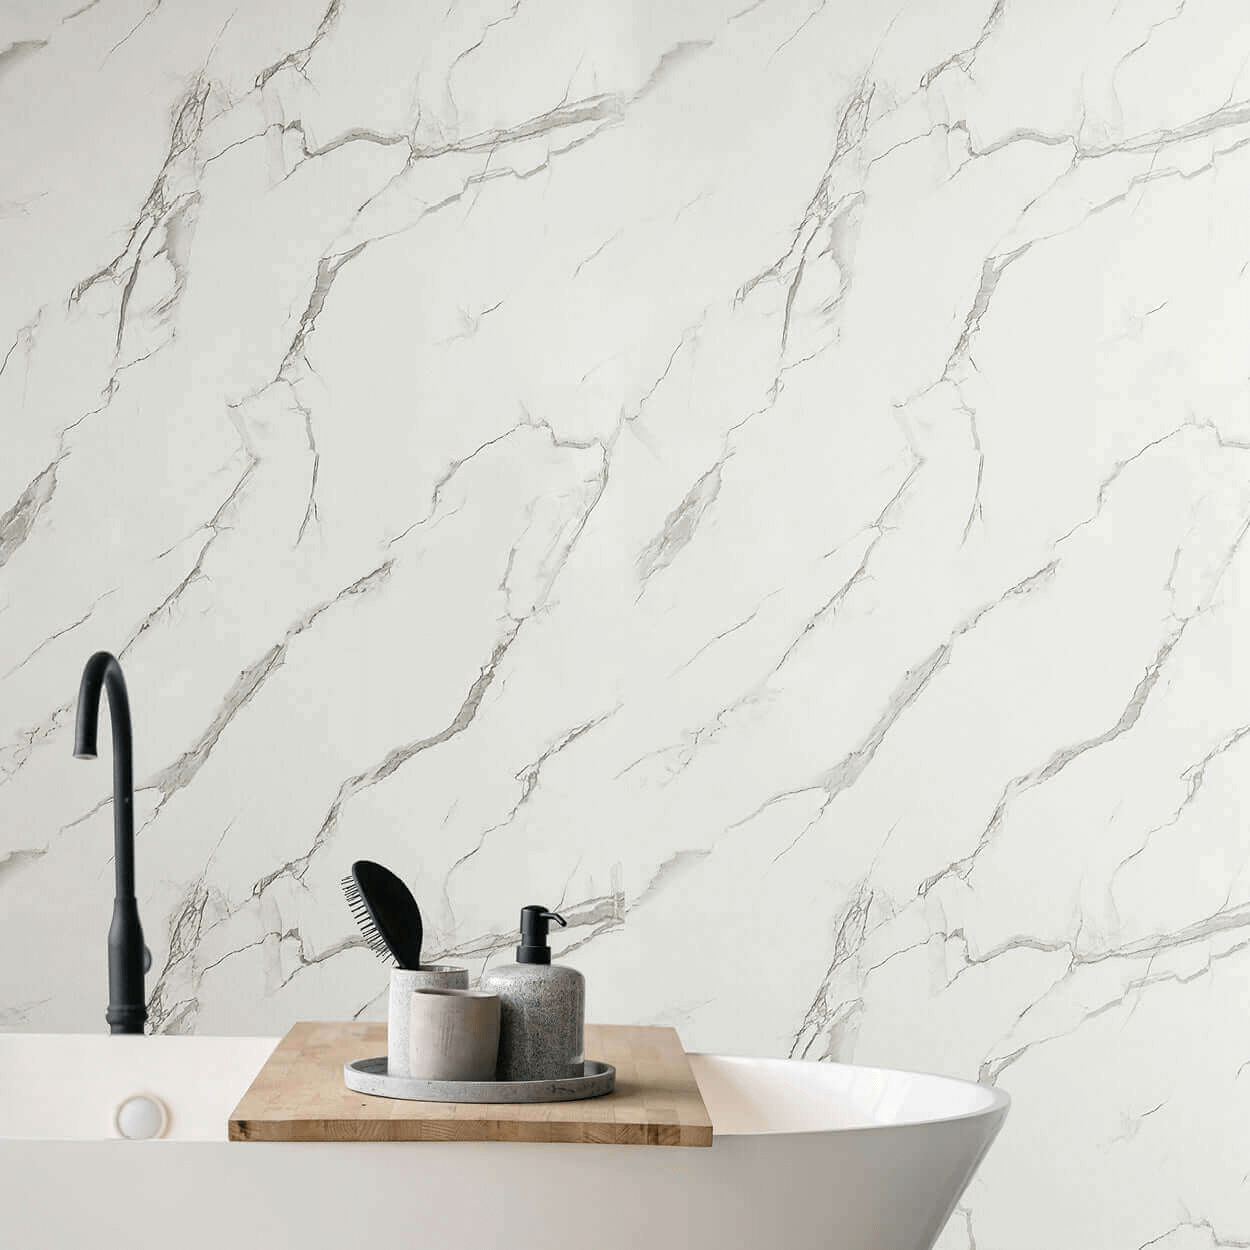
A soft stone effect can bring warmth beside white sanitaryware. Pale marble can brighten the overall colour scheme, while a deeper blue creates a stronger focal point around the shower.
Think about the extent of the work before making your shortlist:
A focused refresh: update the shower walls and a few accessories.
A wider wall refresh: continue the panels around the bath or basin.
A larger renovation: change wall finishes alongside flooring, furniture or fittings.
If you are unsure how far to take the panelling, our guide to panelling the whole bathroom or just the shower can help you compare the options.
If you want professional installation, speak to your installer while you are deciding on the scope.
Explain which surfaces you want to change and whether you are keeping the existing fittings. Share photographs and measurements, and arrange a visit if needed.
Ask how much time they expect to need for preparation, fitting and finishing. Confirm whether removing and refitting items such as the shower screen or basin is included.
This gives you a realistic starting point for the rest of the plan.
For DIY projects, read the installation instructions before choosing your working dates. Make sure you are comfortable with the measuring, cutting and sealing involved, and check which tools you need.
Our how-to guides are a useful place to start.
When you have a deadline, it can be tempting to choose straight from a photograph.
Give yourself time to see your shortlist in the actual bathroom.
Hold each sample vertically against the wall and compare it beside the finishes that are staying. Look at it near the flooring, vanity and bath, then check it again with the bathroom lights switched on.
Pay attention to the overall combination.
A warm stone finish may sit comfortably beside oak furniture, while a cooler grey can create a different effect. Gloss and matt surfaces also interact with the room’s lighting differently.
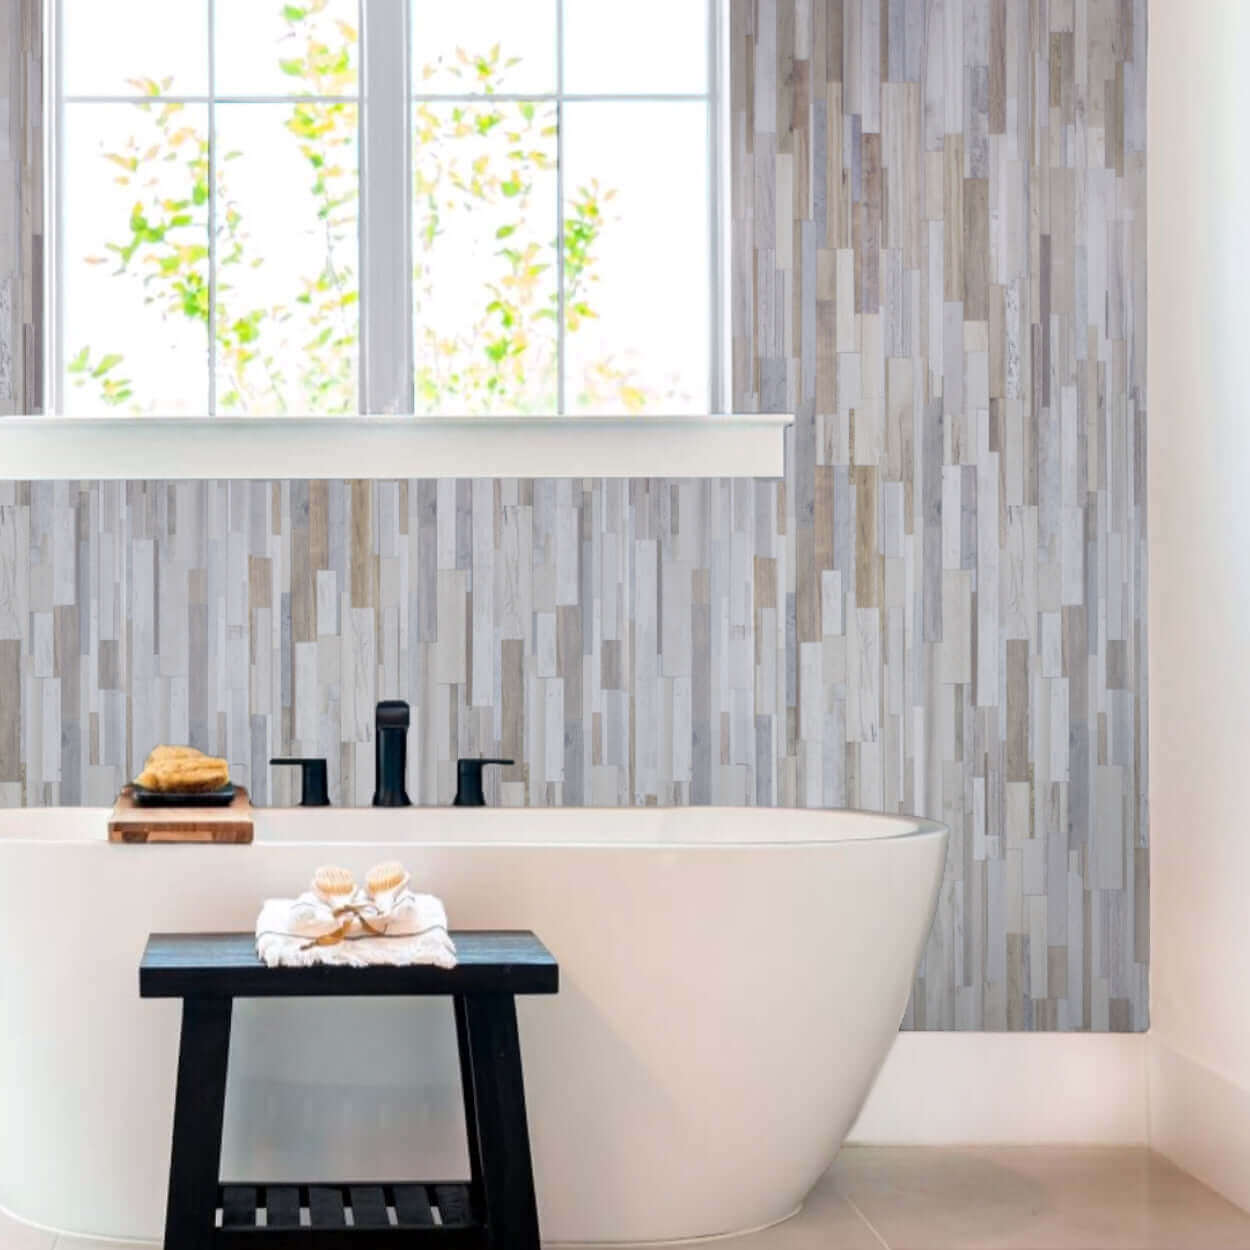
A small sample helps you judge colour and surface finish. Use full-panel photographs and room images to assess the scale of marble veining, tile effects or larger patterns.
Order your wall and shower panel samples while there is still time to compare them without rushing.
Once you have chosen the panels, turn the idea into a wall-by-wall plan.
Measure the height and width of each section, noting windows, corners, pipework and fittings. Check the dimensions and usable coverage of your chosen panels before working out quantities.
Think about where the cuts will fall and whether suitable offcuts can be used elsewhere. Total wall area is helpful, but it does not show every narrow section or awkward corner.
Your shopping list should include:
The panels required by your layout and cutting plan.
Compatible internal and external corner trims.
Trims for exposed edges.
Recommended adhesive and sealant.
Any additional components specified in the fitting instructions.
Tools and materials needed for preparation.
Choose trims alongside the panels. Their size and profile need to suit the system, and their colour will affect the finished appearance.
You can browse our 10mm panel trims and adhesives and sealants as you build your list.
If an installer is doing the work, ask them to check the quantities and accessories before you order.
Plan for your materials to arrive before the work begins, with time to inspect them.
Check the current stock status and delivery information for your order and address. Around a fixed deadline, it is particularly useful to confirm availability for the complete basket, including trims and accessories.
Once everything arrives, check:
The panel design, size and quantity.
The condition of the panels and trims.
That the accessories match your chosen system.
That all fitting materials are present.
Follow the product guidance for storage and any preparation required before fitting.
If something needs resolving, this gap gives you time to contact the supplier before the bathroom is taken apart.
The installation plan needs to cover more than putting panels on the wall.
Existing surfaces may need cleaning, repairing or removing. Fittings may need taking off, and any leaks or damp problems need resolving before the new finish goes up.
Allow time for those stages when planning how long the bathroom will be unavailable.
After fitting, follow the specified curing times for the adhesive and sealant before exposing the installation to water. Your installer should explain when the shower or bath can be used again.
Avoid setting the first use of the bathroom for the moment your guests arrive. Leaving a buffer gives you time to check the completed work and deal with any finishing details.
Use the installation date as your reference point, then work backwards.
| Stage | What to arrange or order | Before moving on |
|---|---|---|
| Decide the scope | Installer assessment, if needed | Confirm what is changing and what is staying |
| Choose the finish | Panel samples | Compare them in your bathroom’s lighting |
| Finalise the layout | Confirm panel and trim quantities | Check measurements, cuts and fitting requirements |
| Place the main order | Panels, trims, adhesive, sealant and required tools | Confirm availability and delivery information |
| Receive the materials | Any missing or replacement items, if needed | Inspect the complete order before work begins |
| Install and finish | Preparation, fitting, sealing and refitting | Allow the specified curing time before use |
| Complete the room | Towels, storage and accessories | Check what the finished space actually needs |
There is no single timetable that suits every bathroom. A straightforward wall refresh and a project involving repairs or plumbing changes need different amounts of time.
The aim is to give each stage enough room, particularly where the next step depends on something arriving or being completed.
Once the main work is planned, choose a few details that complement the new walls.
Fresh towels, a coordinated bath mat and practical storage can help the room feel finished without adding another large job to the list.
Let the panel design guide those choices. With a bold marble or tile effect, simple accessories give the walls space to stand out. With quieter stone or concrete finishes, colour and texture can come through in towels and smaller details.
If you are preparing for overnight guests, think about everyday use too: somewhere to hang towels, a clear shelf for toiletries and an accessible place for spare essentials.
If the available time becomes tight, revisit the scope before work starts.
A focused wall refresh may be more practical than changing several parts of the bathroom at once. If essential repairs, materials or installer availability cannot fit comfortably into the schedule, plan the larger work for a later date.
Keeping a working bathroom available over Christmas is worth building into the decision.
Start with the finish you want, check what the installation involves and give yourself time to order everything together.
Explore our Bathroom Wall & Shower Panels collection to find a style that works with your room.