How to Install PVC Wall Panels Over Tiles: A Step-by-Step Guide
Time to read 6 min
Time to read 6 min
If you're looking to refresh your bathroom or kitchen walls without the hassle and cost of removing old tiles, installing PVC wall panels over tiles is a game-changer.
At Easy Panels, we’ve helped thousands of homeowners, DIYers, and fitters transform their interiors using our waterproof, durable, and stylish PVC panels — and yes, you can absolutely install them over existing tiles.
In this article, we’ll walk you through everything you need to know to do it right — from preparation and tools to common pitfalls and long-term maintenance.
Yes, you can. PVC panels are lightweight and can be easily affixed to most surfaces, including ceramic or porcelain tiles — as long as the wall underneath is sound and properly prepared.
Cost-effective: Lower labour and material costs compared to full renovation.
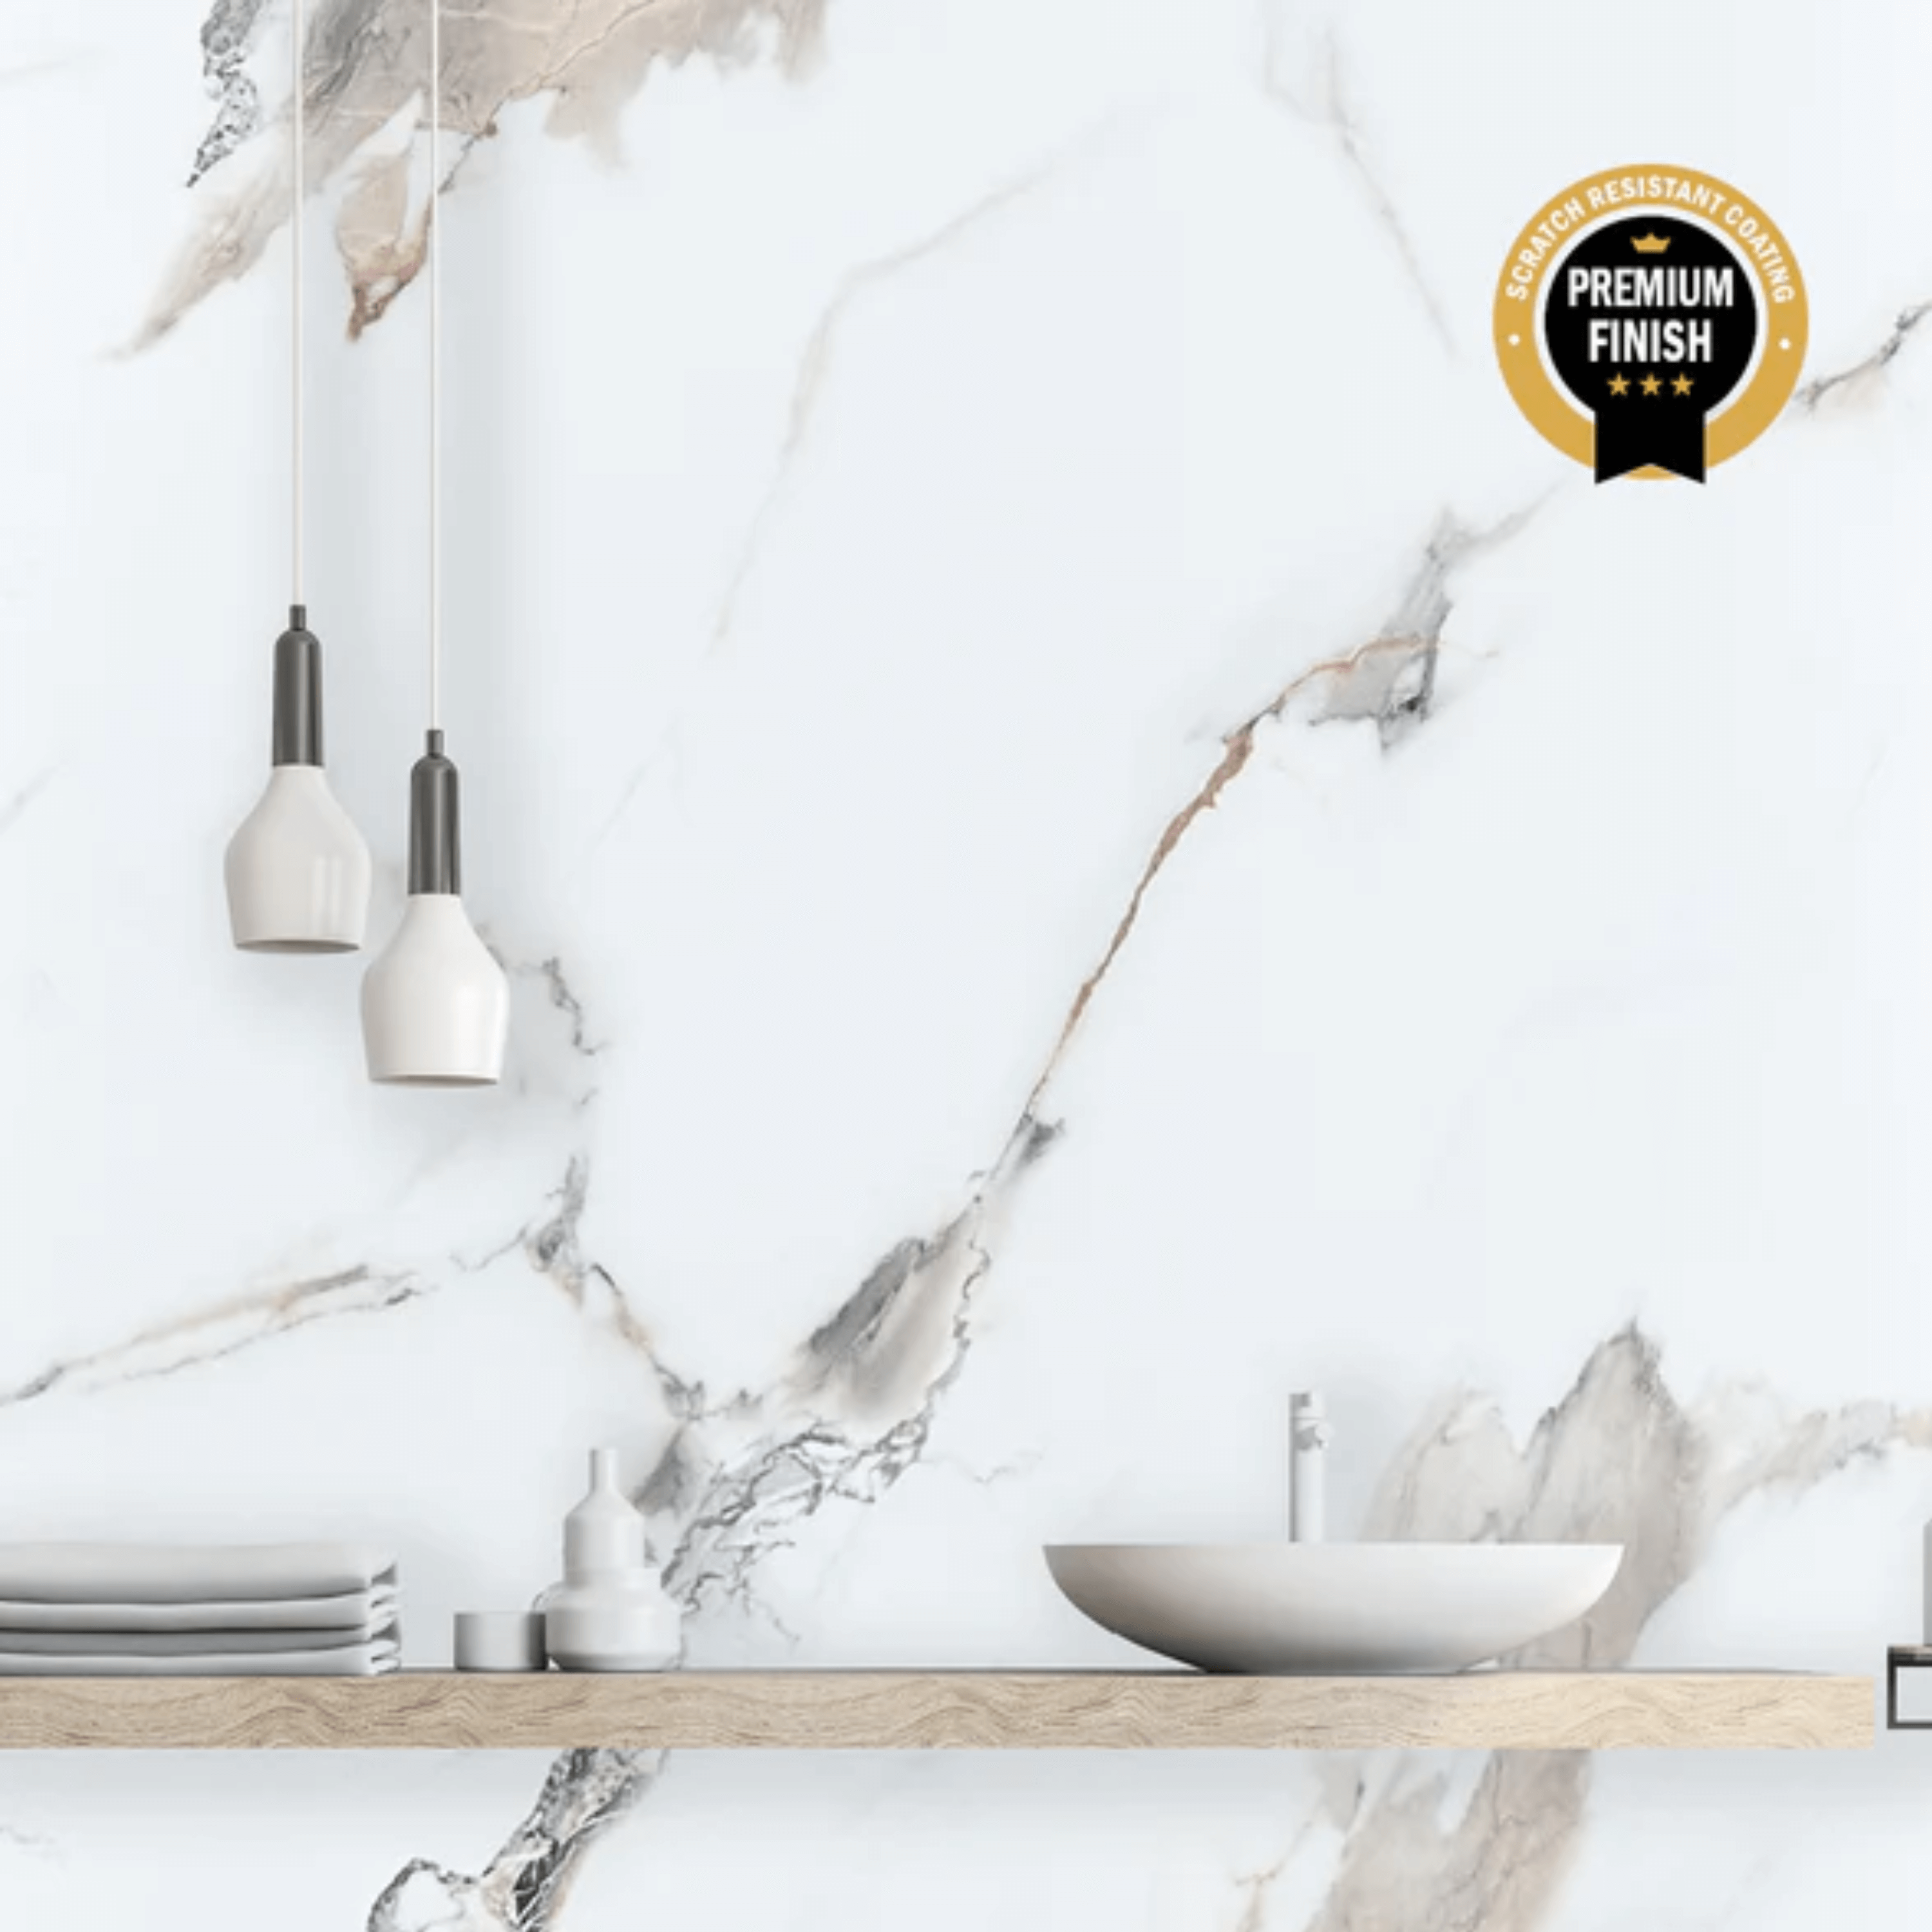
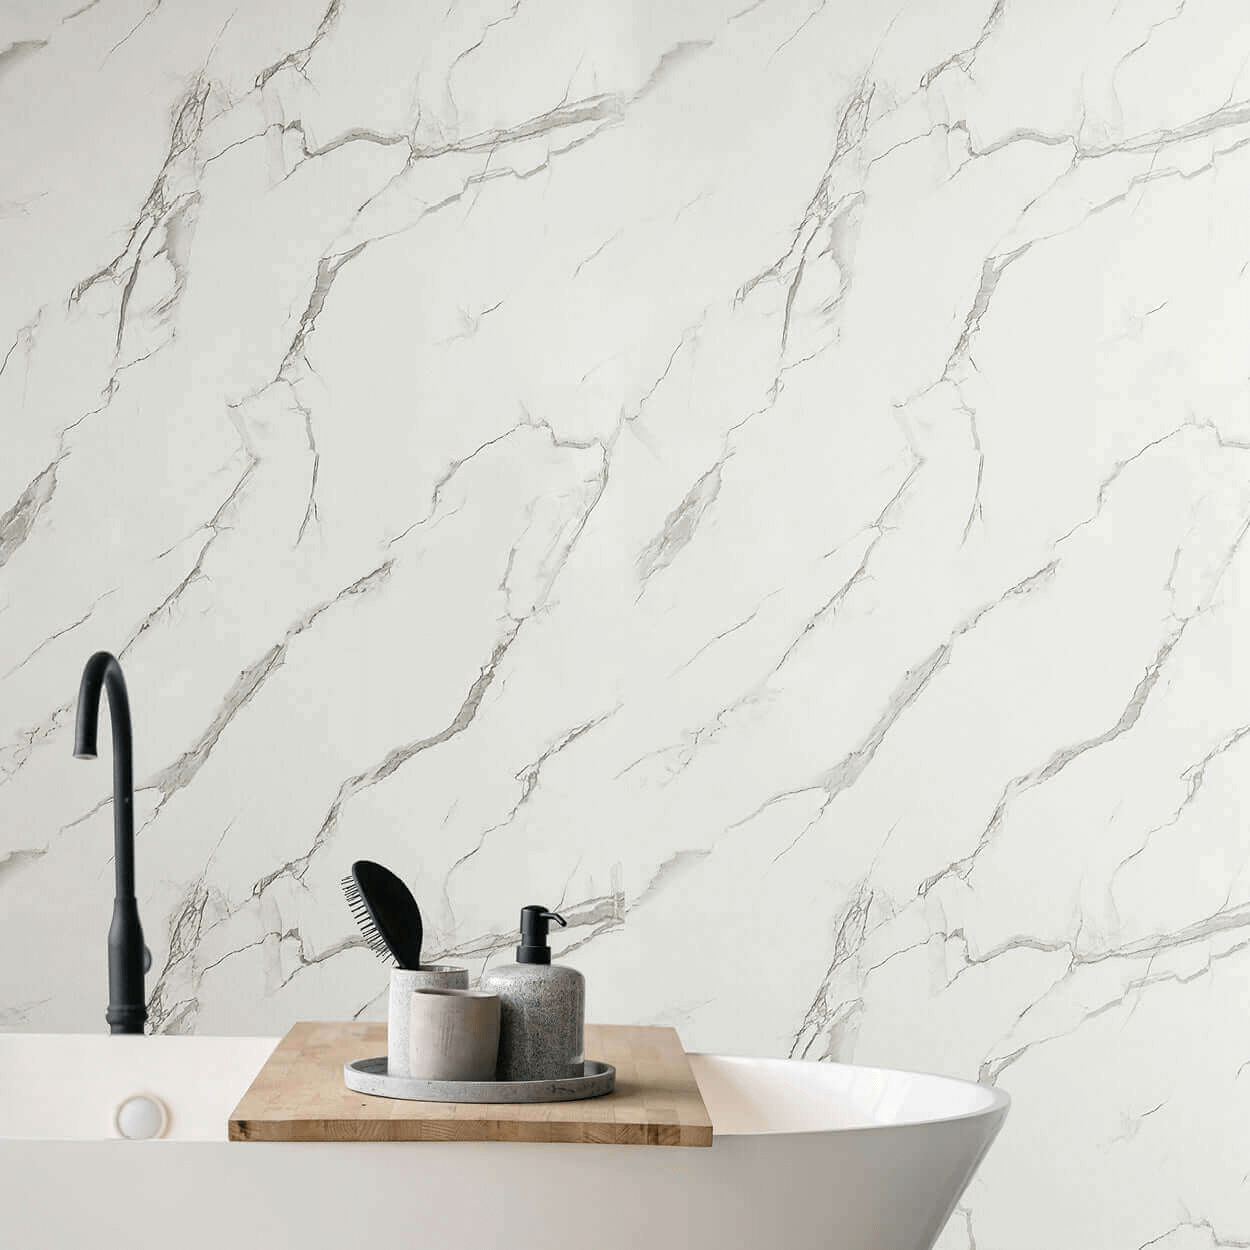
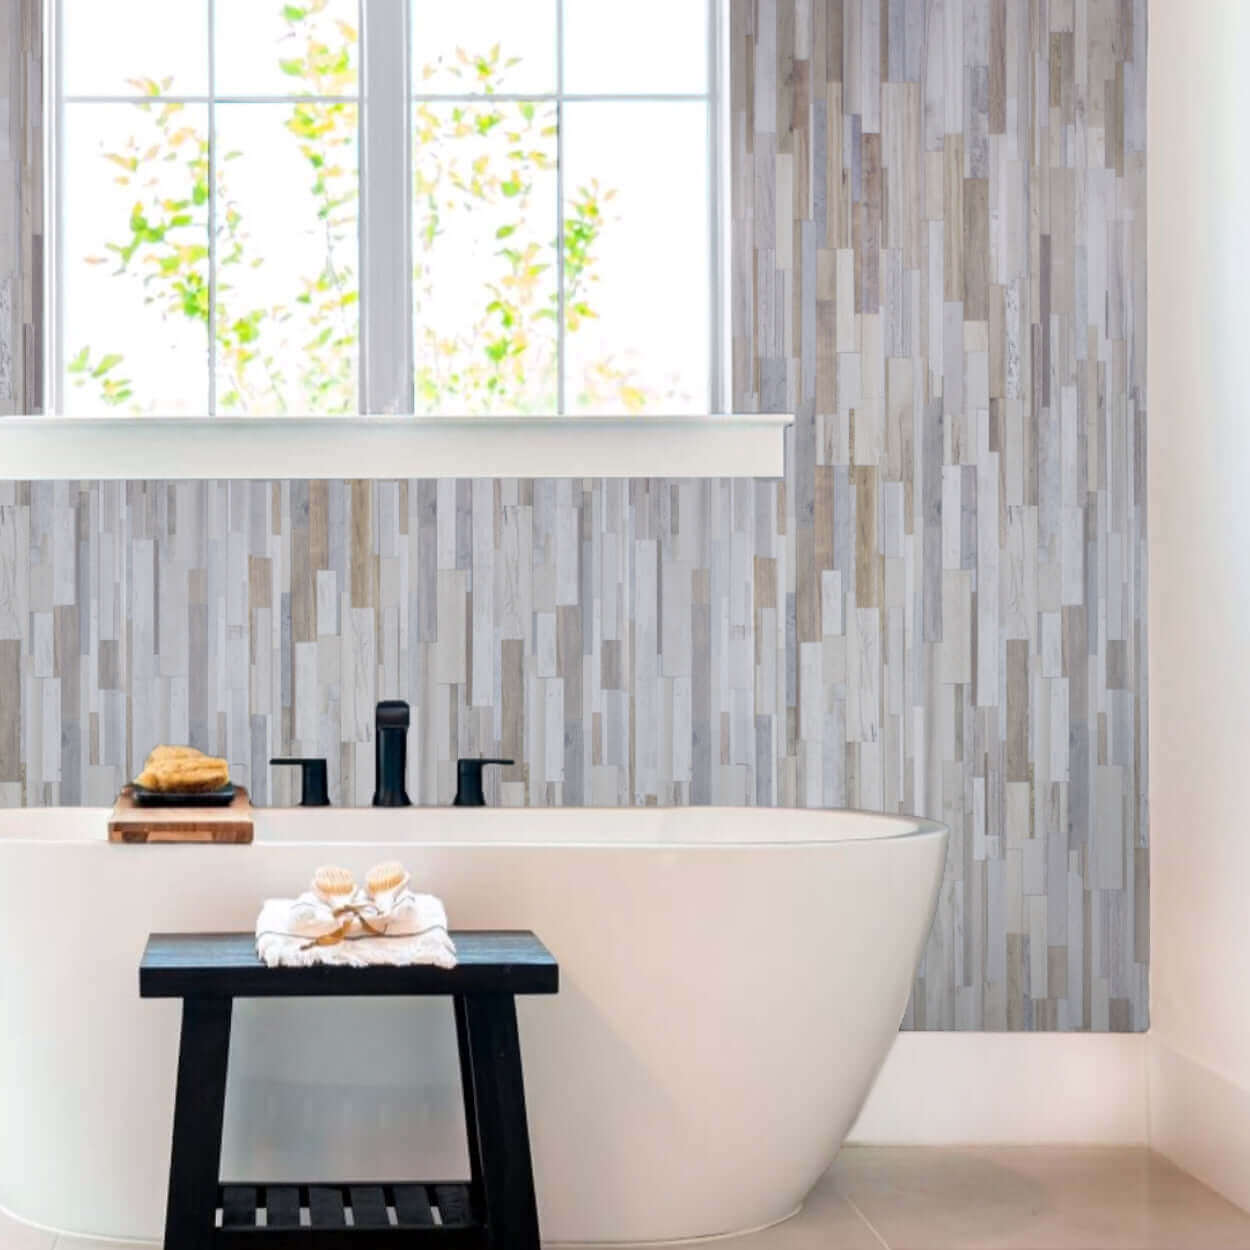
Waterproof and mould-resistant: Ideal for wet environments like bathrooms and kitchens.
Low maintenance: Easy to clean with just a cloth and mild detergent.
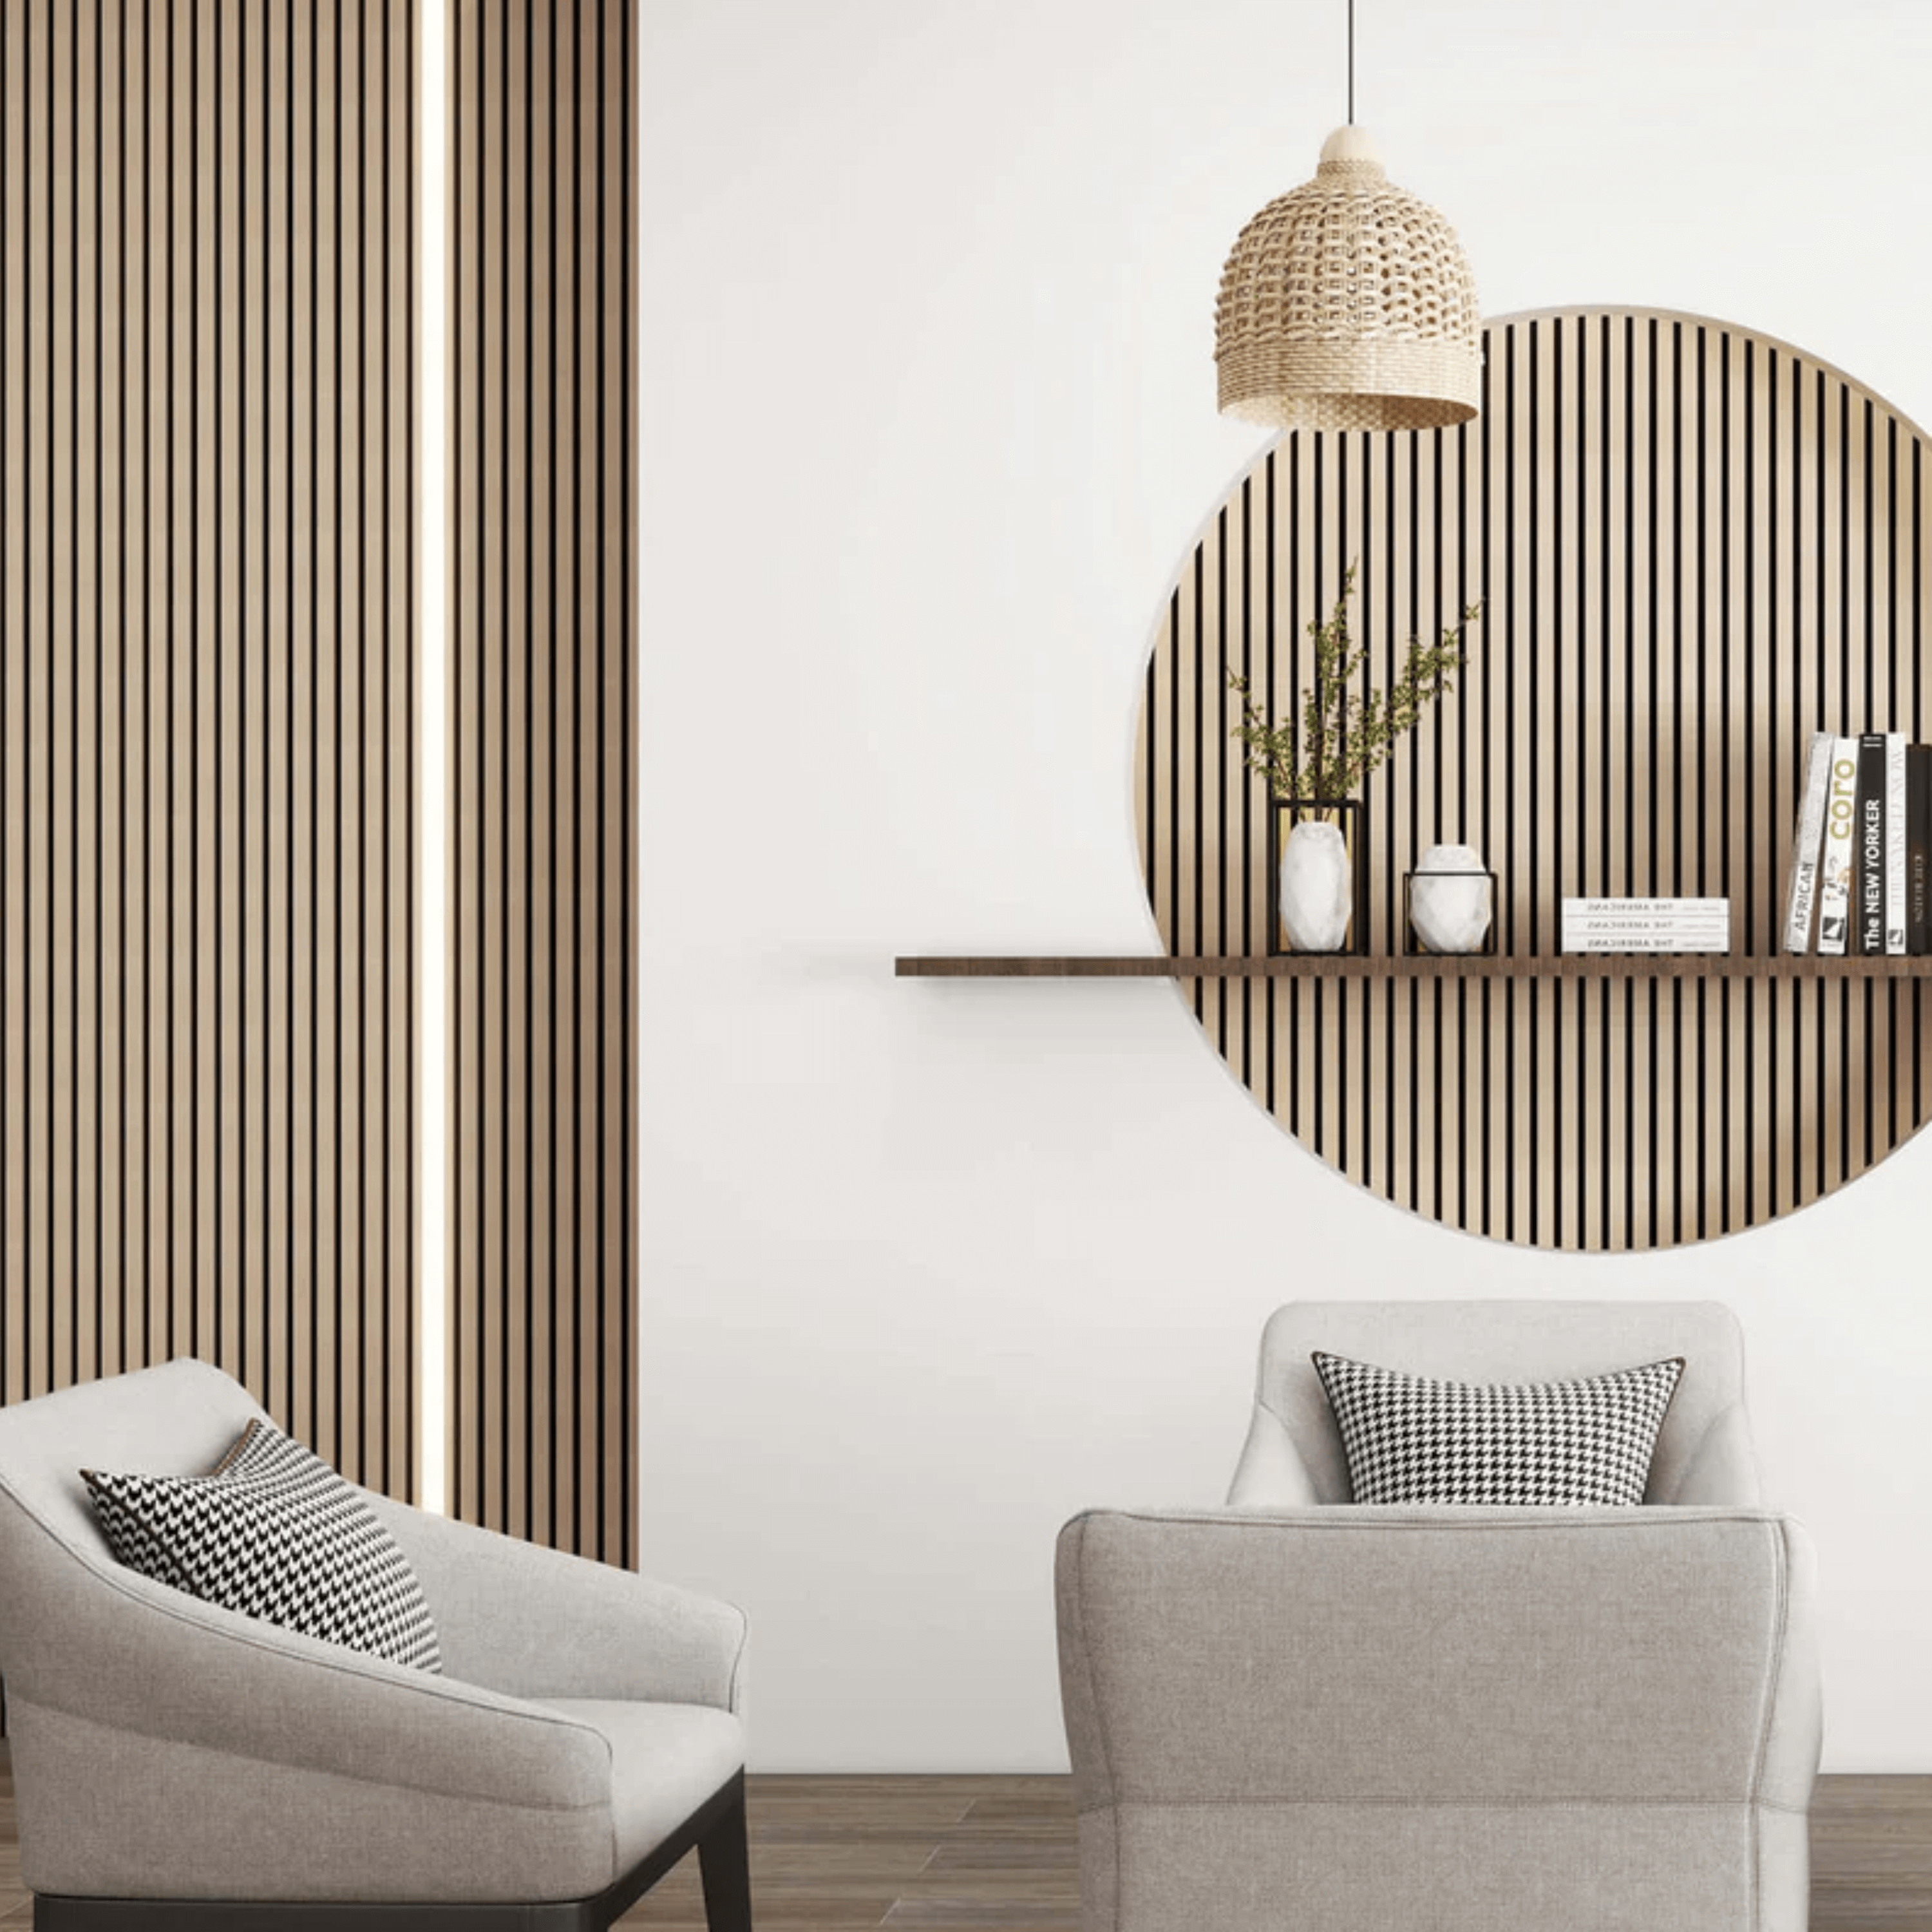
Modern look: A variety of textures and finishes (marble, tile-effect, matte, gloss) to suit every style.
Wall condition matters: If tiles are loose, cracked, or uneven, you’ll need to fix these first.
Slight room size reduction: Installing panels over tiles can reduce room dimensions slightly due to the thickness of the panels and adhesive.
Possible moisture traps: If improperly sealed, moisture can get behind the panels.
Future reworks: Panels installed over tiles may complicate future renovations or plumbing work.
Before you begin installation, carefully inspect your tiled wall to ensure it’s a suitable surface for PVC panels. The tiles must be clean, dry, and firmly fixed. Any grease, soap scum, or residue should be removed, as these can affect how well the adhesive sticks. The surface should also be completely dry—trapped moisture can cause mould growth behind the panels over time.
Finally, check for loose or damaged tiles by gently tapping them; if any are unstable or cracked, re-adhere or replace them before continuing. If your tiles have a glossy or heavily textured surface, lightly sanding or scoring them can help create a better bond for the adhesive.
Once you've confirmed the tiles are secure, thoroughly clean the surface using sugar soap or a suitable degreasing cleaner. This step is crucial for removing any remaining dirt or residues that could interfere with the adhesive.
After cleaning, rinse the surface with clean water and allow it to dry fully before proceeding. A clean, dry surface gives you the best possible foundation for a long-lasting installation.
Before applying any adhesive, take time to plan your panel layout. Dry-fit the panels to see how they will align across the wall and identify any tricky areas, such as sockets, switches, or corners that may require cutting. It’s usually best to start from a highly visible point in the room, like a main corner or a wall with a window, and work outwards.
Make sure you’ve also considered where trims will be needed—such as internal corners, end caps, or starter trims—to ensure a clean, polished look once everything is in place. Taking time to plan now will save you hassle and help achieve a more professional finish later.
Apply a high-strength adhesive in generous vertical lines either directly onto the back of the PVC panel or onto the tiled wall surface.
The lines should be spaced no more than 5 to 10 centimetres apart to ensure a secure and even bond across the entire panel. Avoid leaving large gaps between the adhesive lines, as this can lead to uneven adhesion or hollow spots behind the panel.
Once the adhesive is applied, carefully position the panel and press it firmly into place, starting from one edge and working your way across to eliminate air pockets.
Use a spirit level to check that the panel is perfectly straight before the adhesive begins to set, as adjustments become more difficult once it starts curing. Taking the time to apply the adhesive properly ensures a strong, lasting installation with a smooth, professional finish.
When installing PVC panels in wet areas like bathrooms or shower enclosures, it's essential to use a high-quality, mould-resistant silicone sealant at the base of the wall where the panels meet the floor or shower tray, as well as along the vertical joints between panels.
This creates a watertight barrier that prevents moisture from seeping behind the panels, which could otherwise lead to mould growth, damp patches, or damage to the wall substrate over time.
Be sure to apply the sealant smoothly and evenly, using a caulking gun, and wipe away any excess with a damp cloth for a clean finish. Regularly inspect these sealed areas as part of your maintenance routine, and reapply sealant if you notice any cracking or gaps forming.
When working around sockets, switches, or tight corners, it’s important to take precise measurements before making any cuts. Carefully mark out where the cuts need to be, double-checking accuracy to ensure a clean fit.
Use a utility knife or a fine-tooth saw to make your cuts—both are ideal for working with PVC panels. Before applying any adhesive, always dry-fit the panel in place to make sure it aligns properly and fits snugly around any fixtures. This helps avoid costly mistakes and ensures a professional-looking finish.
To achieve a neat, professional finish—and to enhance water resistance—it’s important to install the appropriate trims. Internal corner trims should be used where panels meet at corners, ensuring a smooth transition between walls. End caps are ideal for open edges, providing a clean and tidy boundary to the panelled area. Finally, in wet environments such as bathrooms or shower enclosures, apply a continuous bead of silicone sealant along all joins and edges to prevent water ingress and maintain a long-lasting seal.
Uneven tiles: You may need to use battens or a base board if the tile surface is significantly uneven.
Weight of fixtures: Wall-mounted accessories (e.g., shelves, towel rails) must be screwed through into the wall behind, not just the PVC panel.
Ventilation: Ensure the room is well ventilated to reduce condensation buildup behind panels.
PVC wall panels are famously easy to look after:
Regular cleaning: Use warm soapy water or mild bathroom cleaner. Avoid abrasive pads.
Check seals periodically: Especially in wet areas — reseal if you notice any cracks.
Avoid harsh chemicals: Bleach or ammonia-based cleaners can damage the panel finish.
Yes — with proper installation and care, PVC panels can last 10–15 years or more.
This is rare if sealed correctly, but to prevent it:
Always seal joints and base with quality silicone.
Ventilate the room to reduce condensation.
Avoid using in areas with active leaks or damp issues behind tiles.
Installing PVC wall panels over tiles is one of the quickest and most cost-effective ways to revamp your bathroom, kitchen, or utility room. With minimal mess, no need for specialist tools, and a sleek modern finish, it’s a perfect weekend DIY project.
Ready to transform your space? Browse our full range of PVC wall panels at Easy Panels , or contact our team for expert advice on choosing the right style and fittings.