
A Beginner's Guide to Installing Wall Panels
The desire to refresh our living spaces is a common one, yet the thought of lengthy, messy, and expensive renovations can be daunting. Fortunately, transforming an interior doesn't always require a complete overhaul.
In the UK, homeowners are increasingly discovering a simpler path to stylish updates, with DIY wall panels emerging as a favoured solution for achieving remarkable results without the need for professional contractors. This guide will walk you through everything you need to know to embark on your own wall panelling project.
Why Choose DIY Wall Panels for Your Home Makeover?
Many homeowners dream of updating their interiors but hesitate at the thought of disruptive work like re-tiling or extensive plastering.
Wall panels offer a compelling alternative, providing both style and practicality. They represent a shift in how we approach home improvement, making sophisticated looks more accessible.
Benefits of Going the DIY Route
DIY wall panelling offers numerous advantages:
- Easy installation with basic tools
- No need for costly professional labour
- Immediate visual impact
- Suitable for most rooms, including moisture-prone areas
For those new to DIY, wall panels are a confidence-boosting project with rewarding results.
The Versatility of Wall Panels
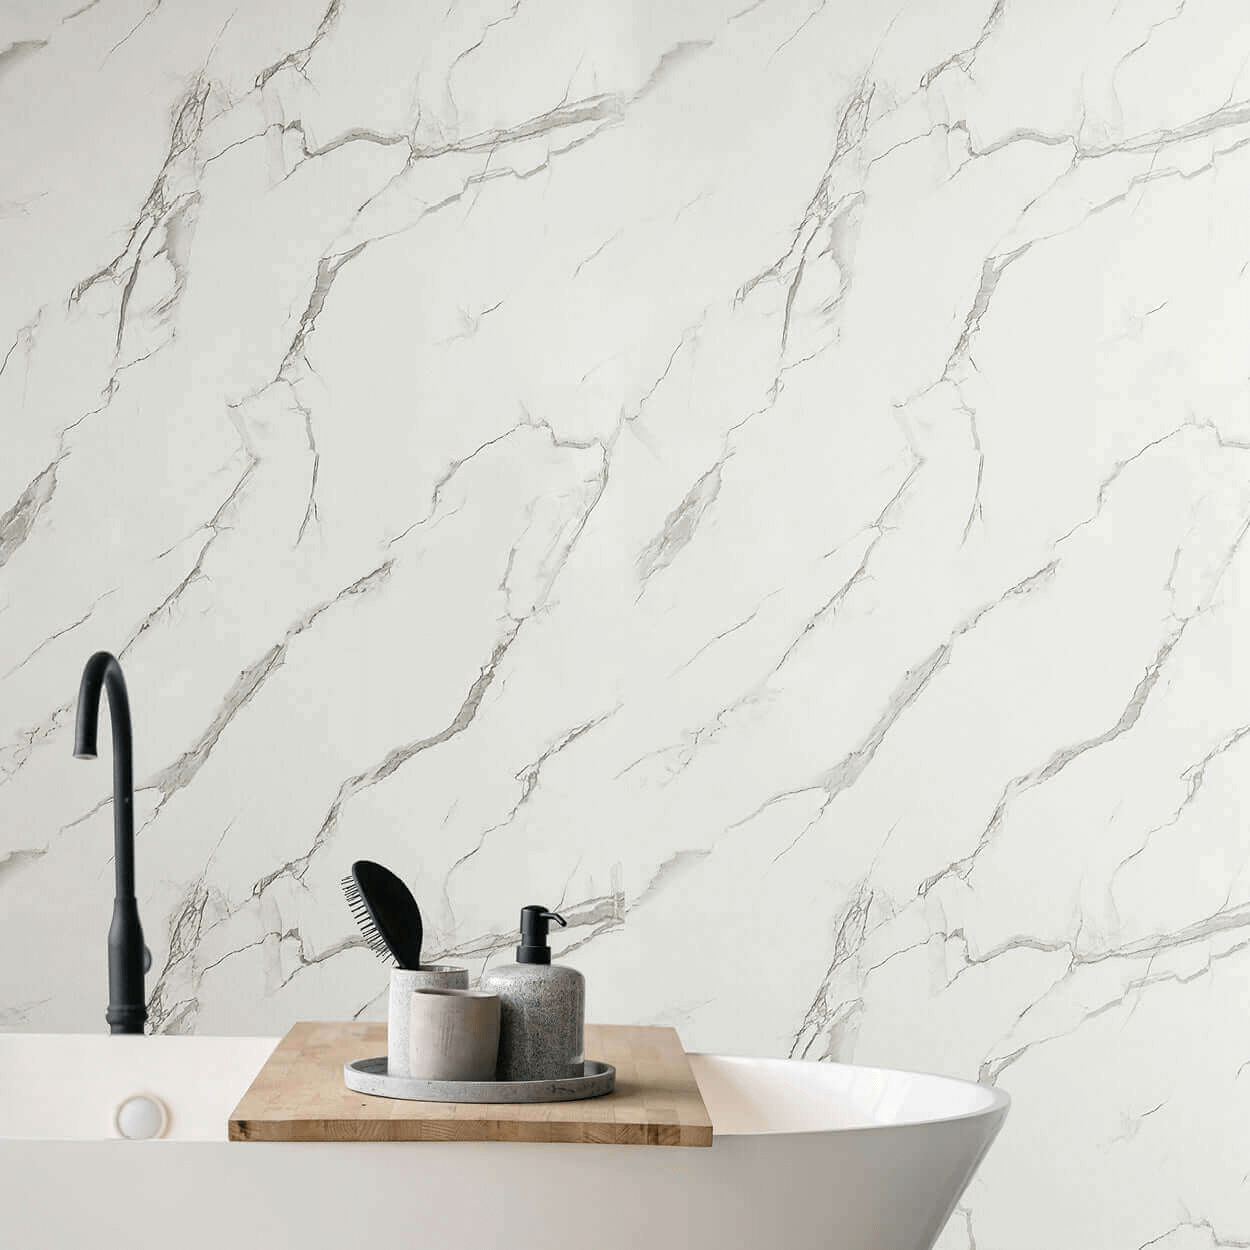
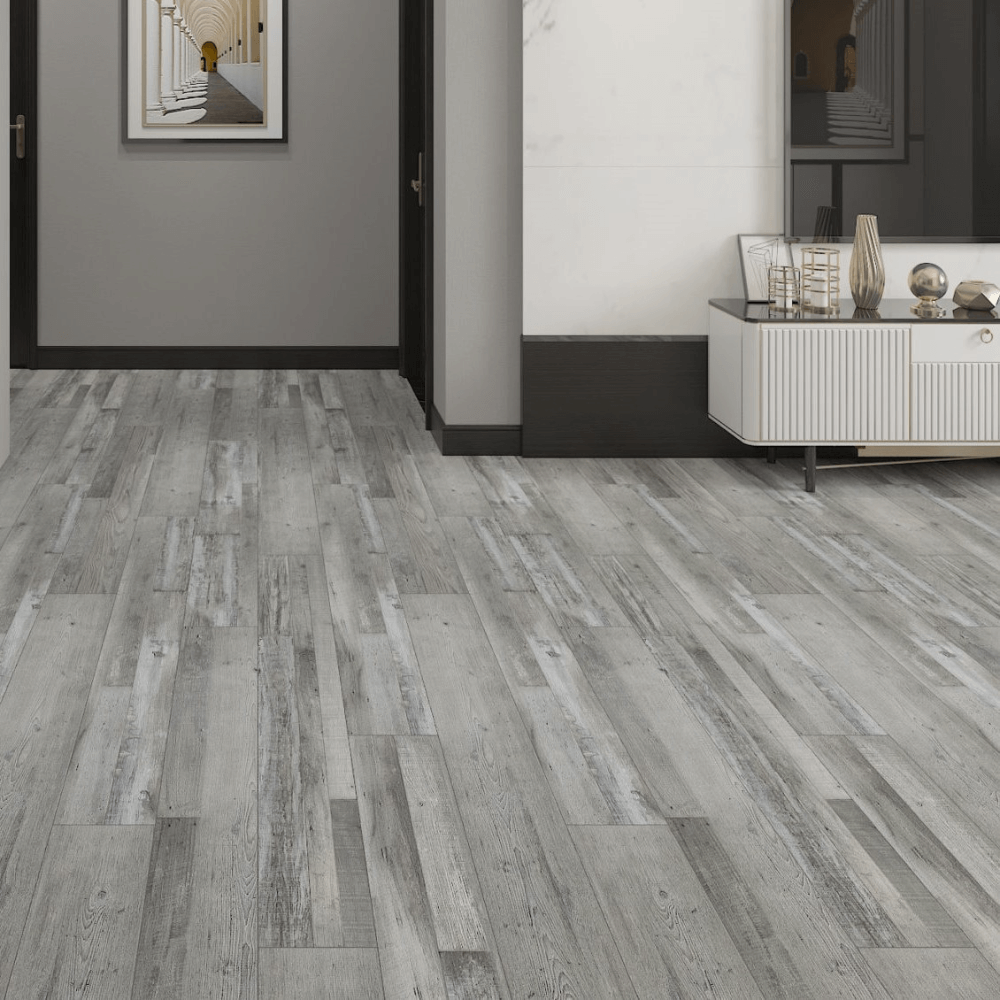
Decorative wall panels have grown in popularity thanks to their ability to transform any room quickly. From subtle texture enhancements to bold statement walls, there's a design to suit every taste. The wide range of finishes available today—from sparkle effects to realistic tile and stone looks—means you can tailor your panels to match your vision, whether it's for a bathroom, kitchen, living room, or hallway.

Types of Wall Panels to Consider
Choosing the right type of panel for your space is key:
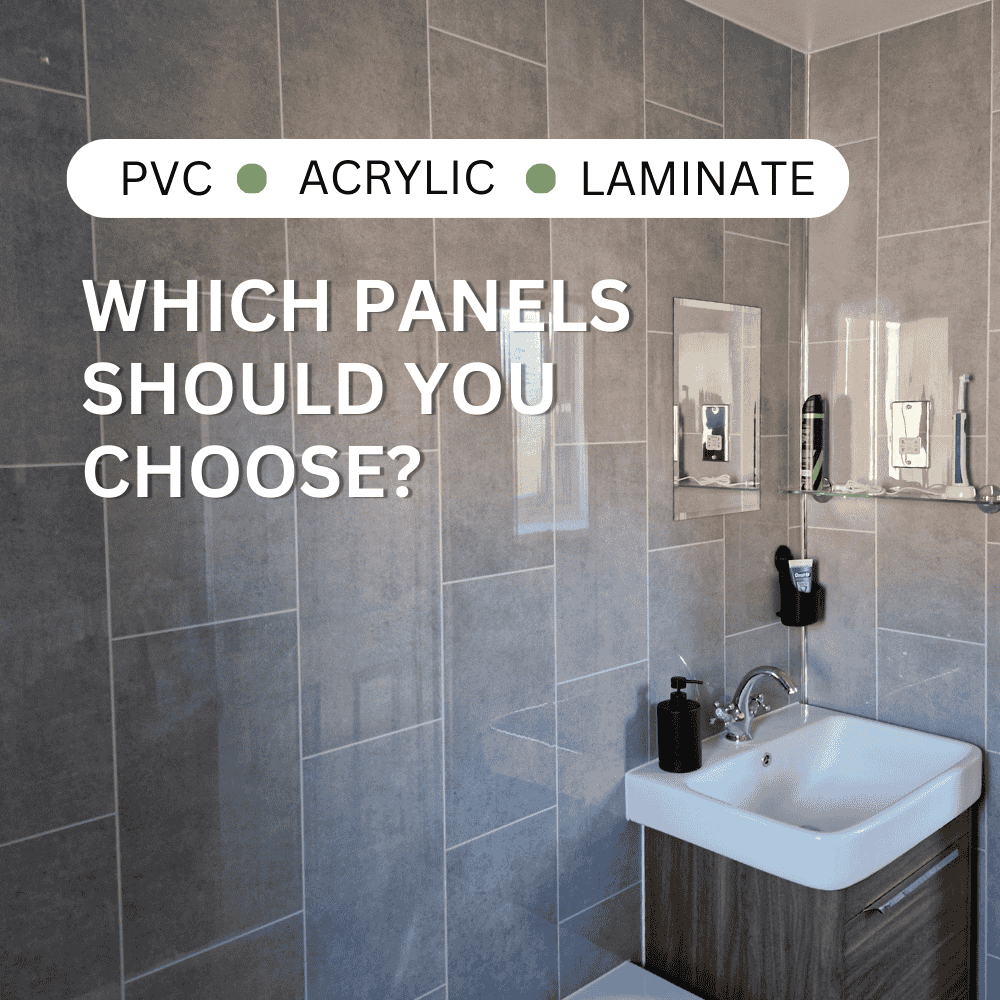
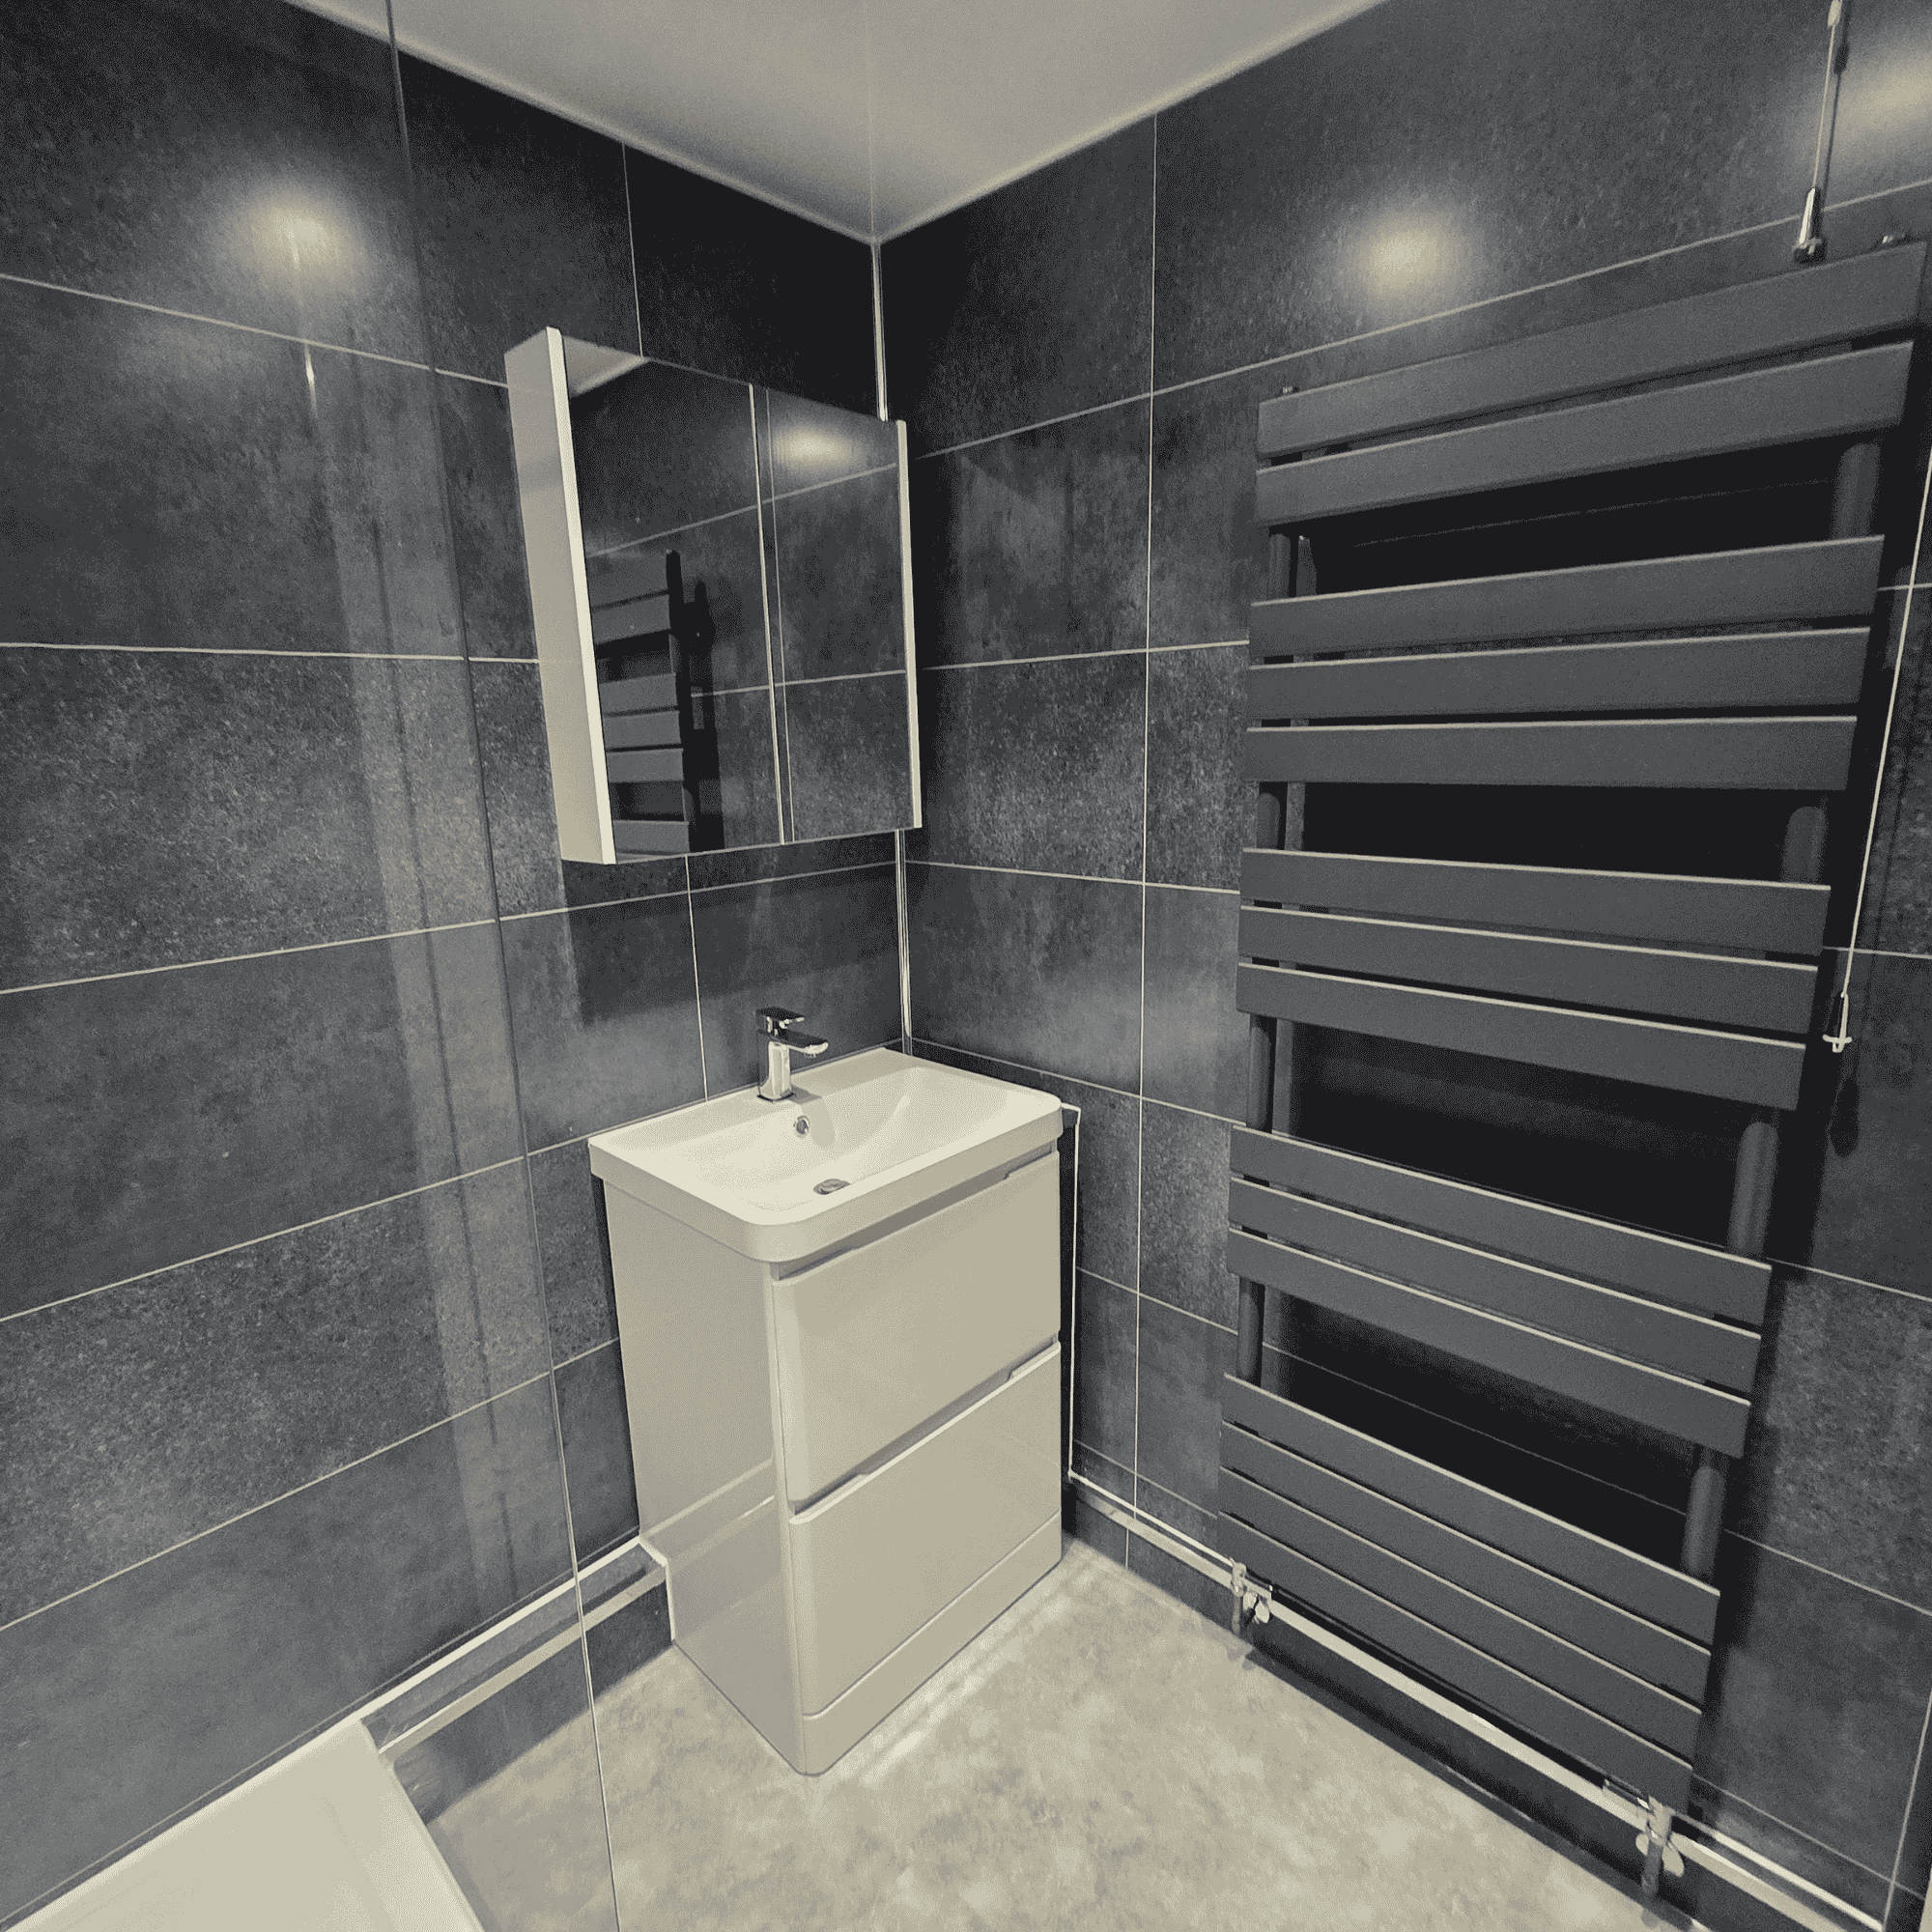
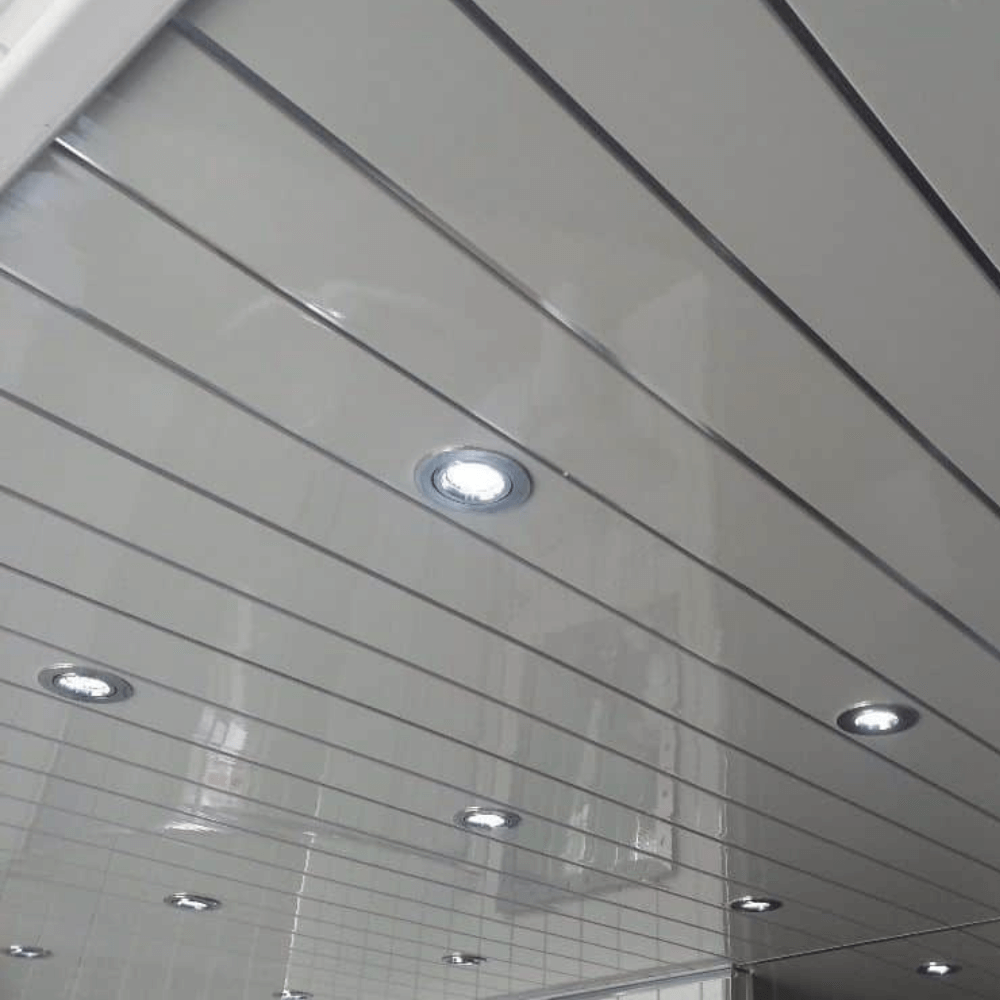
PVC Panels:
- Key characteristics: Moisture-resistant, lightweight, low maintenance, varied designs (e.g., tile effect, sparkle, matt).
- Primary benefits for DIY: Easy to cut & install, waterproof, low maintenance.
-
Typical UK applications: Bathrooms, shower areas, kitchens, utility rooms.
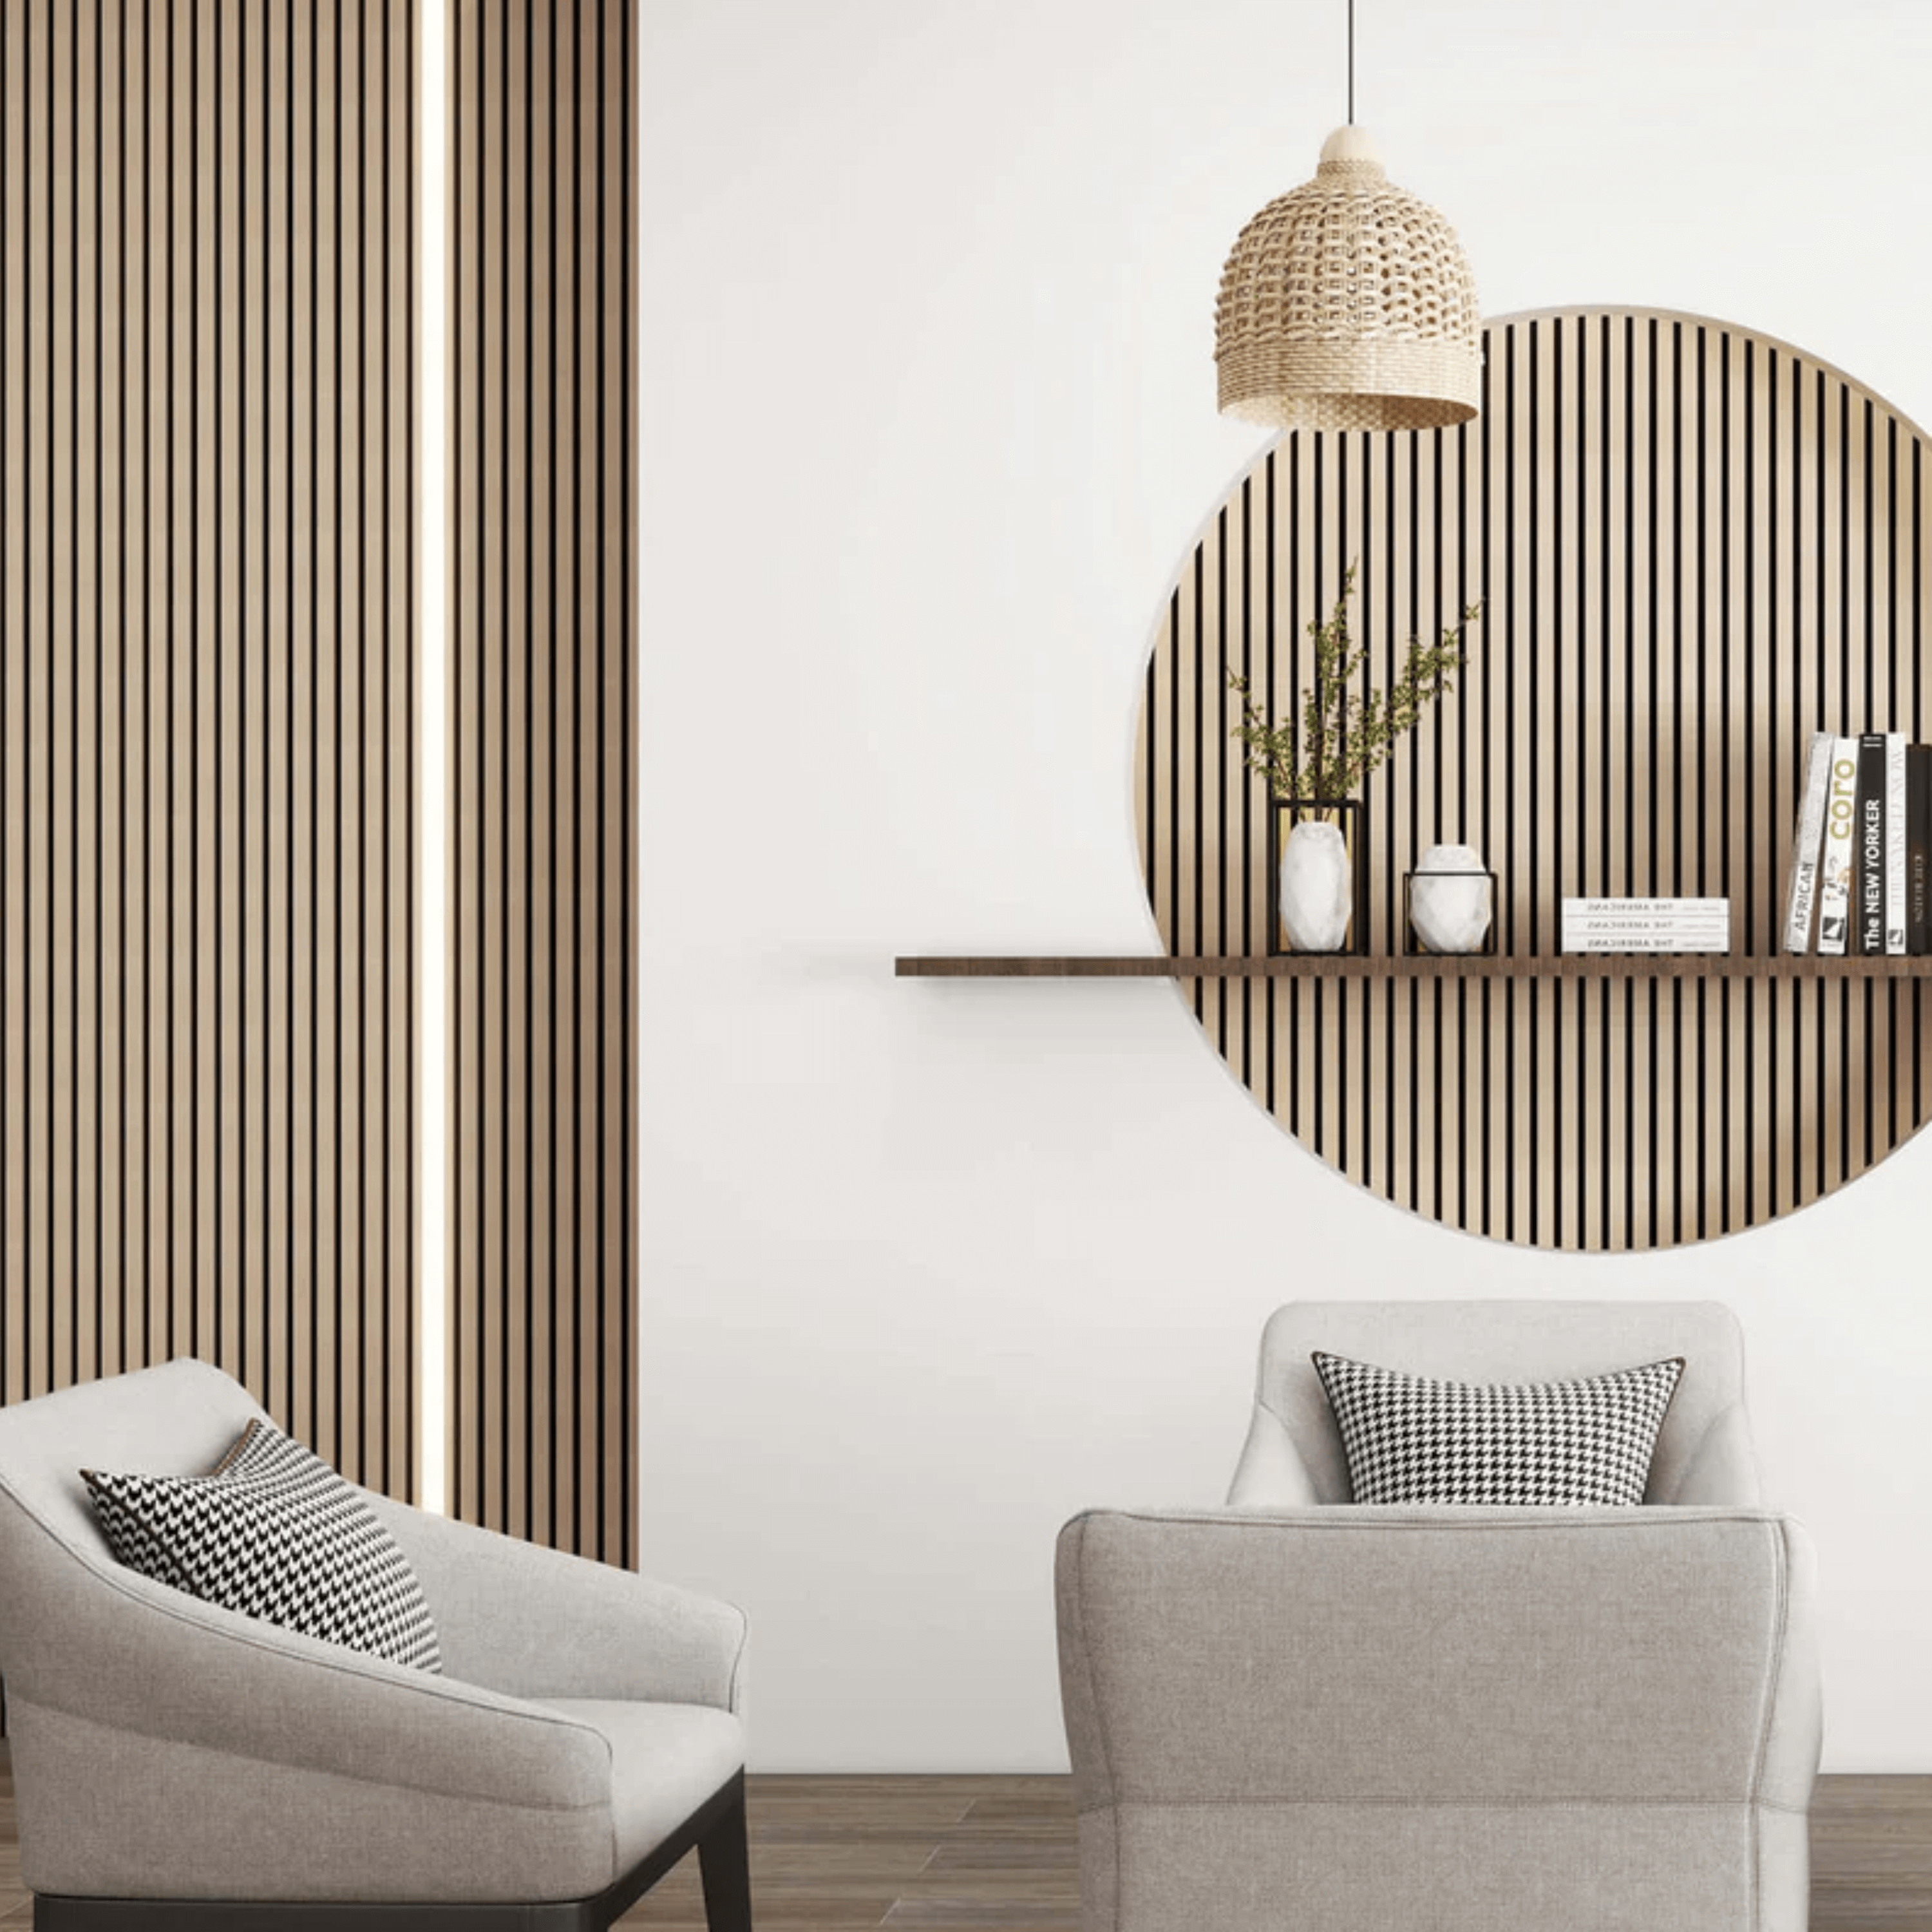
Acoustic Slat Wood Panels:
- Key characteristics: Made with sound-absorbing materials, modern aesthetic, often made with felt backing and slat wood look.
- Primary benefits for DIY: Improves room acoustics, stylish feature, relatively easy to fit.
-
Typical UK applications: Home offices, media rooms, dining rooms, bedrooms and living rooms.
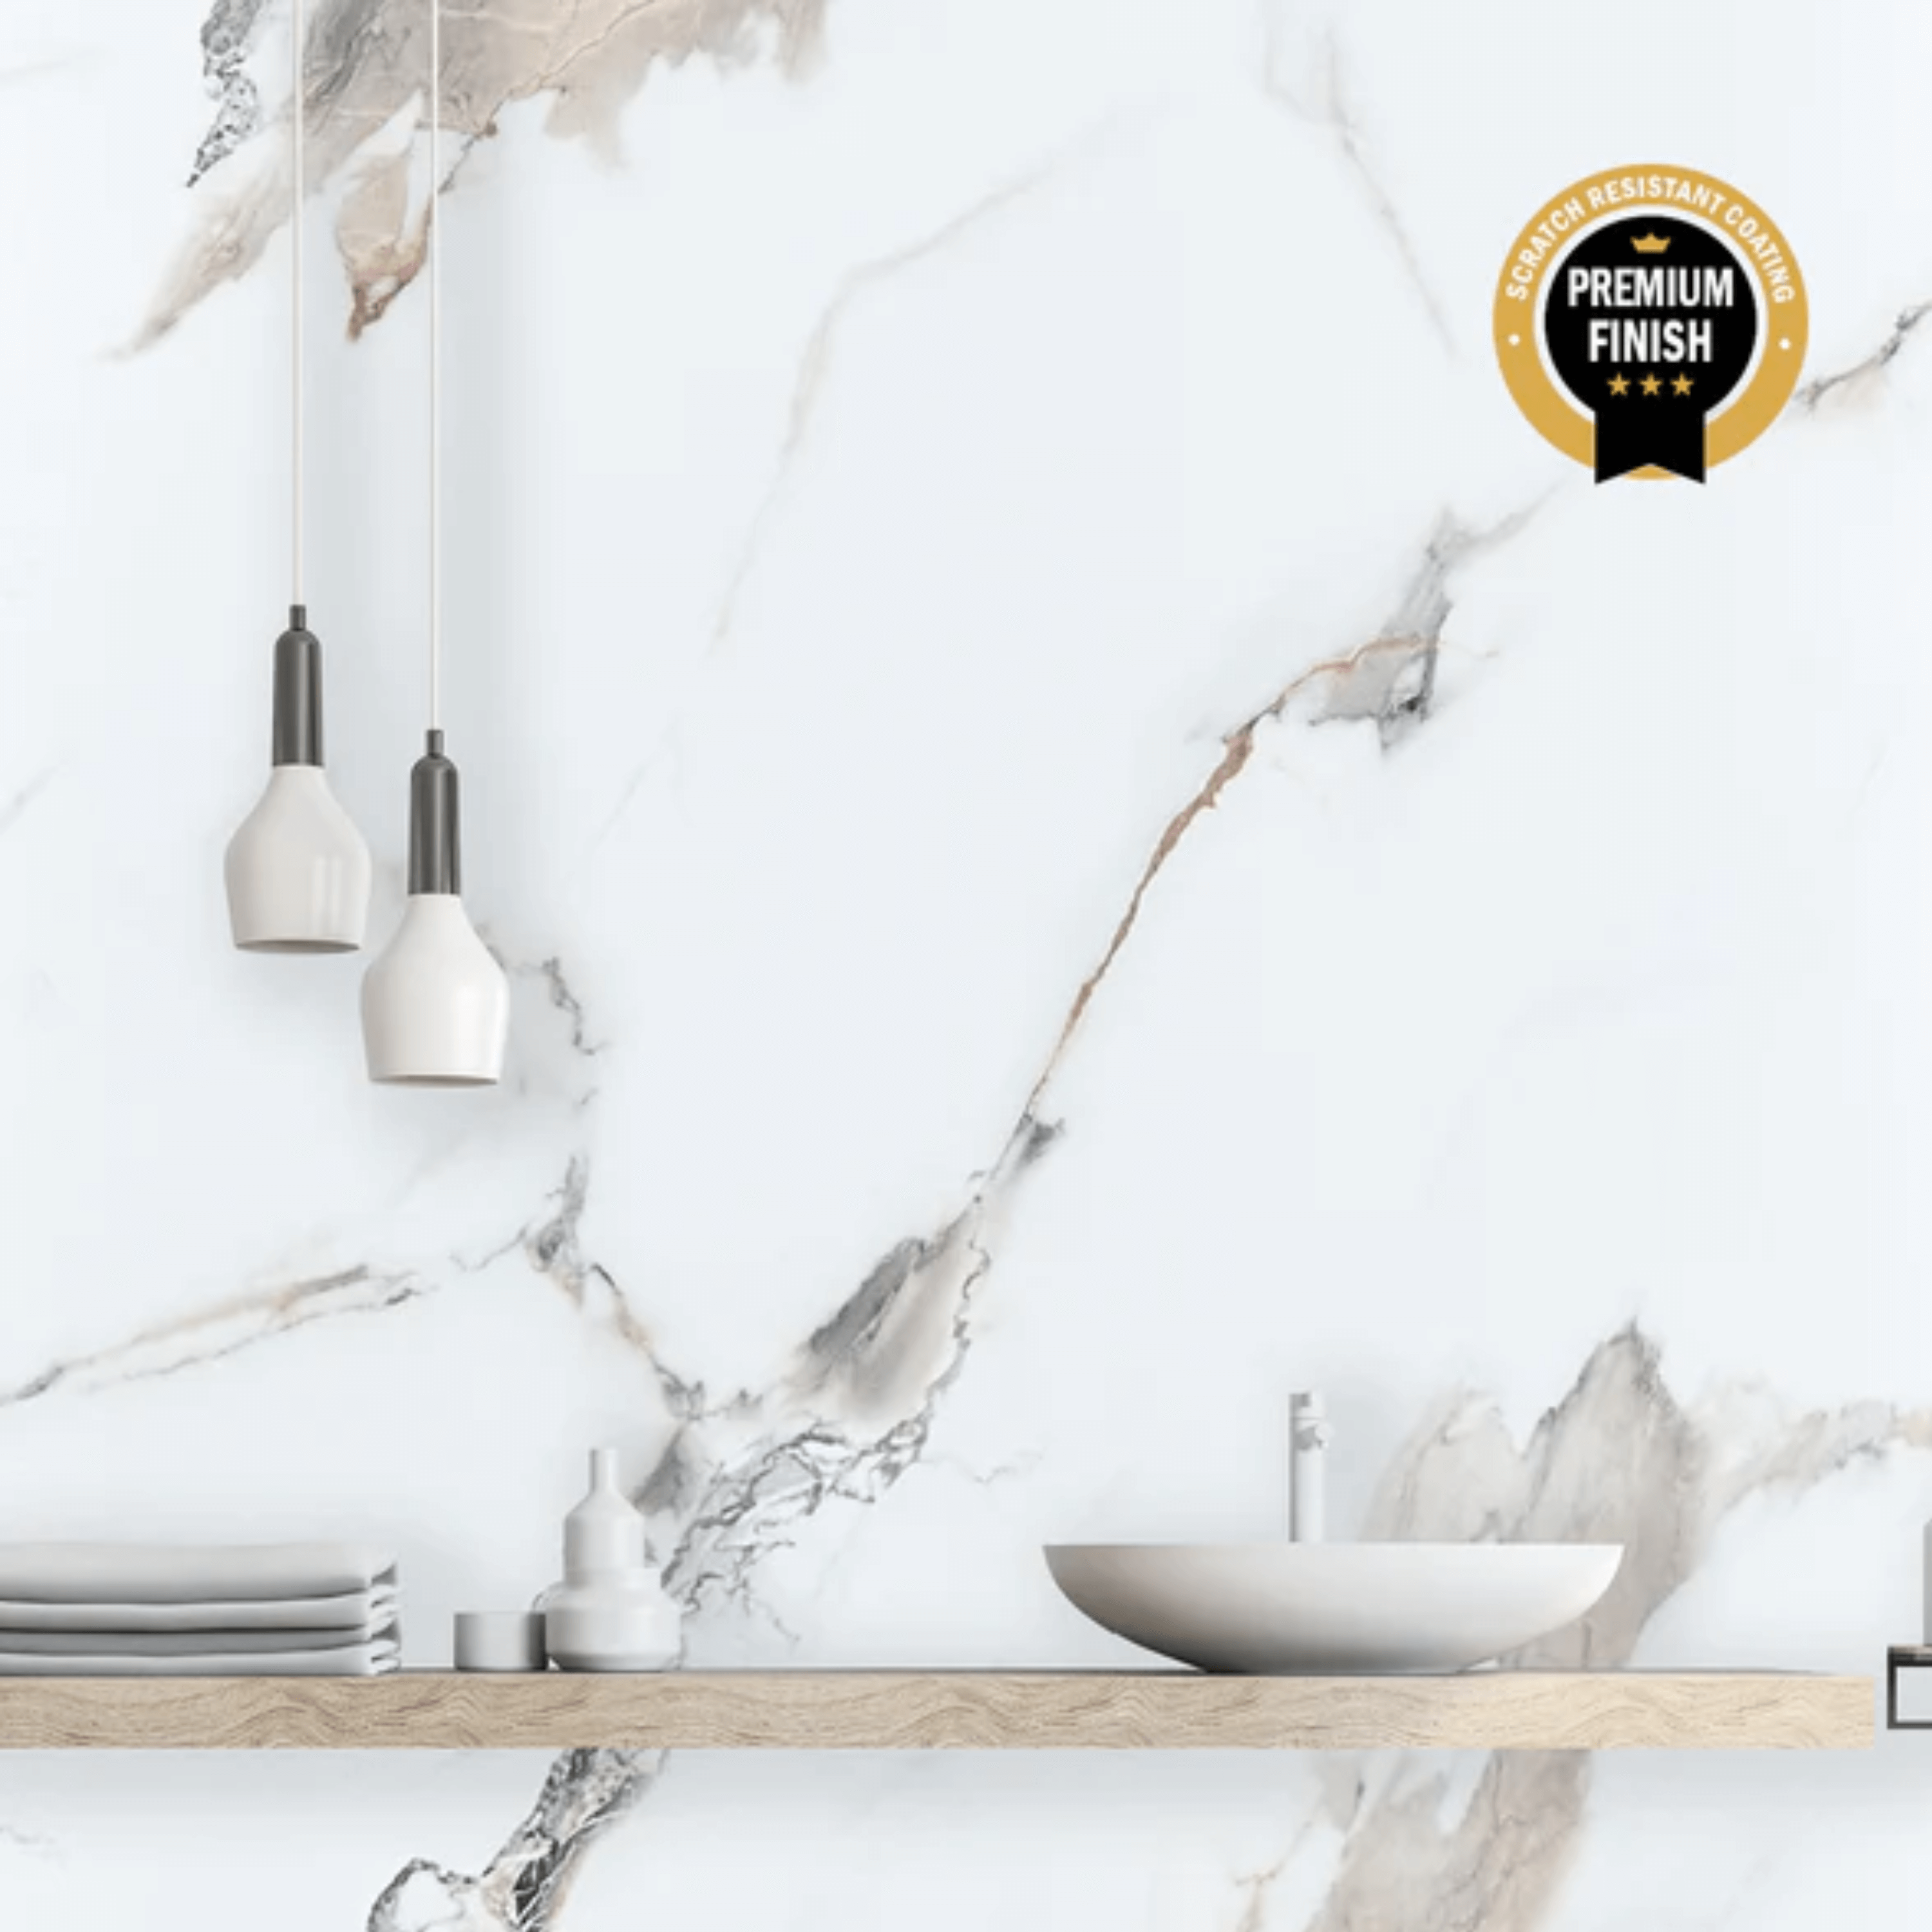
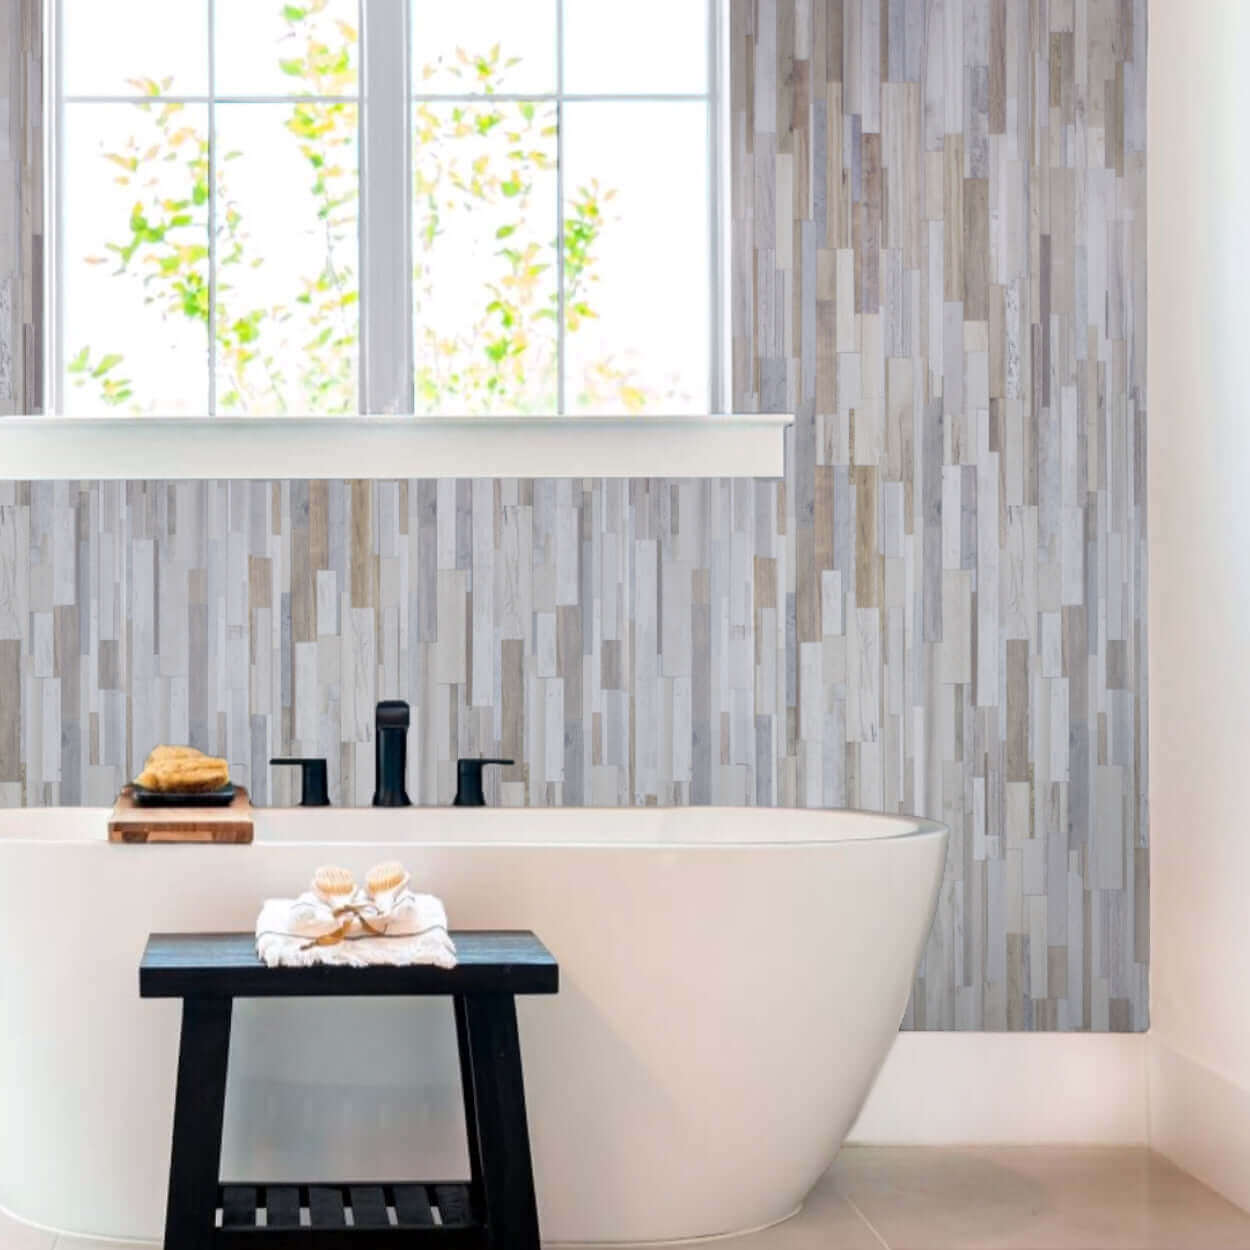
AquaGuard Panels:
- Key characteristics: Water-resistant, vibrant colours with detailed texture, slat wall look.
- Primary benefits for DIY: Easy to cut and install, stylish, versatile.
- Typical UK applications: Any interior space, including bathrooms and kitchens. While water-resistant, they are not 100% waterproof. Avoid direct water exposure.
If you are ever need assistance choosing the best panel for your renovation, we are always happy to assist you at support@easypanels.co.uk.


Your Essential Tool Checklist
A successful panel installation hinges on having the correct tools. Most are common DIY items, but each plays a crucial role:
- Tape Measure: For accurate measurements of walls and panels. Precision here prevents wastage.
- Spirit Level: Essential for ensuring panels are perfectly vertical and horizontal. A wonky first panel can throw off the entire wall.
- Fine-Toothed Saw or Utility Knife: For cutting panels (especially PVC) cleanly. The choice depends on panel thickness and material.
- Adhesive: Easy Panel's adhesive guarentees a strong bond to any clean surface.
- Adhesive Gun: For applying panel adhesive evenly and efficiently.
- Silicone Sealant & Gun: Crucial for waterproofing edges, especially in bathrooms and kitchens.
- Panel Trims: To provide neat edges and cover joins at corners or ends of panel runs.
- Safety Gloves and Goggles: Always protect your hands and eyes when cutting and handling materials.
- Pencil or Marker: For marking cutting lines on panels.
- Cleaning Cloths/Wipes: For wiping away excess adhesive or sealant immediately.
The Importance of Panel Trims and Accessories
Panel trims are the unsung heroes of a wall panelling project. These accessories, such as corner trims, end caps, and H trims/joining strips, are what give your installation a truly professional and polished appearance.
They neatly conceal cut edges, protect panel extremities, and help create seamless transitions around corners or where panels meet other surfaces like ceilings or floors. Understanding the different types available and where they are used will significantly enhance the final look of your interior wall upgrades.
👉 We've written an in-depth guide about trims if you need more information.
Preparing Your Walls: The Foundation for a Flawless Finish
Before you even think about picking up your first panel, the existing wall surface needs attention. This preparatory stage is often overlooked by enthusiastic beginners, but it’s absolutely fundamental to achieving a durable and professional-looking result.
Just as an artist primes a canvas, preparing your walls ensures your new DIY wall panels adhere properly and look their best for years to come. These beginner home improvement tips focus on creating the ideal base.
Cleaning and Degreasing Wall Surfaces
Imagine trying to stick something to a dusty or greasy surface; it simply won’t hold well. The same applies to wall panels. Clean walls are paramount for good adhesion. Start by thoroughly cleaning the surfaces where panels will be installed.
For most painted plaster walls, a sugar soap solution works well to remove grime and grease. If you're panelling over old tiles, ensure they are scrubbed clean and free of any soap scum or mildew. A clean, dry surface allows the panel adhesive to form the strongest possible bond.
Ensuring a Smooth and Level Foundation
While wall panels are excellent at covering minor imperfections, they aren't a magic fix for significantly uneven walls. Aim for a relatively smooth and level foundation. Small cracks or minor bumps can often be filled with a suitable filler and sanded smooth.
Run your hand over the wall to feel for any protruding areas. If the wall has major dips or bulges, these might need more substantial attention before panelling, as they could affect how the panels sit and interlock. Taking the time to get this right prevents headaches later.
Inspecting for Damp, Mould, or Damage
This step is crucial for the longevity of your project and the health of your home. Before covering any wall, inspect it carefully for signs of dampness, mould growth, or structural damage like crumbling plaster. Panels, especially non-breathable types, can trap moisture if applied over an existing damp problem, potentially making it worse.
Any such issues must be fully resolved, and the wall allowed to dry completely before you proceed with panel installation. Covering up a problem doesn't make it go away; it often just hides it until it becomes a bigger issue.
Safely Removing Wall Obstructions
To achieve a neat finish, you'll likely need to work around or temporarily remove obstructions such as light switches, electrical sockets, shelves, or radiators. When dealing with electrical fixtures, safety is non-negotiable. Always turn off the mains power supply to the relevant circuit before attempting to remove faceplates. If you have any doubts whatsoever about electrical work, consult a qualified electrician.
For radiators, you may need to drain the system partially or fully to remove them, which can be a task in itself. Plan for these removals as part of your preparation.

Your Step-by-Step Guide to Installing Wall Panels
With your walls prepped and your toolkit ready, it's time for the most rewarding part: the actual installation of your DIY wall panels. This stage is where your vision starts to become a reality. Following a methodical approach will make the process of easy wall panel installation feel manageable, even for a complete novice. We'll break it down into clear, sequential steps to guide you towards a fantastic finish.
Step 1: Measuring and Marking with Precision
Accuracy at the start prevents frustration later. Begin by measuring the height of your wall where the first panel will go. Transfer this measurement to your first panel, and carefully mark your cutting line.
Always double-check your measurements before cutting. It’s a simple habit that saves material and time. Crucially, use your spirit level to draw a perfectly vertical plumb line on the wall where the edge of your first panel will sit. This line ensures your first panel is absolutely straight, as every subsequent panel will align with it. Getting this first panel right is key for the entire installation of your DIY wall panels.
We've written some guides on how to measure walls for specific panels:
👉 How to Measure for Acoustic Panels
👉 How to Measure Bathroom Wall Panels
Step 2: Cutting Panels to the Correct Size
Once measured and marked, it's time to cut. For PVC wall panels, a common choice for their ease of handling, a fine-toothed saw or a sharp utility knife will generally do the job. If using a saw, cut with the decorative side of the panel facing upwards to minimise chipping on the visible surface.
For instance, when cutting PVC panels, techniques recommended by experts often include scoring the panel with a sharp utility knife and then snapping it for a clean break. Or using a fine-toothed saw with the decorative side facing up to minimise chipping.
Take your time to achieve straight, clean cuts as these will affect how neatly the panels fit together and how professional the final job looks.
Step 3: Applying Adhesive for a Strong Bond
With your panel cut to size, the next step is applying the adhesive. Typically, adhesive is applied to the back of the panel in a serpentine (S-shaped) bead, ensuring good coverage across the panel, especially around the edges. Some installers prefer applying adhesive directly to the wall.
Whichever method you choose, aim for an even application that will provide a strong, consistent bond once the panel is pressed into place.
Step 4: Fixing Panels Securely to the Wall
Carefully position your first panel against the wall, aligning its edge with your plumb line. Press it firmly into place, ensuring good contact between the adhesive and the wall. If your panels have a tongue-and-groove system, ensure the first panel is positioned correctly to receive the next one.
For example, a product like the 10mm York Stone Matt Shower Panel would typically feature such a system for seamless joins.
Once the first panel is up, use your spirit level again to check it’s perfectly vertical before moving on. Continue this process for subsequent panels, ensuring each one slots neatly into the previous and is pressed firmly.
Step 5: Navigating Obstacles and Corners
Walls rarely come without obstacles like windows, doors, electrical sockets, or pipework. These require careful measuring and cutting. For sockets or switches, measure their position accurately, transfer these marks to the panel, and cut out the required section before fitting the panel.
When you reach a corner, you'll use specific corner trims. Internal corner trims fit into the corner before the panels are slotted in, while external corner trims cap the panels on an outward-facing corner. These trims are essential for a neat, professional finish and help to create a continuous, waterproof seal where needed.

Achieving a Professional Look: Finishing Touches and Tips
You've done the hard work of preparing and installing your panels, and your room is already looking transformed. Now, it's time for those crucial finishing touches that distinguish a good DIY job from a truly professional one.
These final steps ensure your decorative wall panels not only look fantastic but are also properly sealed and durable, especially in areas prone to moisture. It’s these details that often make the biggest difference to the overall impression.
Installing Edge Trims and Applying Sealant
Edge trims, such as end caps and corner pieces, are vital for a polished appearance. They neatly conceal the cut edges of your panels and provide a clean transition to other surfaces. Cut these trims carefully to size using a fine-toothed saw or appropriate cutter, then fix them according to the manufacturer’s instructions, often with a small amount of adhesive or by slotting them into place.
In wet areas like bathrooms and shower enclosures, applying a good quality silicone sealant along all edges, joins, and around fixtures is absolutely essential. This creates a watertight barrier, preventing moisture from getting behind the panels. Easy Panels offers a wide range of compatible trims and adhesive to match our panel designs.
Addressing Minor Gaps and Imperfections
Even with careful installation, you might encounter small gaps or minor imperfections. Don't worry, these are often easily remedied:
- Use colour-matched silicone sealant to fill tiny gaps between panels or where panels meet trims. This blends in seamlessly.
- Consider a flexible decorator’s caulk for edges against ceilings or skirting boards that might experience slight movement over time. Caulk can be painted if necessary.
- Ensure trim pieces are cut precisely to cover joins or panel ends effectively. Sometimes a slightly wider trim can hide a less-than-perfect cut.
- For very minor scuffs on some panel types, a specialist repair kit or even a touch-up pen might be available.
These small fixes can make a big difference to the final aesthetic, reassuring beginners that perfection is achievable.
Cleaning Up for a Tidy Finish
Once all panels, trims, and sealants are in place, a thorough clean-up will showcase your hard work. Remove any protective film from the panels if it hasn't been done already. Wipe down the newly installed panels with a soft, damp cloth to remove any dust, fingerprints, or adhesive residue.
Be sure to use cleaning products that are recommended for the panel material; for PVC panels, mild soap and water or non-abrasive cleaners are usually sufficient. A clean and tidy work area not only looks better but also allows you to properly inspect your handiwork.
Understanding Adhesive and Sealant Curing Times
This is a simple but critical point: patience. Adhesives and sealants need time to cure fully and achieve their maximum strength and water resistance. Always check the manufacturer’s instructions for recommended curing times.
Avoid exposing newly panelled areas, especially bathrooms or shower enclosures, to moisture, steam, or heavy use until the adhesive and sealant have completely cured.
Rushing this step can compromise the integrity of the installation and lead to problems down the line. Giving everything adequate time to set ensures the longevity of your transformed space.

Caring for Your Newly Panelled Walls
Congratulations, your DIY wall panels are installed, and your room has a fresh new look! The journey doesn't quite end here, though. To ensure your transformed space continues to look its best for years to come, a little bit of care and maintenance goes a long way.
Fortunately, one of the great advantages of modern wall panels, particularly PVC options, is their low-maintenance nature. This final section offers simple advice on keeping your newly panelled walls in pristine condition.
Routine Cleaning for Lasting Appeal
Keeping your panels clean is remarkably straightforward. For most types, a regular wipe-down with a soft cloth and mild, non-abrasive cleaner is all that’s needed.
Warm soapy water is often sufficient. Avoid using harsh chemical cleaners, scouring powders, or abrasive pads, as these can scratch or damage the panel surface. For shower areas, rinsing down panels after use can help prevent soap scum build-up, making cleaning even easier.
Tips to Prevent Panel Damage
While wall panels are designed to be durable, a few preventative measures can help keep them looking new. Be mindful when moving furniture or other large objects near panelled walls to avoid accidental knocks or scratches. If you need to hang pictures or shelves on a panelled wall, check the panel manufacturer's recommendations for appropriate fixings; sometimes, it's better to drill through the panel and fix into the solid wall behind.
Avoid using very harsh chemicals or solvents near the panels, as these could discolour or damage the surface finish over time.
Handling Minor Repairs with Confidence
Should you encounter a minor issue, such as a trim piece becoming slightly loose or a very small scratch appearing, these can often be addressed quite easily. A loose trim might simply need a little fresh adhesive. Some superficial scratches on certain panel types can sometimes be polished out or minimised with specialist products.
The key is to address small issues promptly. This proactive approach ensures that your beautifully panelled walls remain a source of pride, demonstrating that maintaining your transformed space is just as straightforward as the initial DIY wall panels installation.


